
Set Up Pick
Last updated: 10 Jul 2026
Initial Preparations
Navigate to the “Set Up Pick” tab.
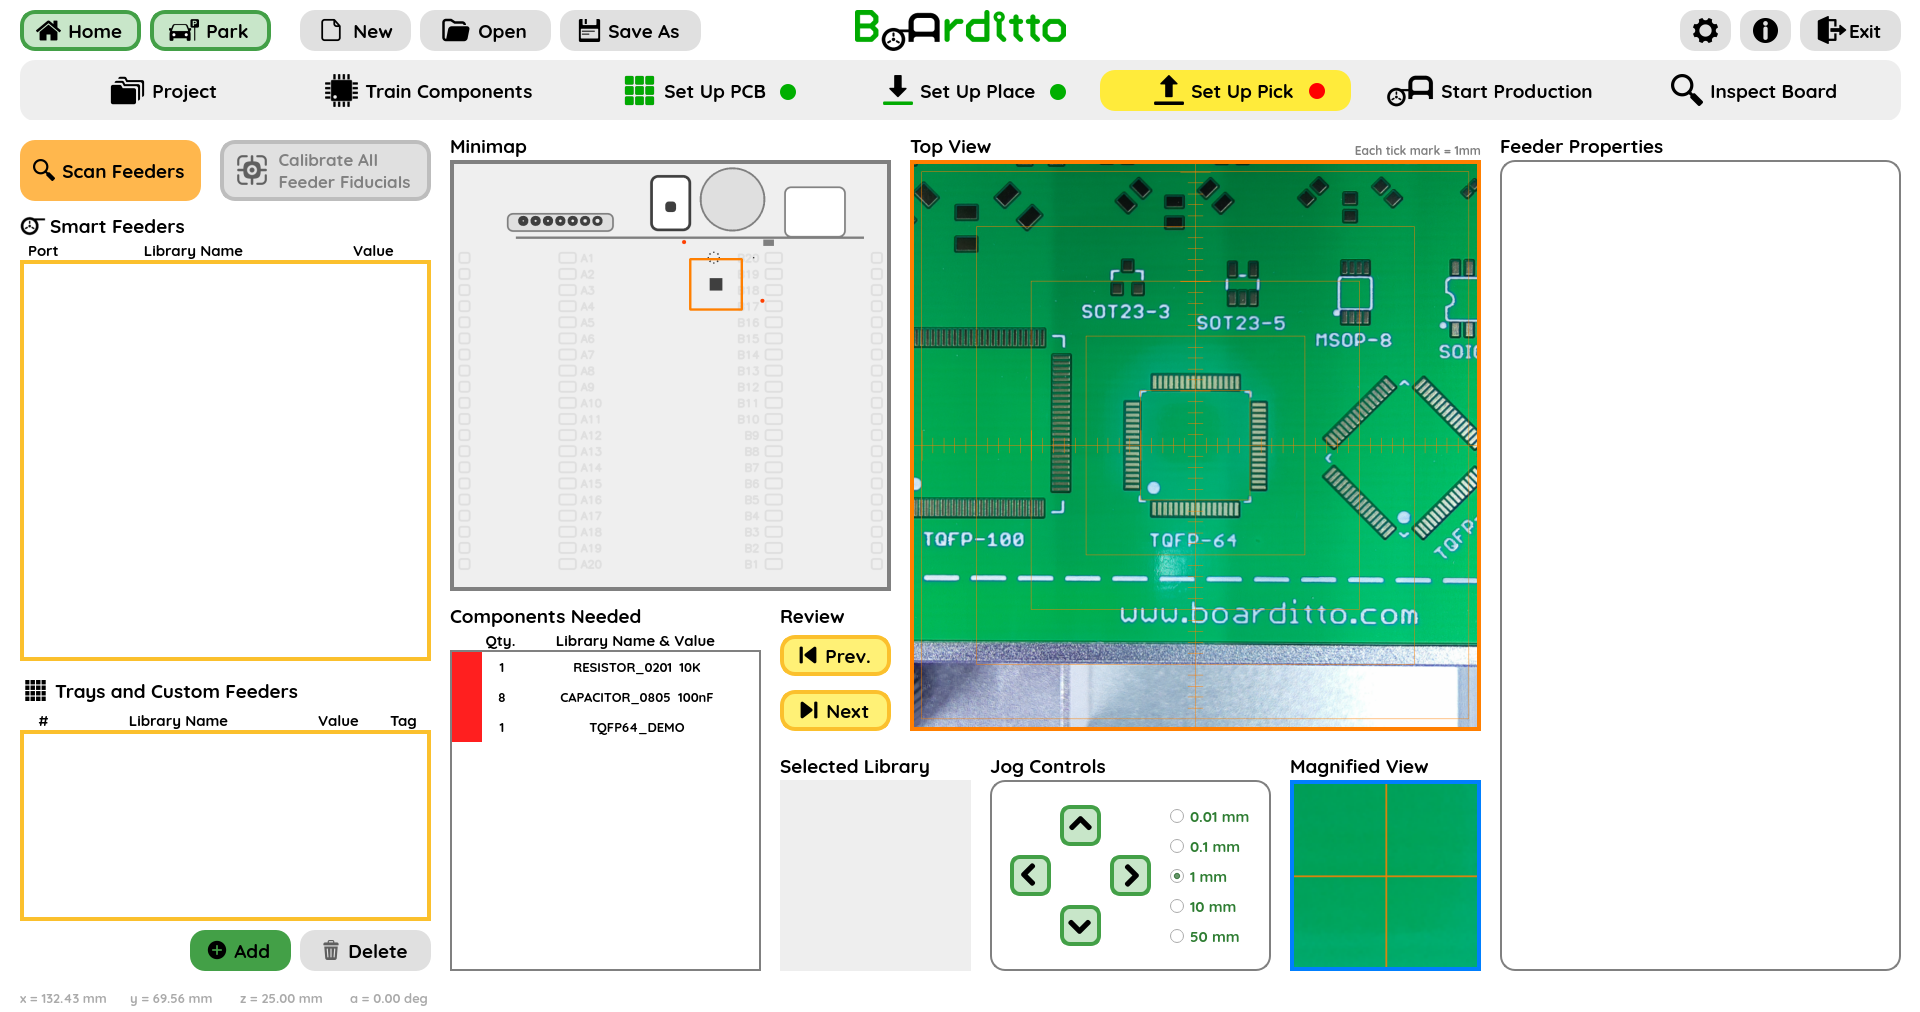
The “Components Needed” list shows every unique part required to finish the production job. The software automatically generates this list from the components you select in the Set Up Place tab.
Mount the feeders containing the components needed for the job onto the machine.
Smart Automatic Feeder Setup
Click “Scan Feeders”. A list of all smart feeders mounted onto the machine and the respective feeder slots (ports) these are located in will appear under “Smart Feeders”.
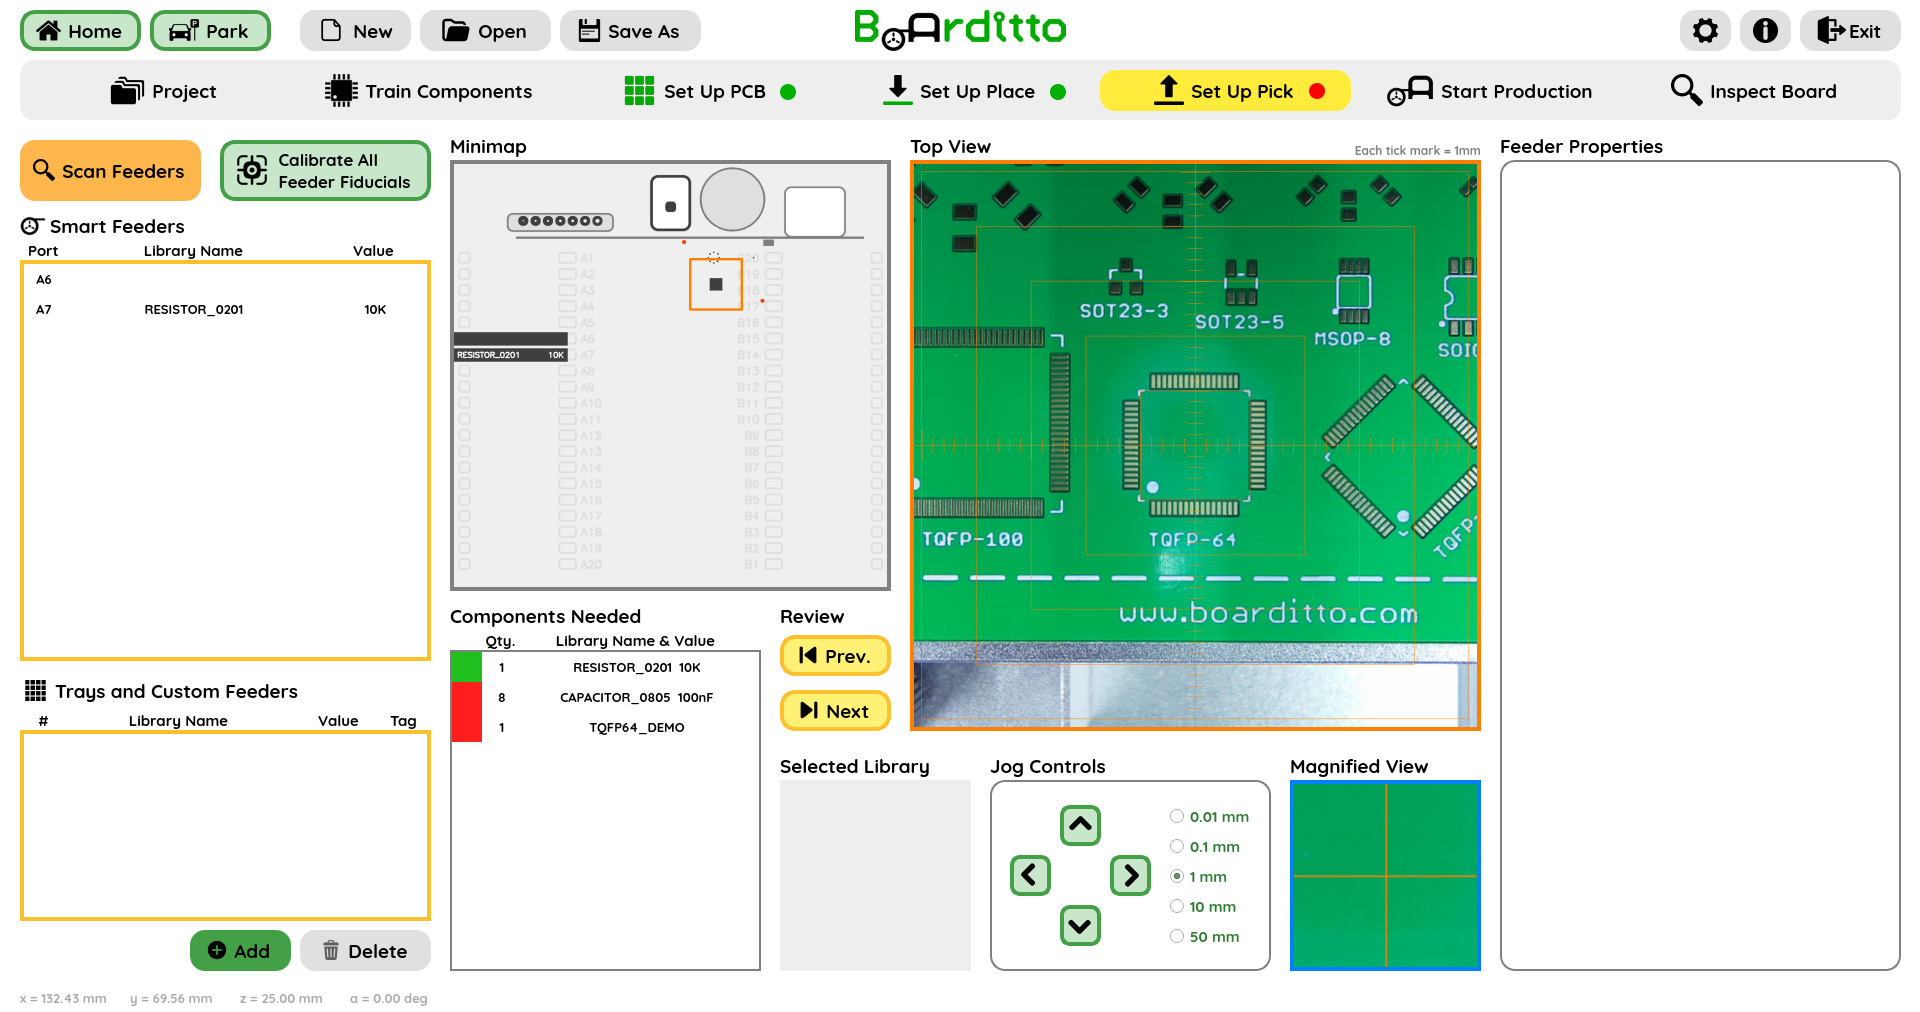
Select a Smart Automatic Feeder from the “Smart Feeders” list.
Tip: Blink allows users to quickly located on the machine the feeder you have currently selected.
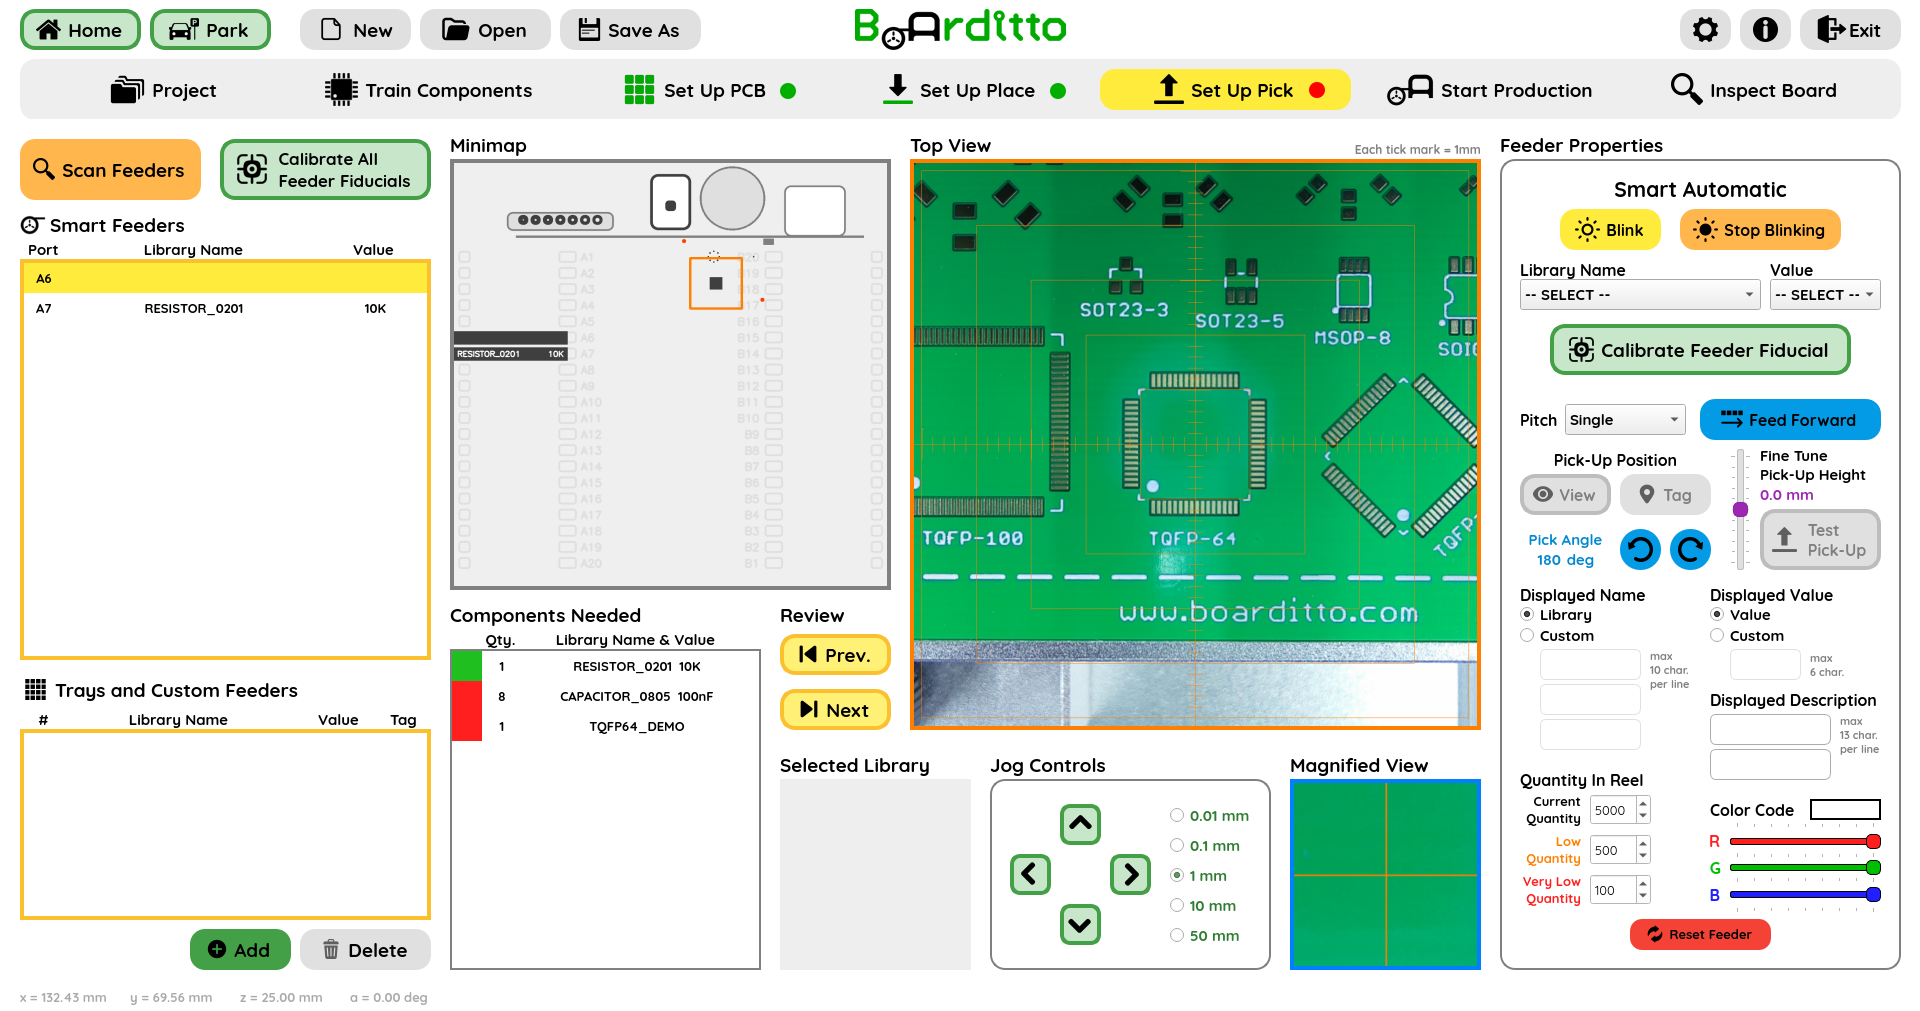
The “Feeder Properties” menu is where information about the component reel is entered. This data is stored in the internal memory of the Smart Automatic Feeder.
Select the component from “Library Name” drop-down list.
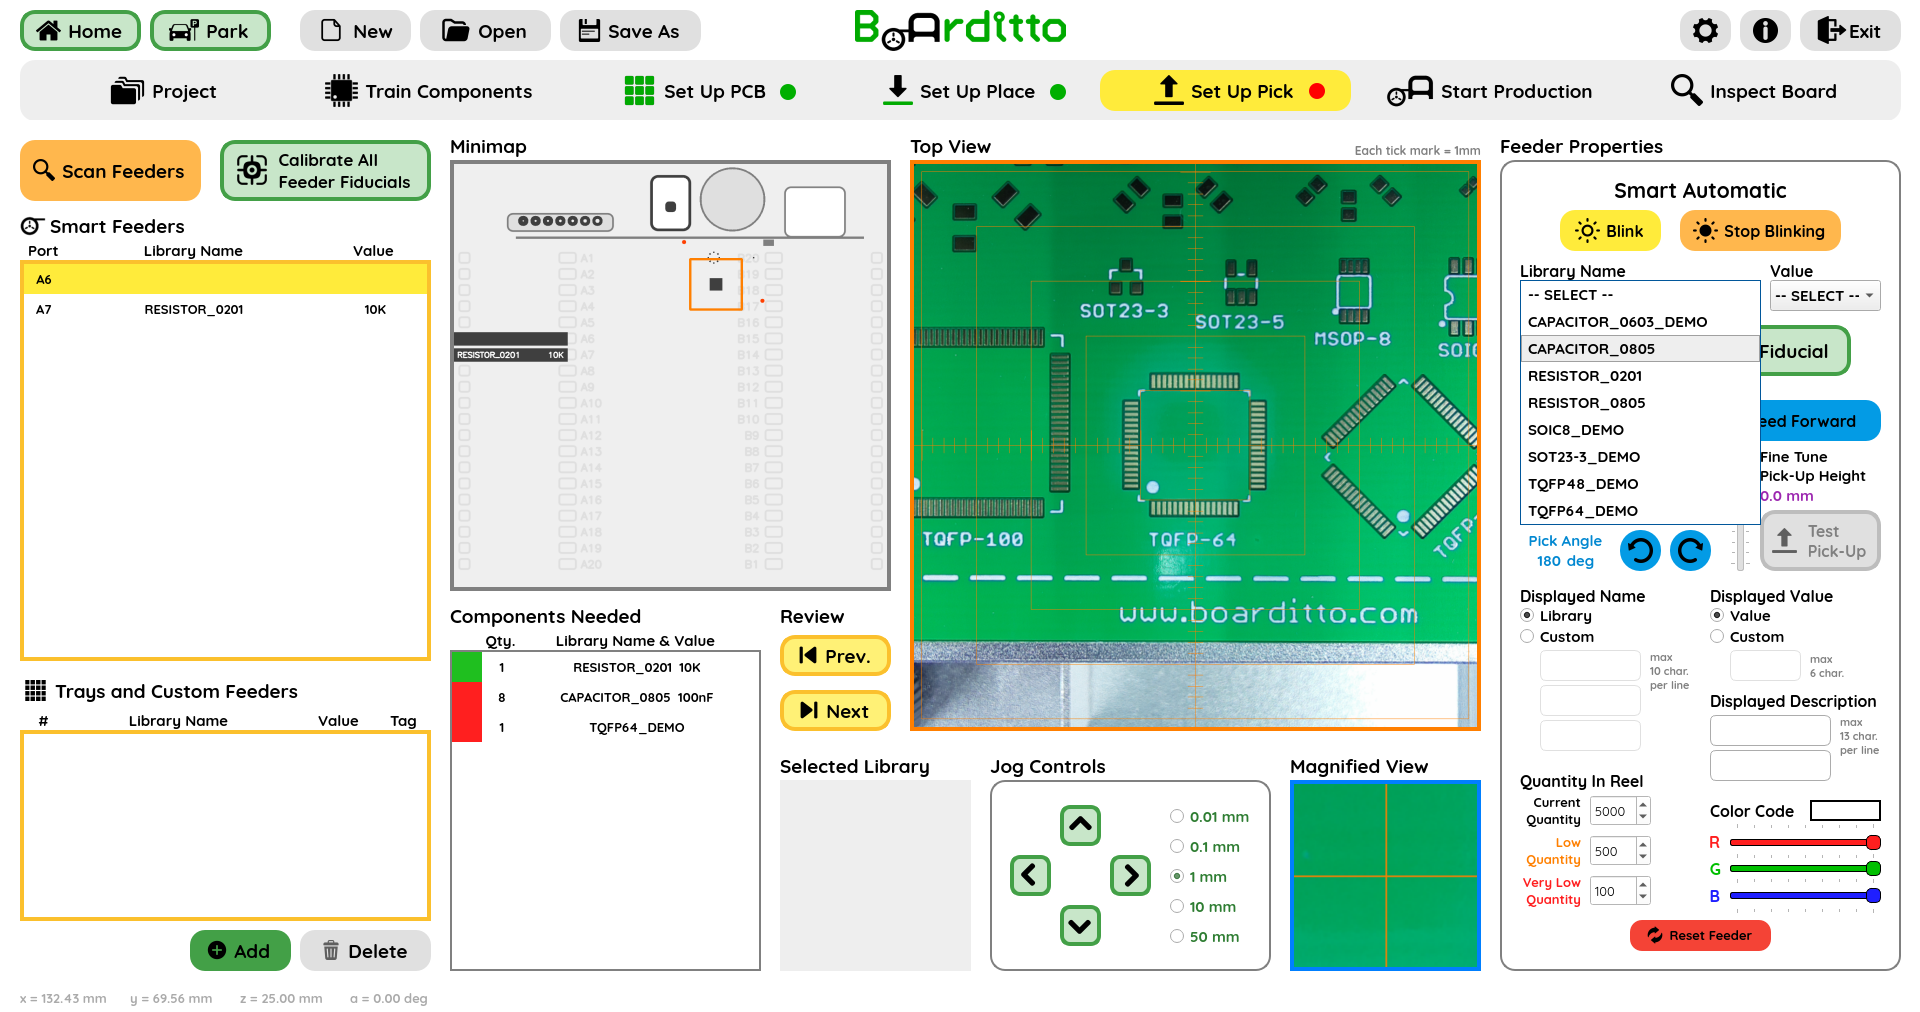
Select the corresponding value (if any) from “Value” drop-down list.
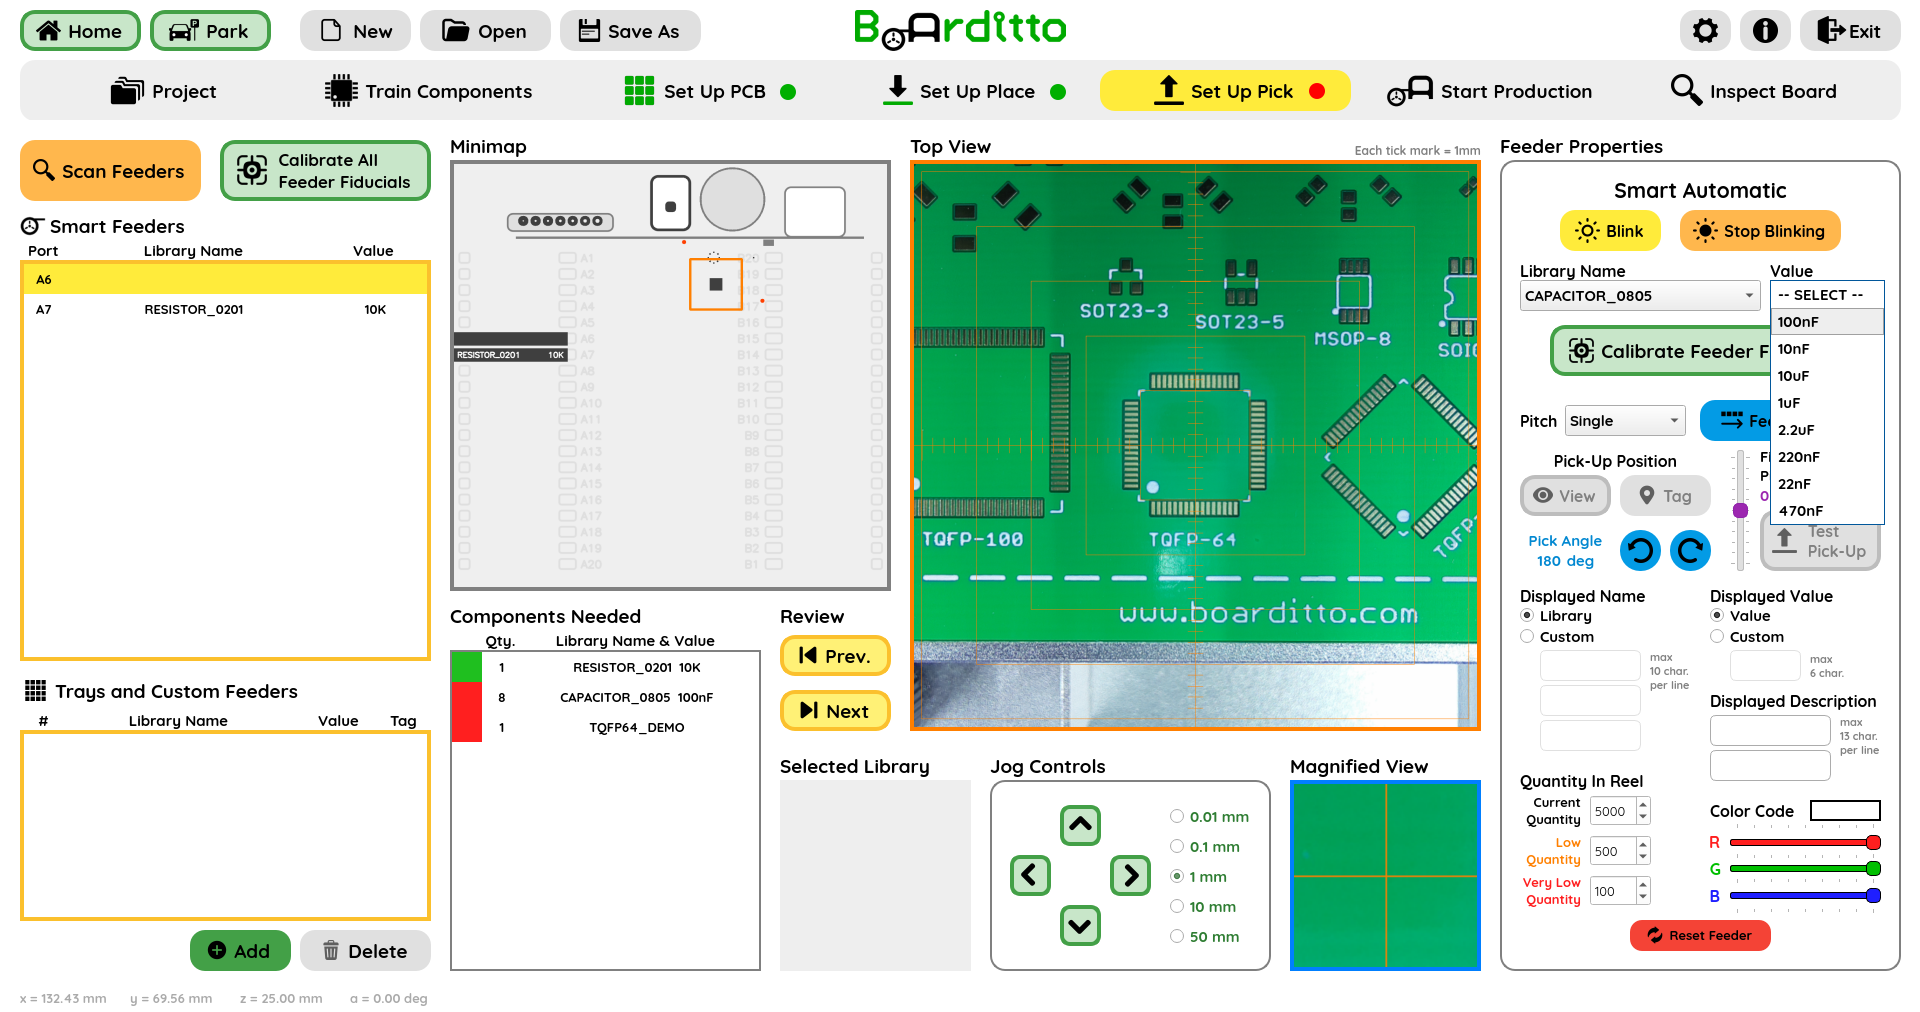
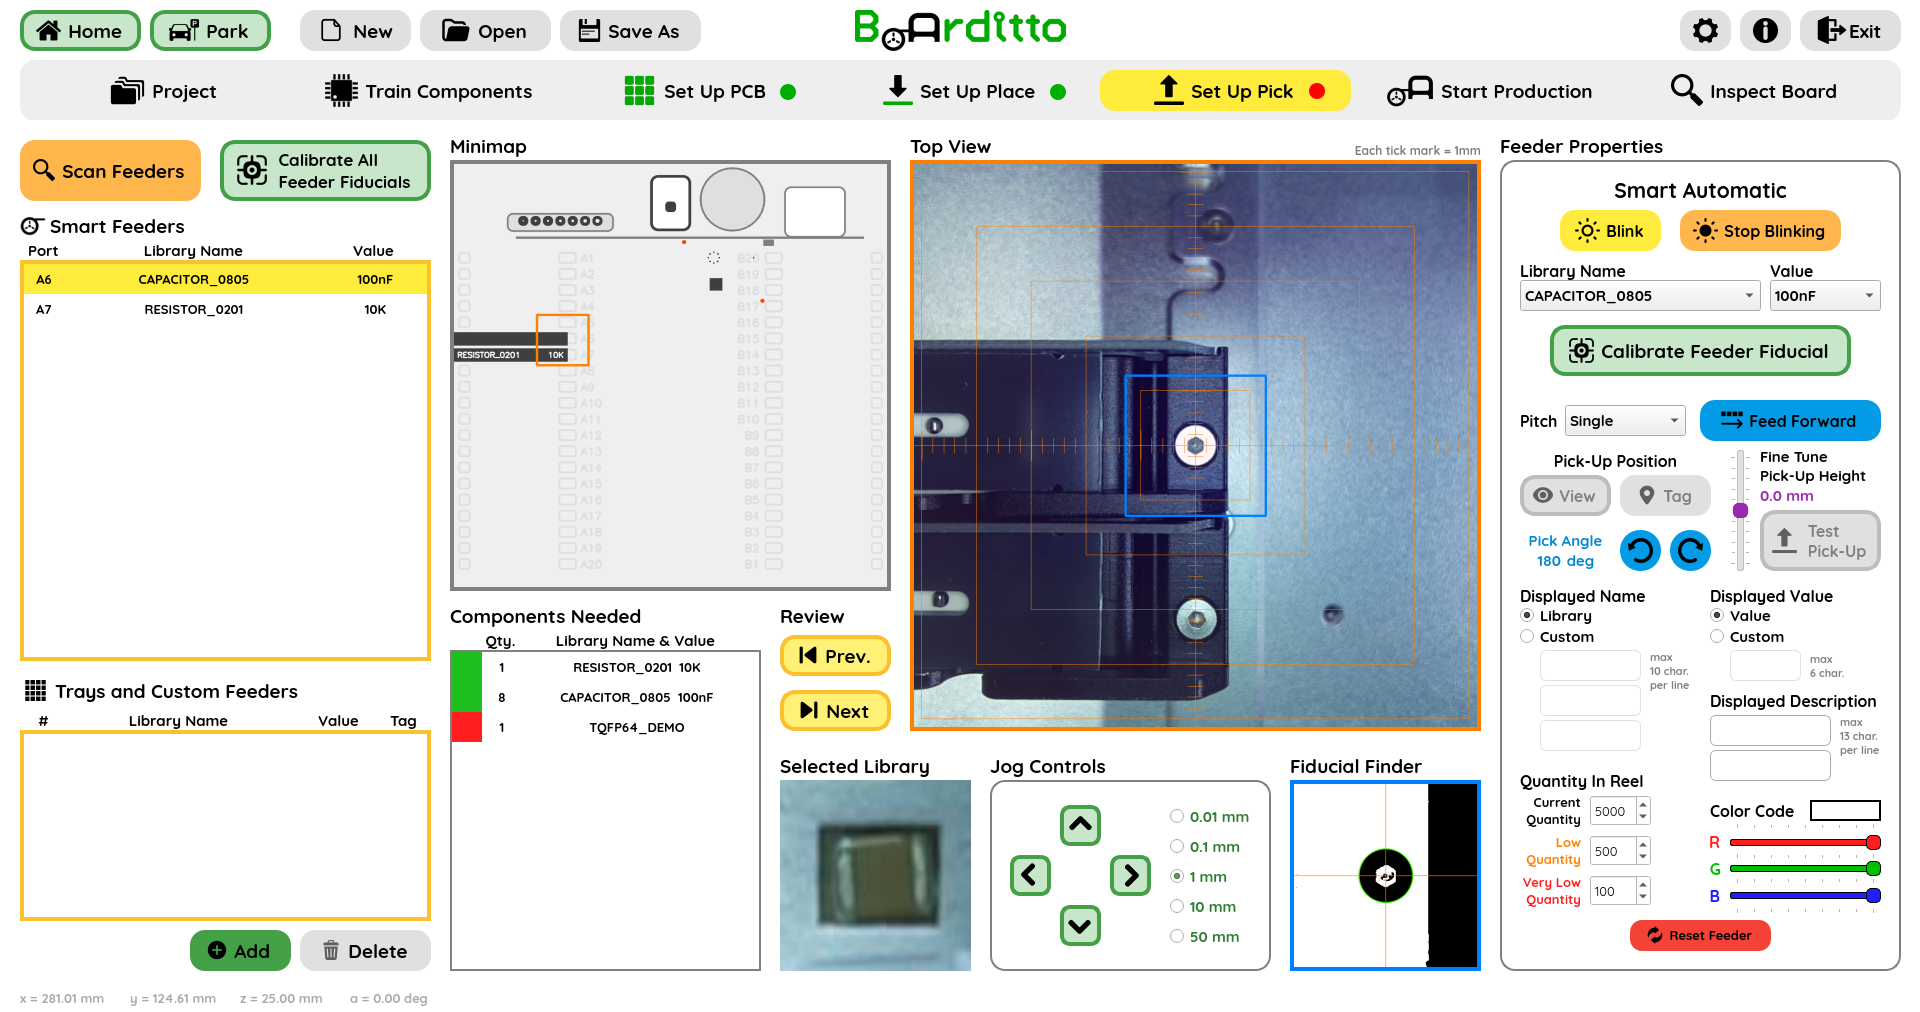
Click “Calibrate Feeder Fiducial”.
Select the component tape pitch from the “Pitch” drop-down list.
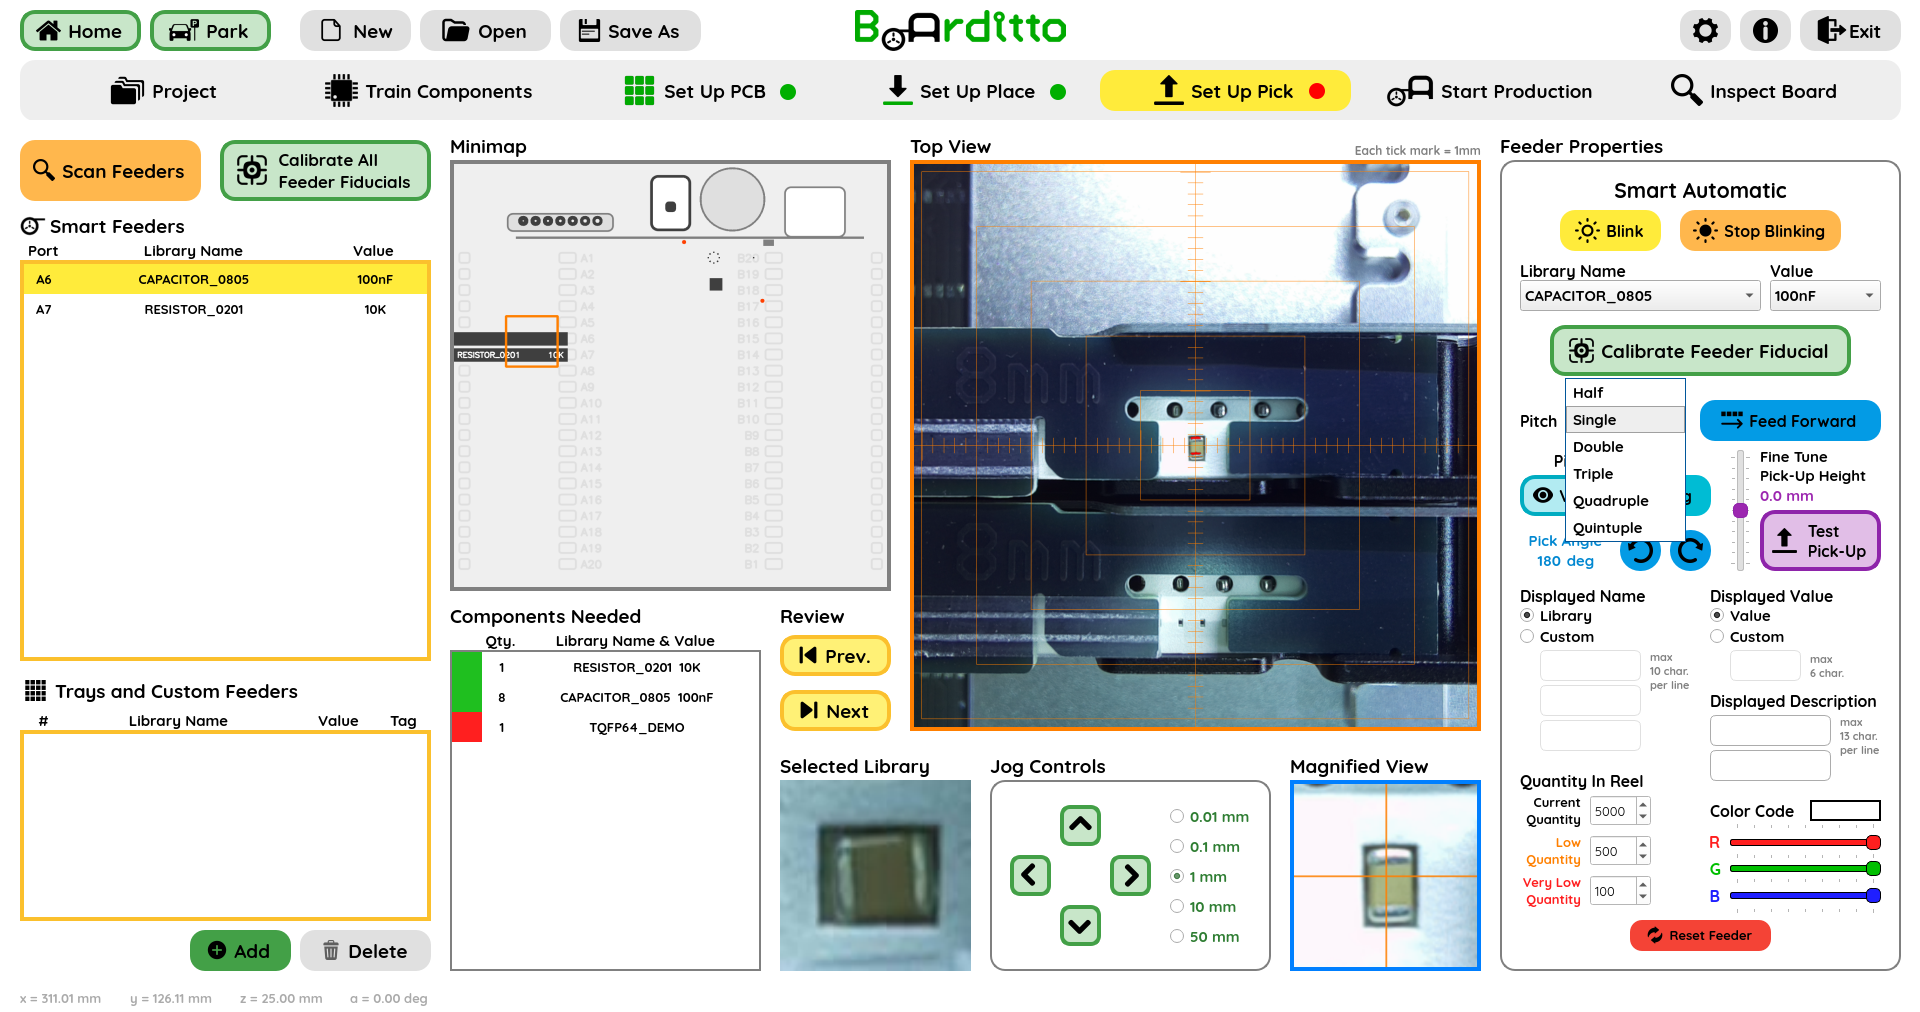
Ensure the first exposed component (with the clear tape peeled off) is in the correct spot by clicking the Feed Forward button.
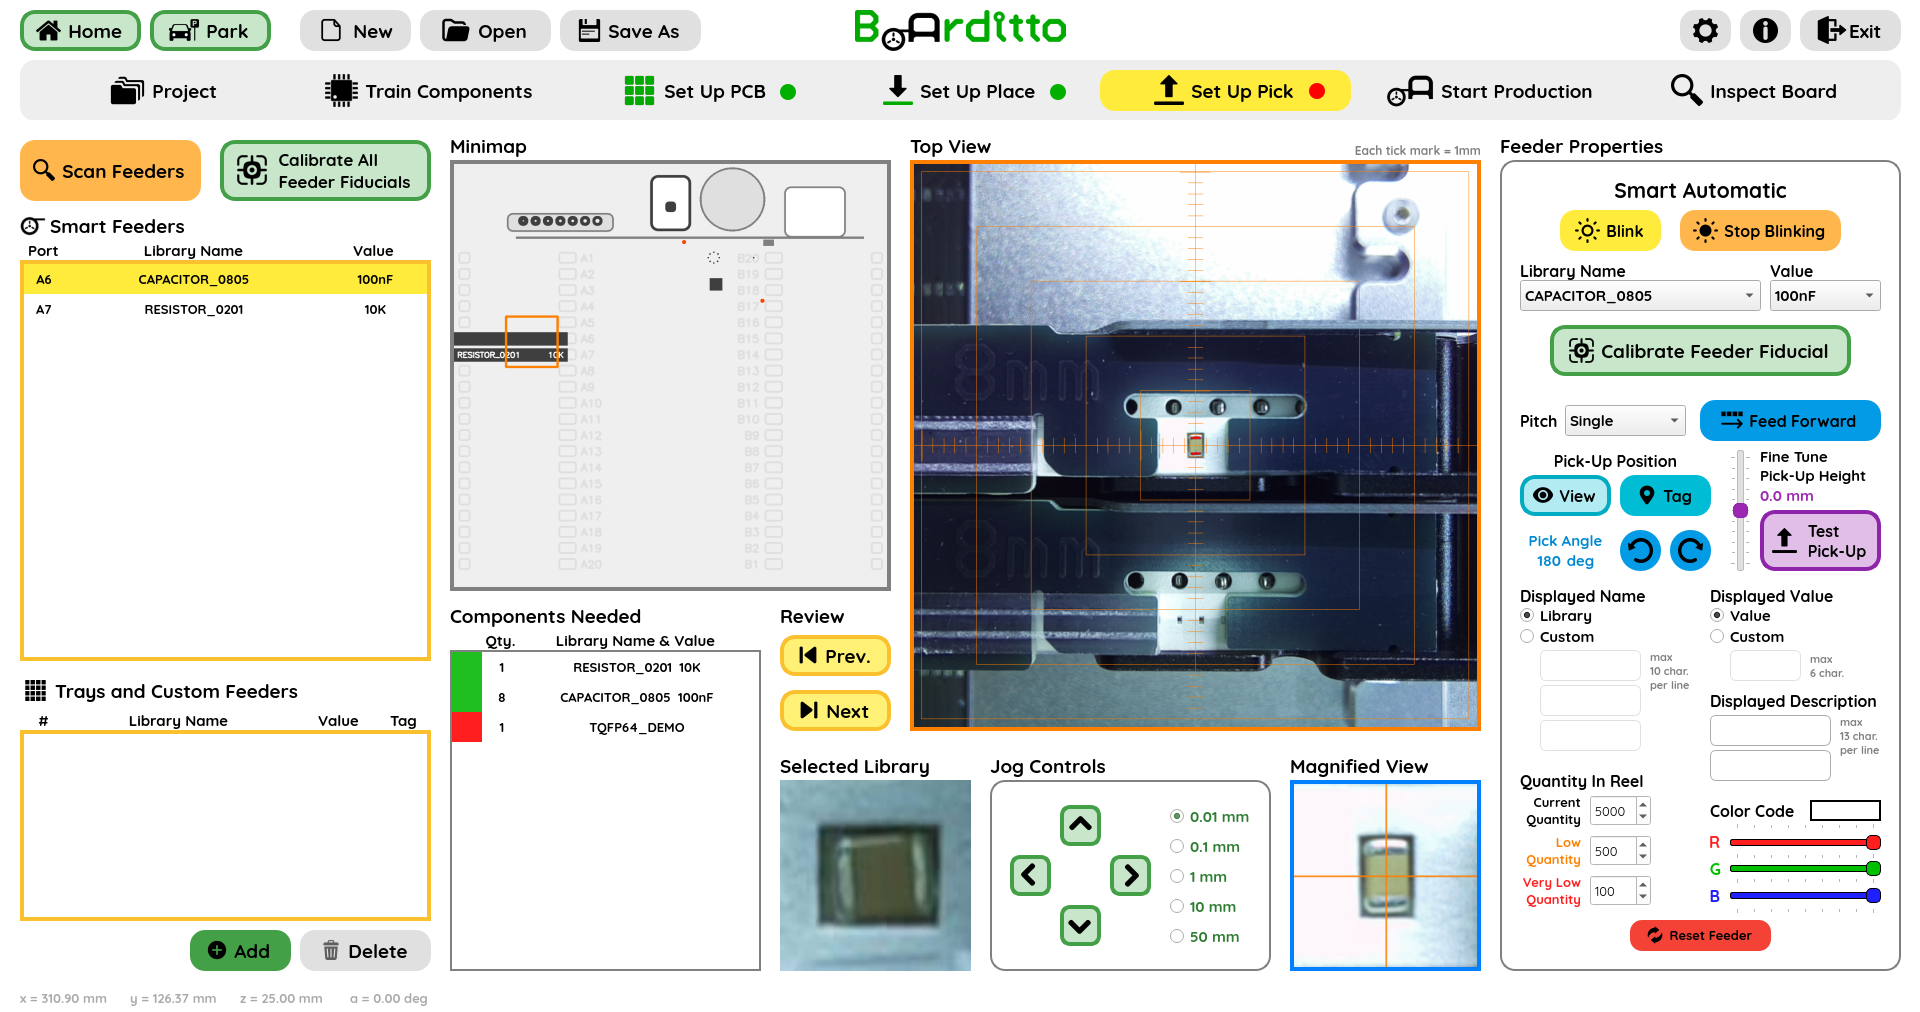
The component overylay is visible in the Top View. If necessary, use the “Pick Angle” buttons to rotate the component overlay to match the component’s orientation (or Pin 1).
Move the crosshairs until it is centered with the tape cavity of the component you want to pick up.
Click “Tag” to save this pick-up position.
(Optional) Click “Test Pick-Up” to check whether the component can be picked up.
Tip: The “Fine Tune Pick-up Height” slider allows you to manually adjust the pick-up height, if necessary.
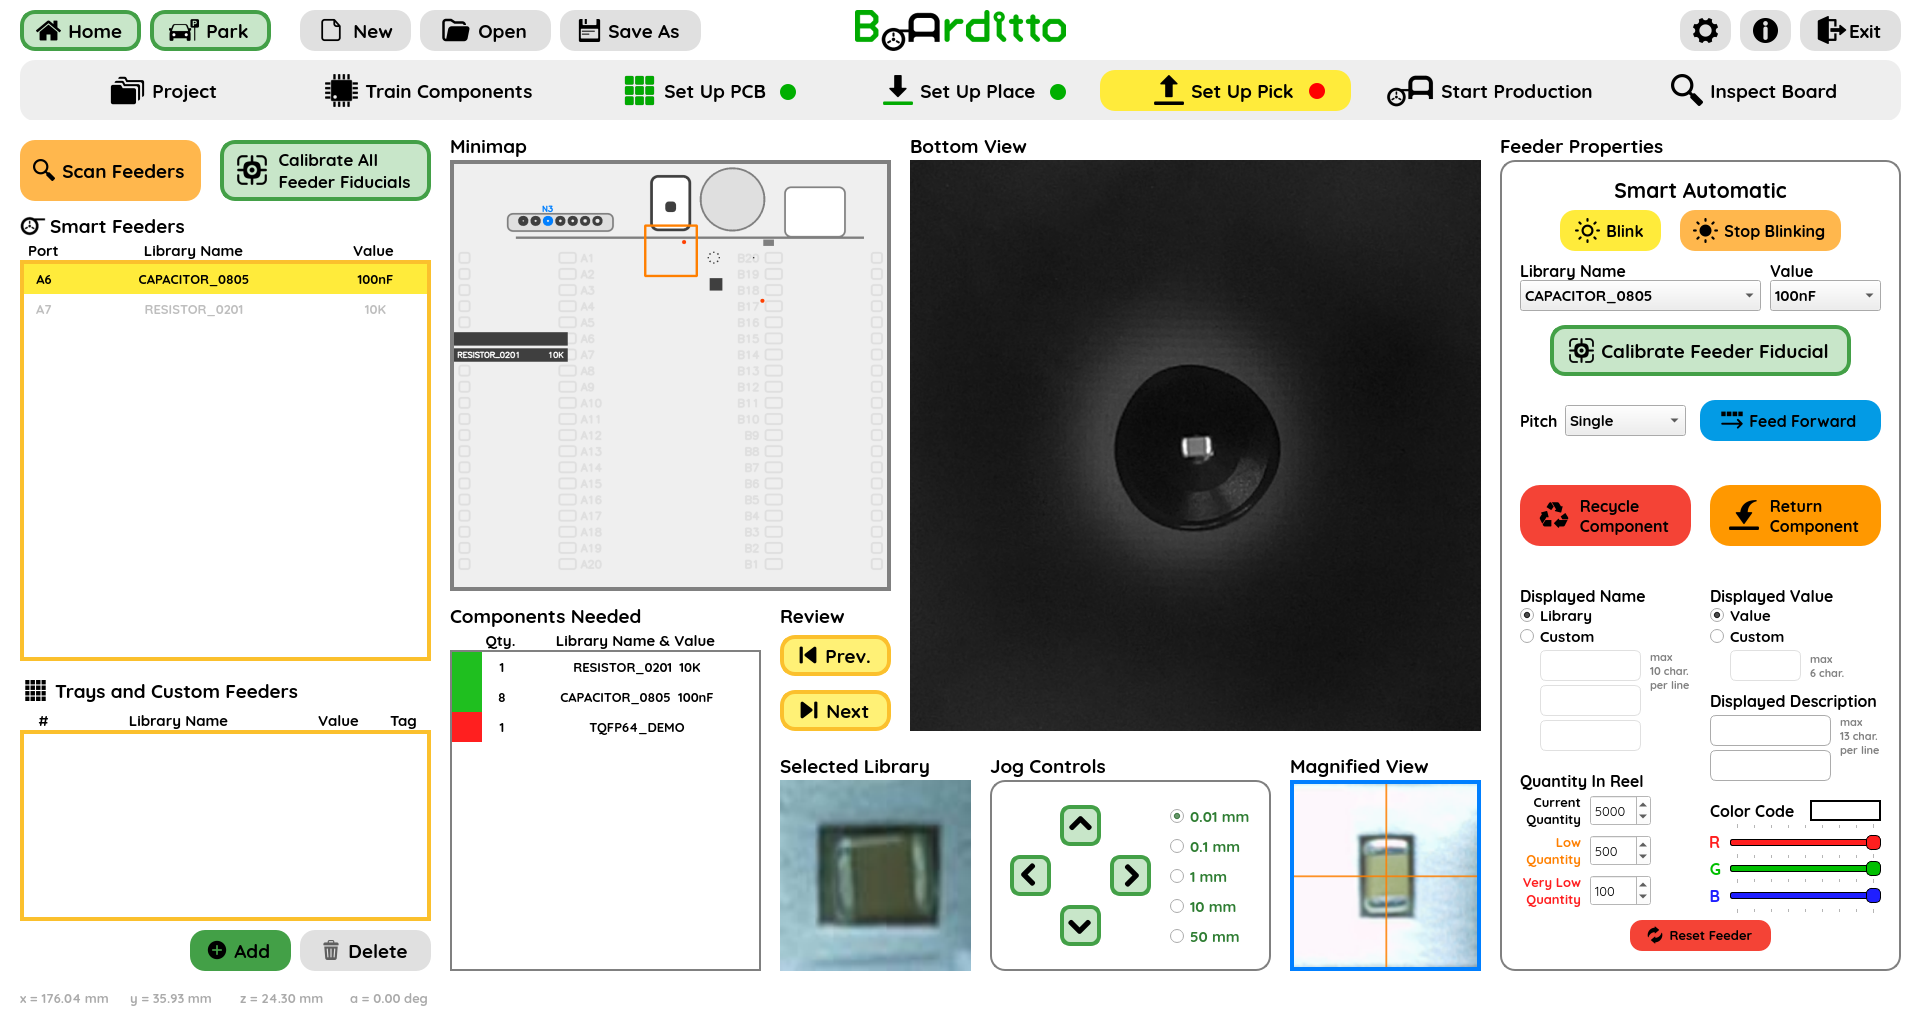
If you have chosen to test the pick-up height, click either “Recycle Component” or “Return Component”.
(Optional) Fill in the remaining component reel information that will be stored in the internal memory of the Smart Automatic Feeder and displayed on its screen.
Displayed Name: By default, the “Library Name” of the component you select from the drop‑down list is shown. You may enter your own text in the “Custom” field instead.
Displayed Value: By default, the “Value” (if any) of the component you select from the drop‑down list is shown. You may enter your own text in the “Custom” field instead.
Displayed Description: Enter any custom description here.
Color Code: Use the RGB sliders to choose the color in which the “Displayed Name” will be highlighted on the automatic feeder’s display for quick visual categorization.
Quantity in Reel:
Current Quantity: Enter the number of components in stock.
Low Quantity: Enter the threshold at which you want to receive a warning, indicating that it may be time to start planning a restock.
Very Low Quantity: Enter the threshold at which you want a warning that the current reel is about to run out.
Tray and Custom Feeders Setup
Click “Add” for a new entry to appear in the “Trays and Custom Feeders” list.
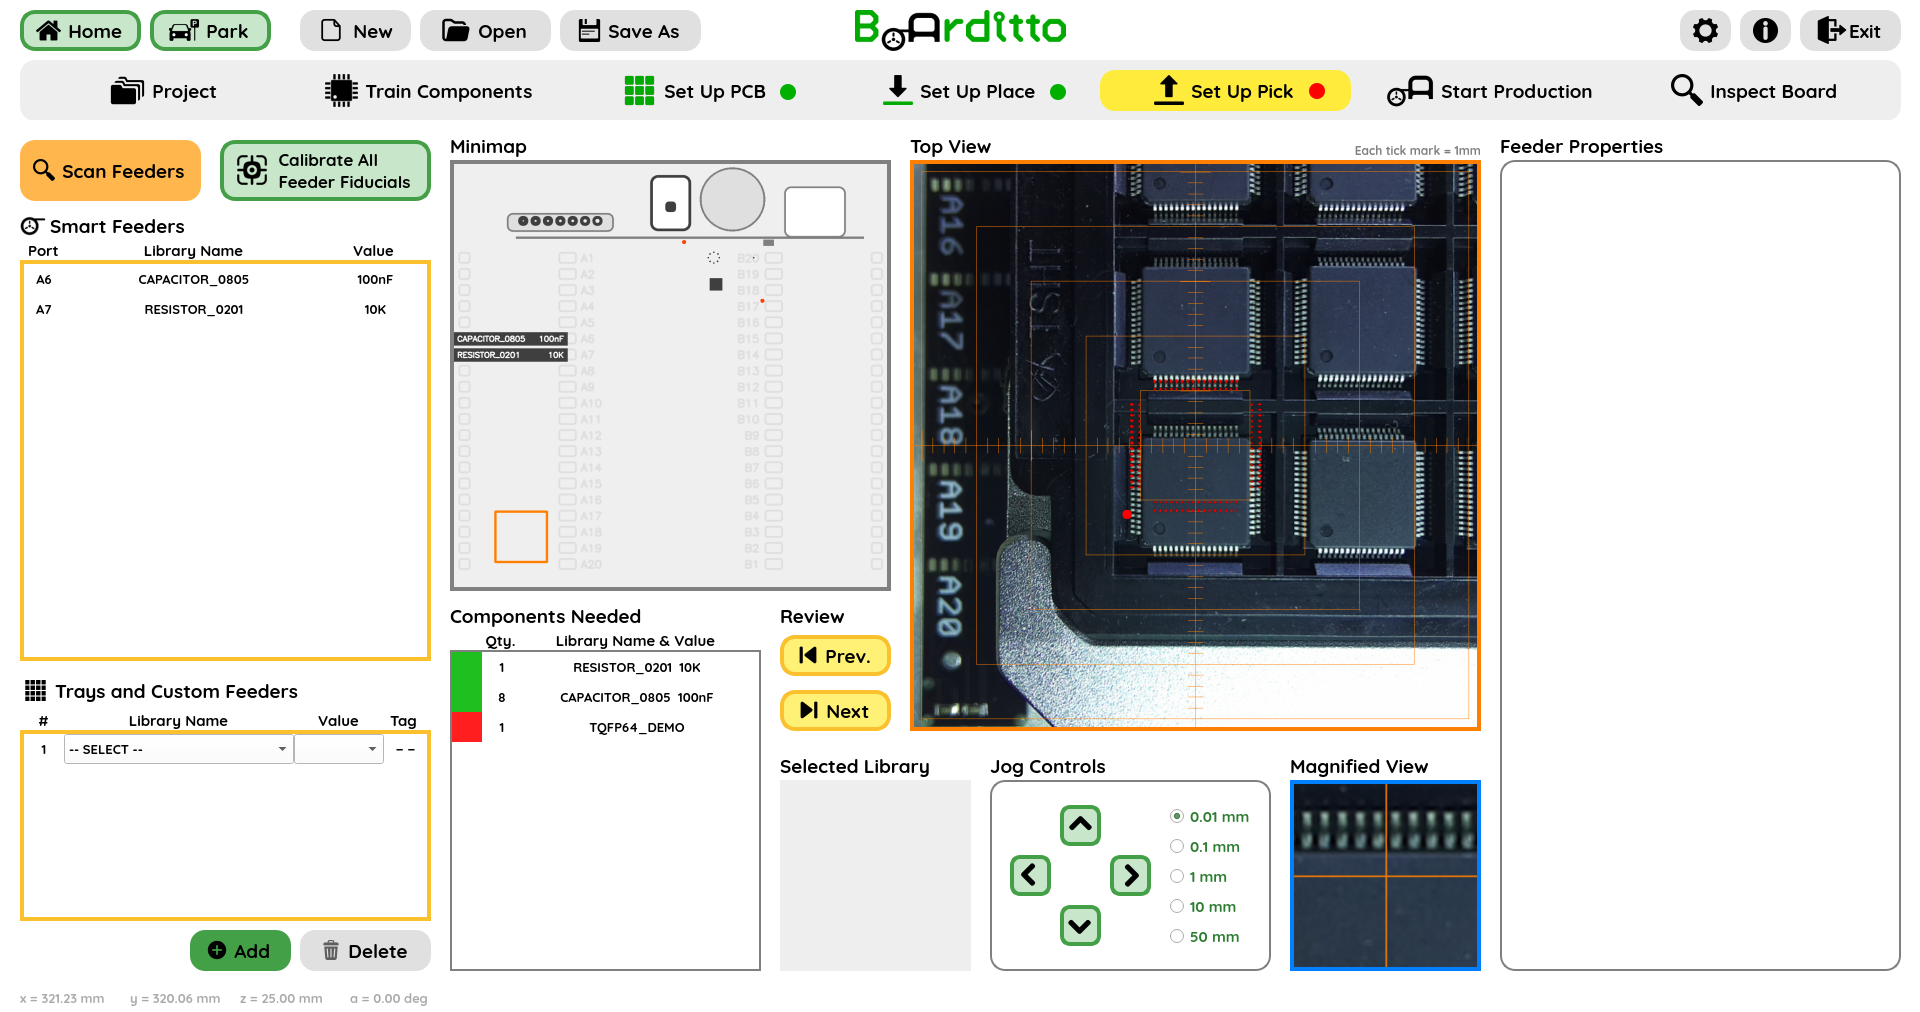
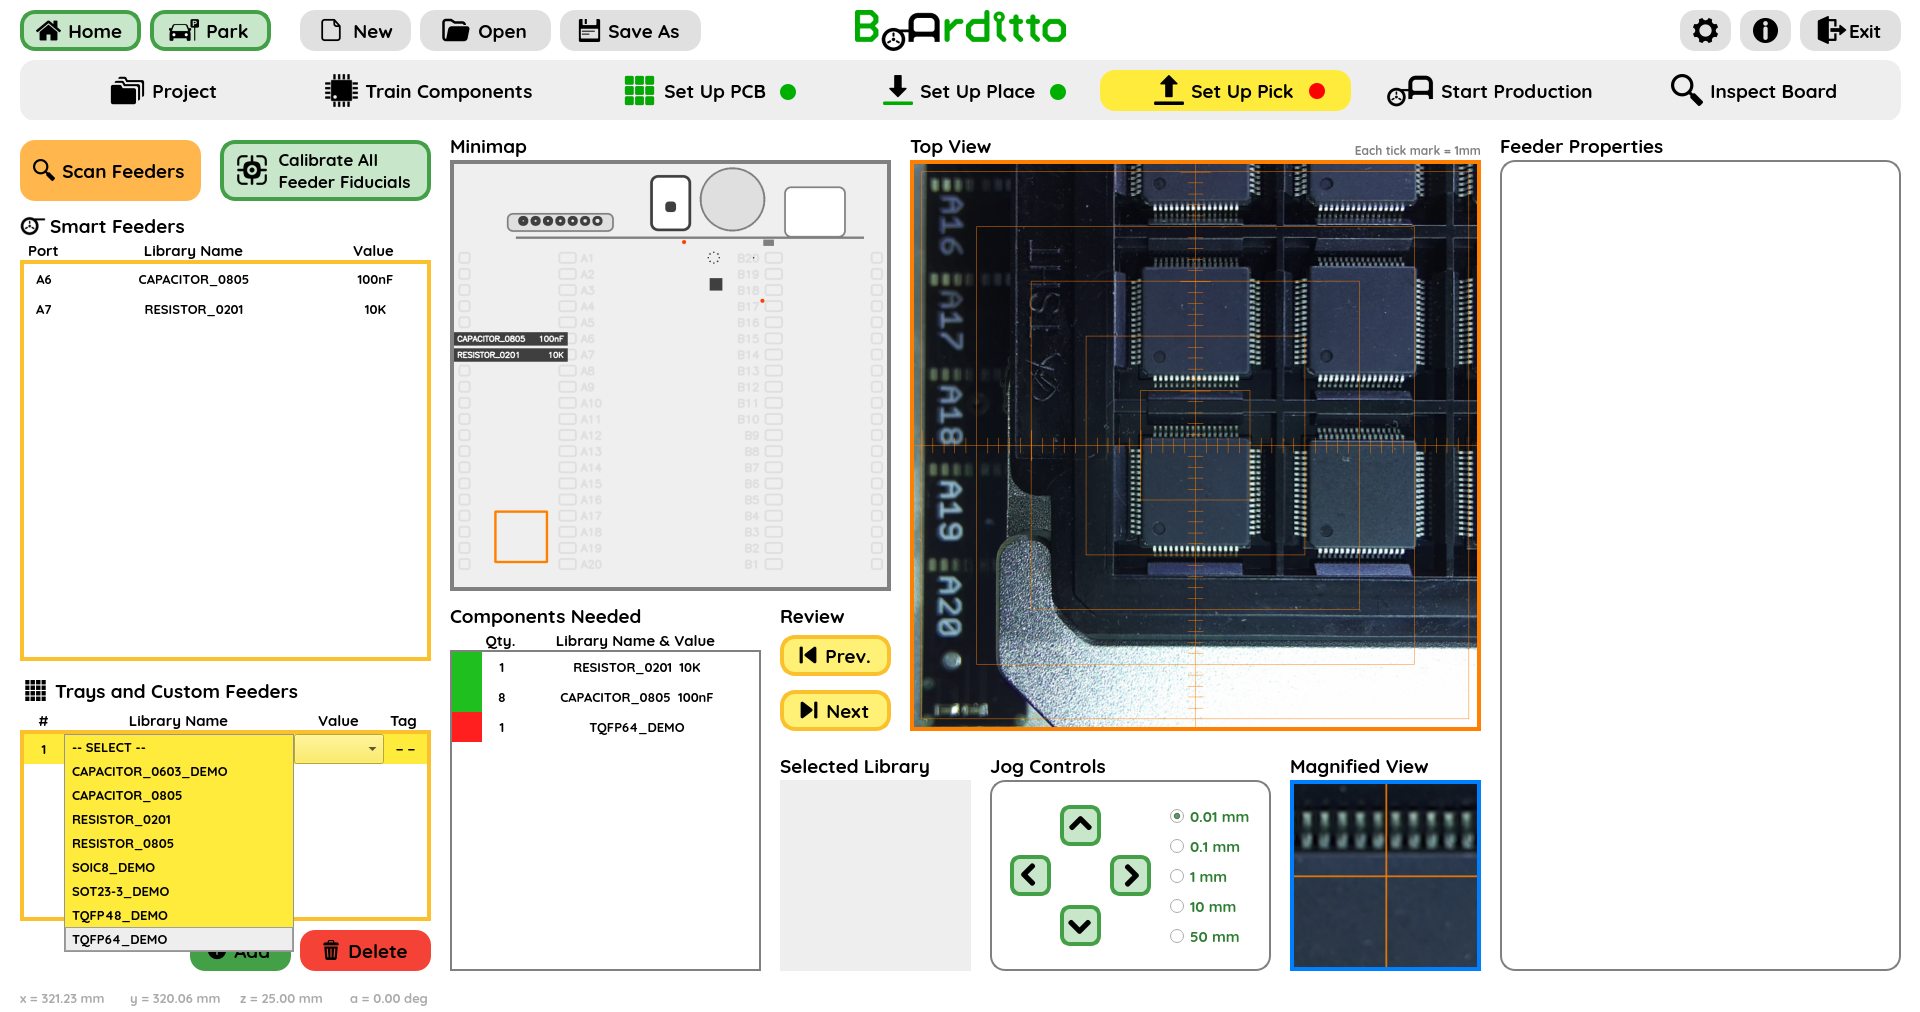
Select the component from “Library Name” drop-down list.
Select the corresponding value (if applicable) from “Value” drop-down list.
The component overylay is visible in the Top View. If necessary, use the “Pick Angle” buttons to rotate the component overlay to match the component’s orientation (or Pin 1).
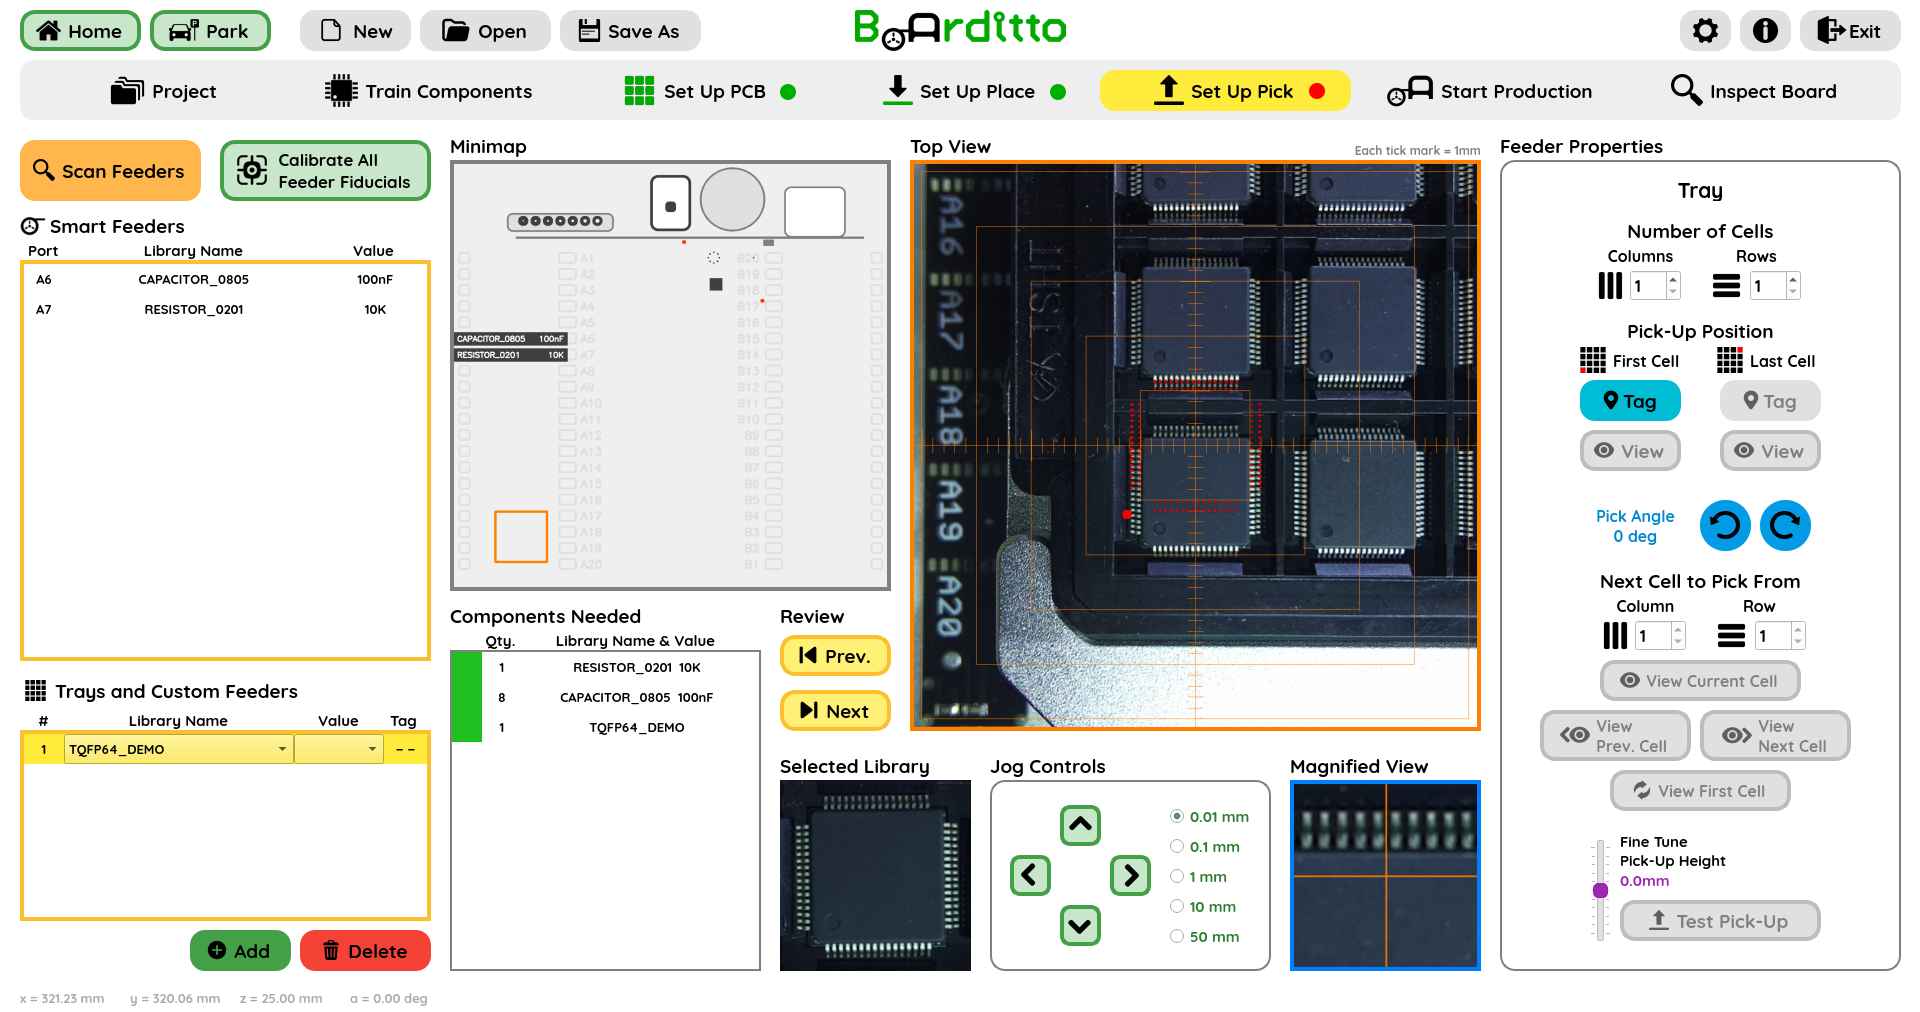
Input the number of columns and rows the tray contains.
Jog the crosshairs until it lands approximately in the center of the component located in the first cell.
Click “Tag” to save this position.
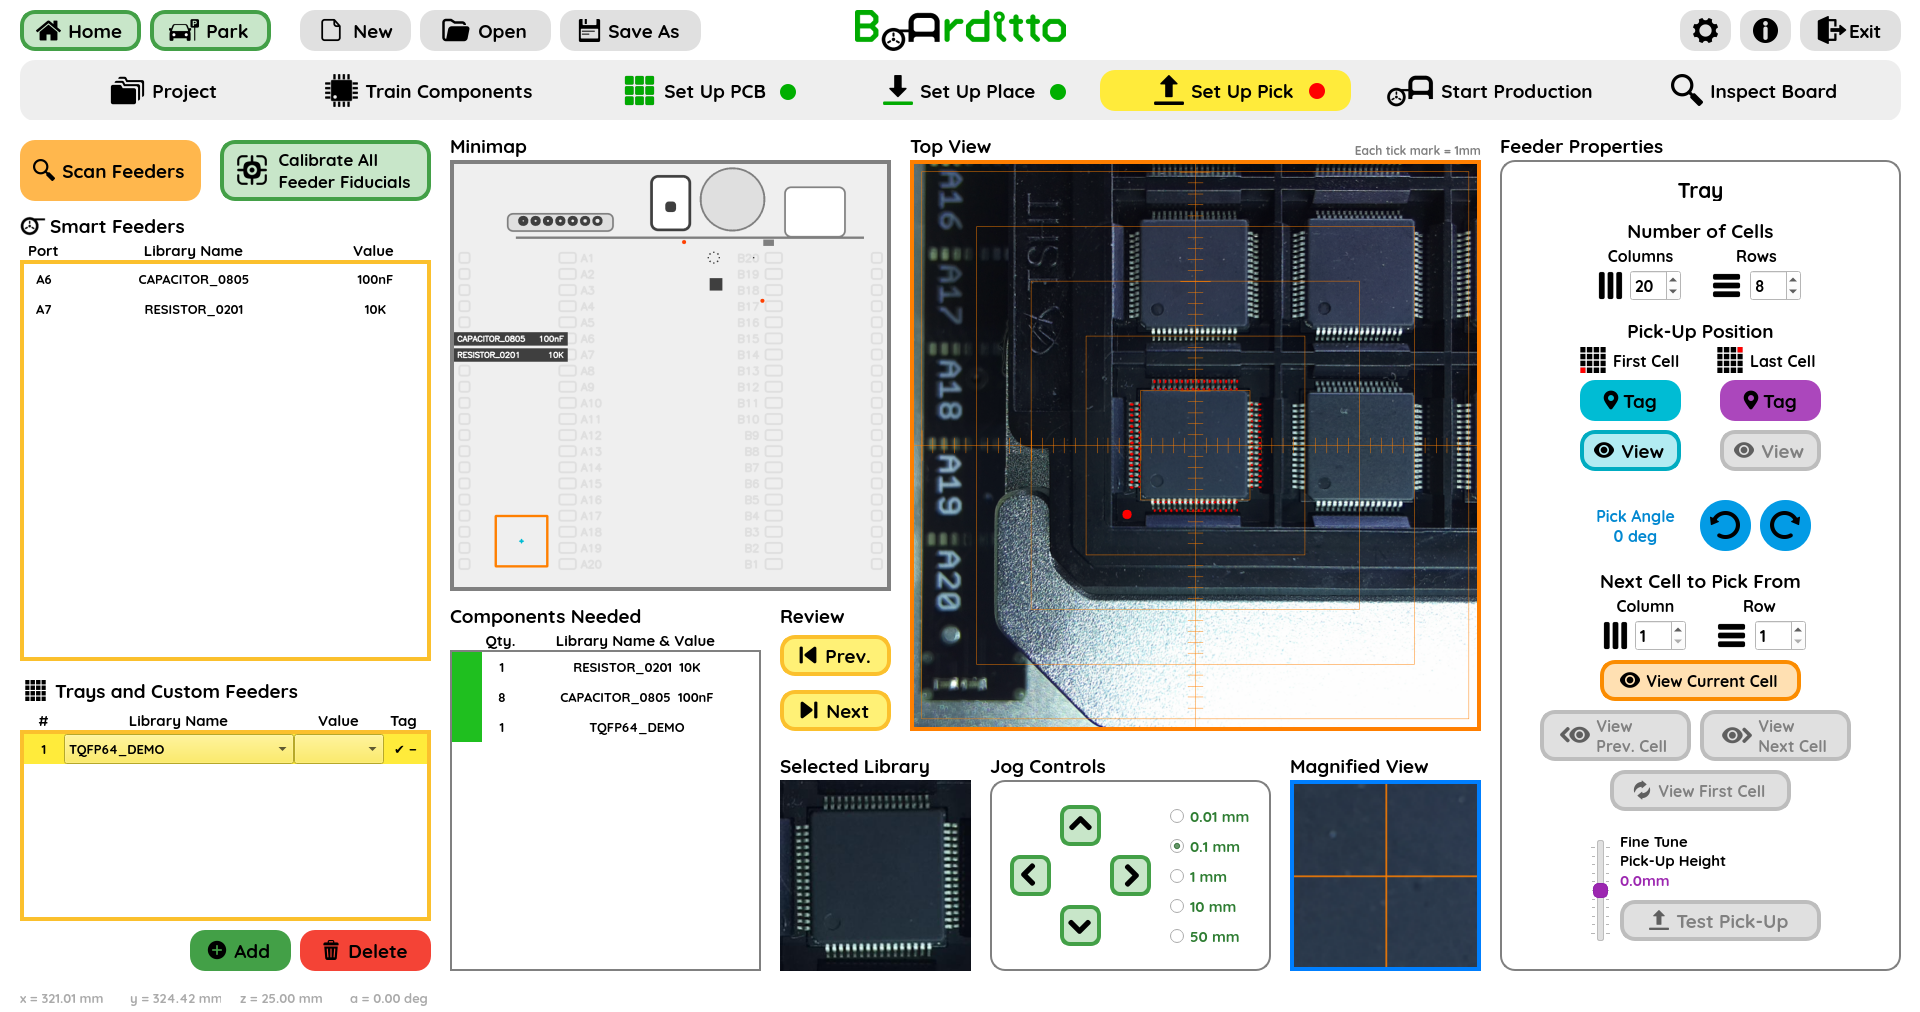
Repeat the above for the component located in the last cell.

(Optional) Click “Test Pick-Up” to check whether the component can be picked up.
Tip: The “Fine Tune Pick-up Height” slider allows you to manually adjust the pick-up height, if necessary.
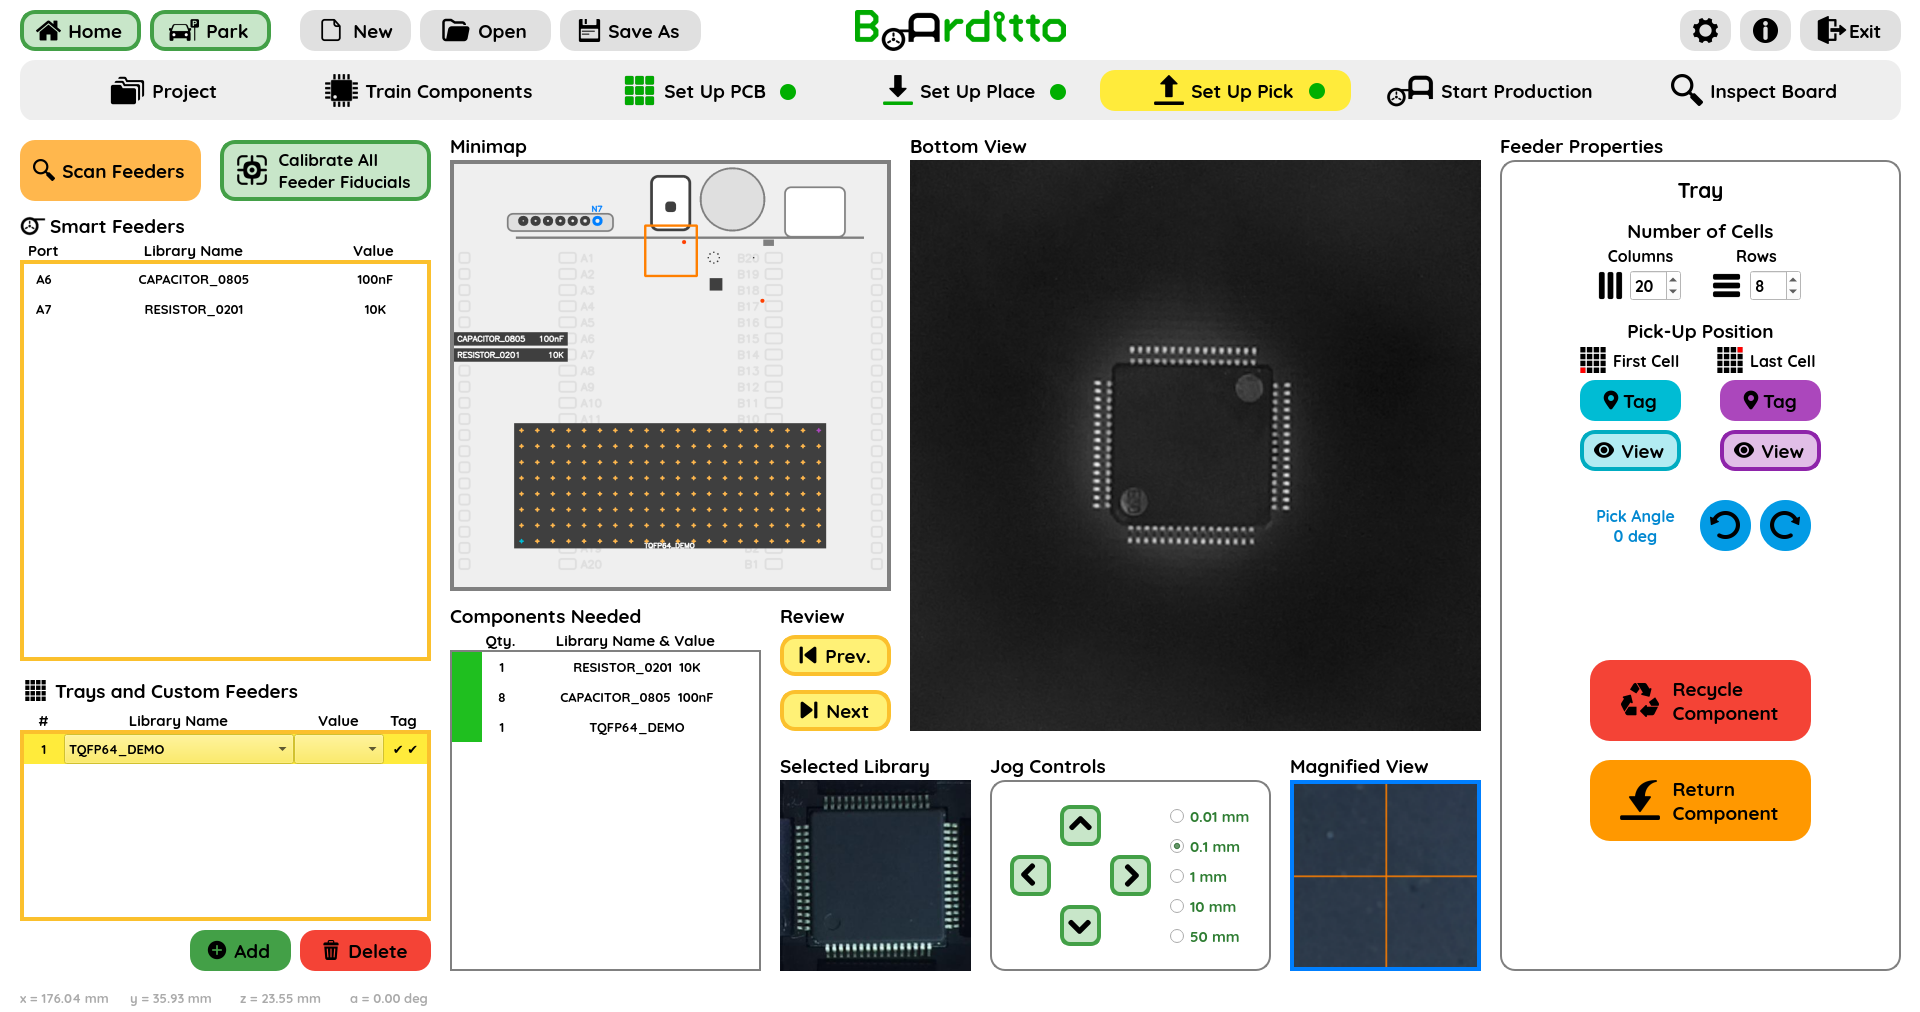
If you have chosen to test the pick-up height, click either “Recycle Component” or “Return Component”.
Once all the items on the Components Needed list are green, you’re ready to start production.
Next: Start Production