
Set Up PCB
Last updated: 9 Jul 2026
Single Board
Multi-Board Panel (Optional)
Coming Soon
Initial Preparations
Insert the PCB into the spring-loaded PCB holder and push it up against the PCB holder clip.
Tip: The PCB holder clip can be relocated to the mounting hole at the right end of the PCB holder if you are working with larger boards.
It is recommended to keep the machine lid closed during PCB setup to maintain consistent lighting conditions by minimizing external light interference.
Navigate to the “Set Up PCB” tab.
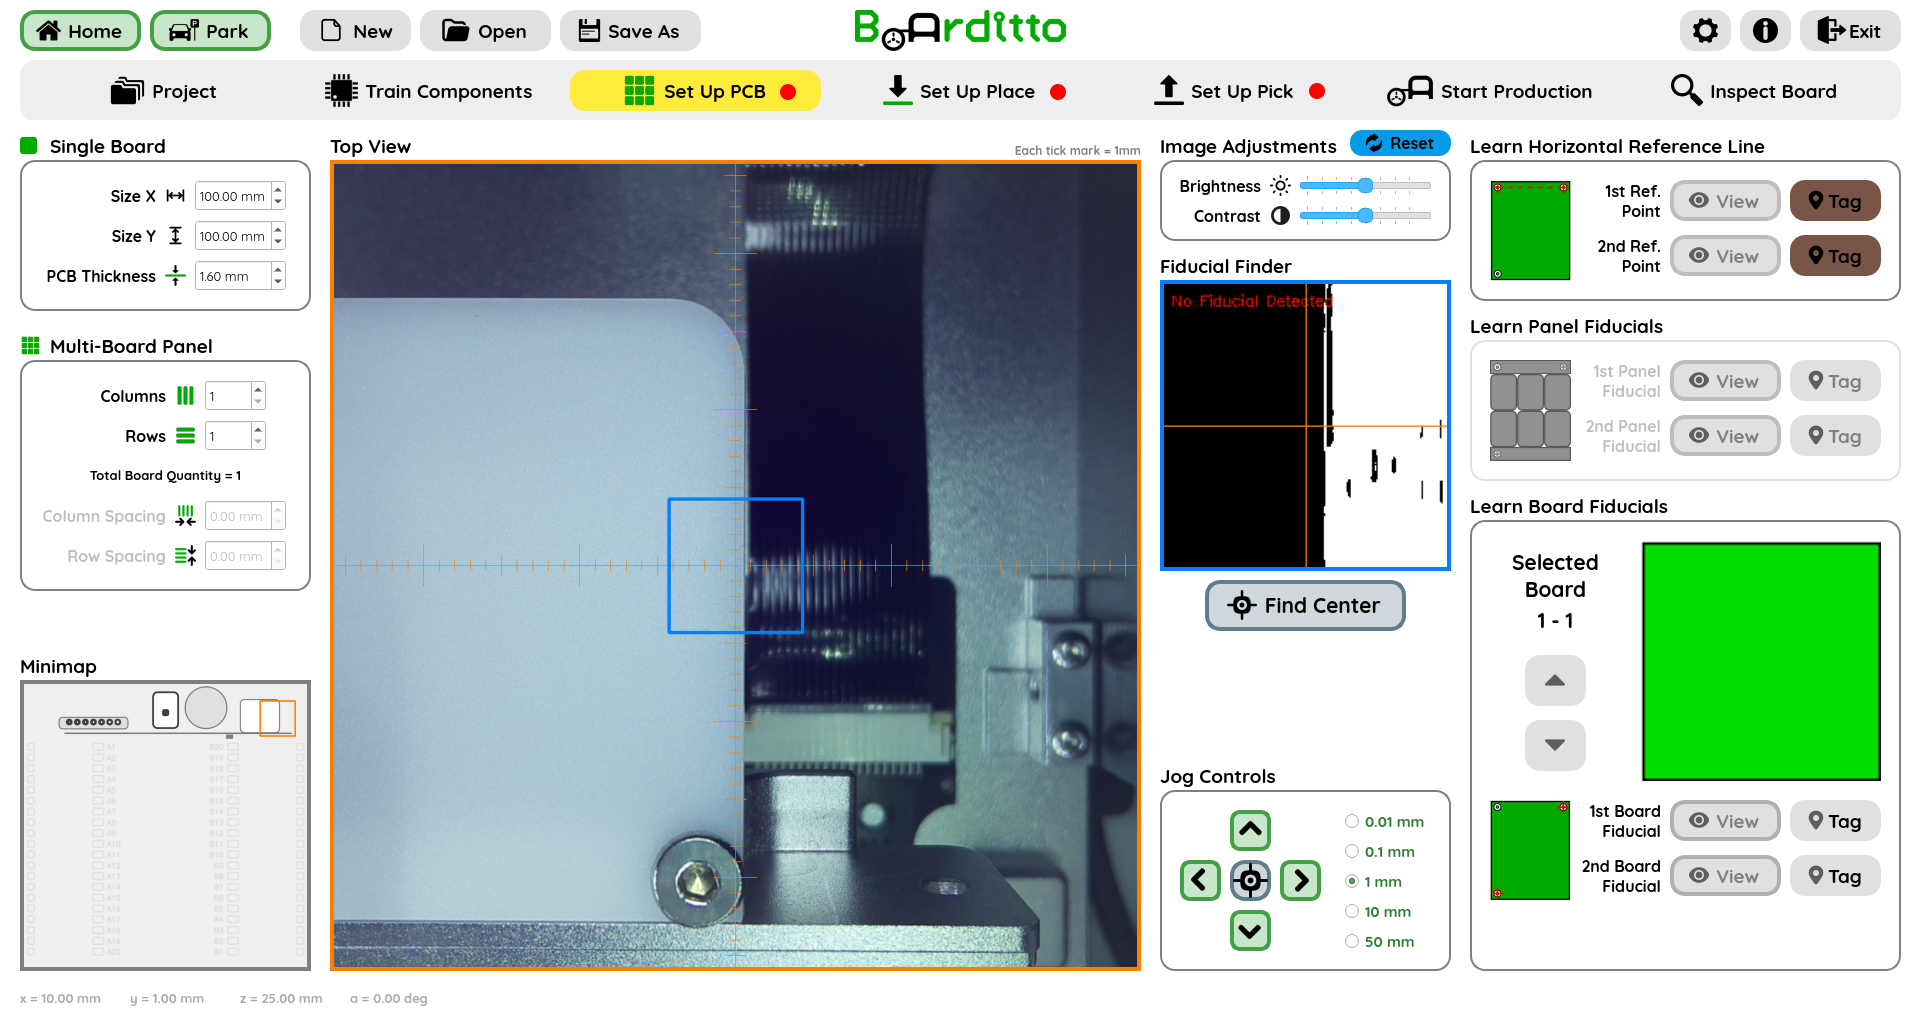
PCB Dimensions
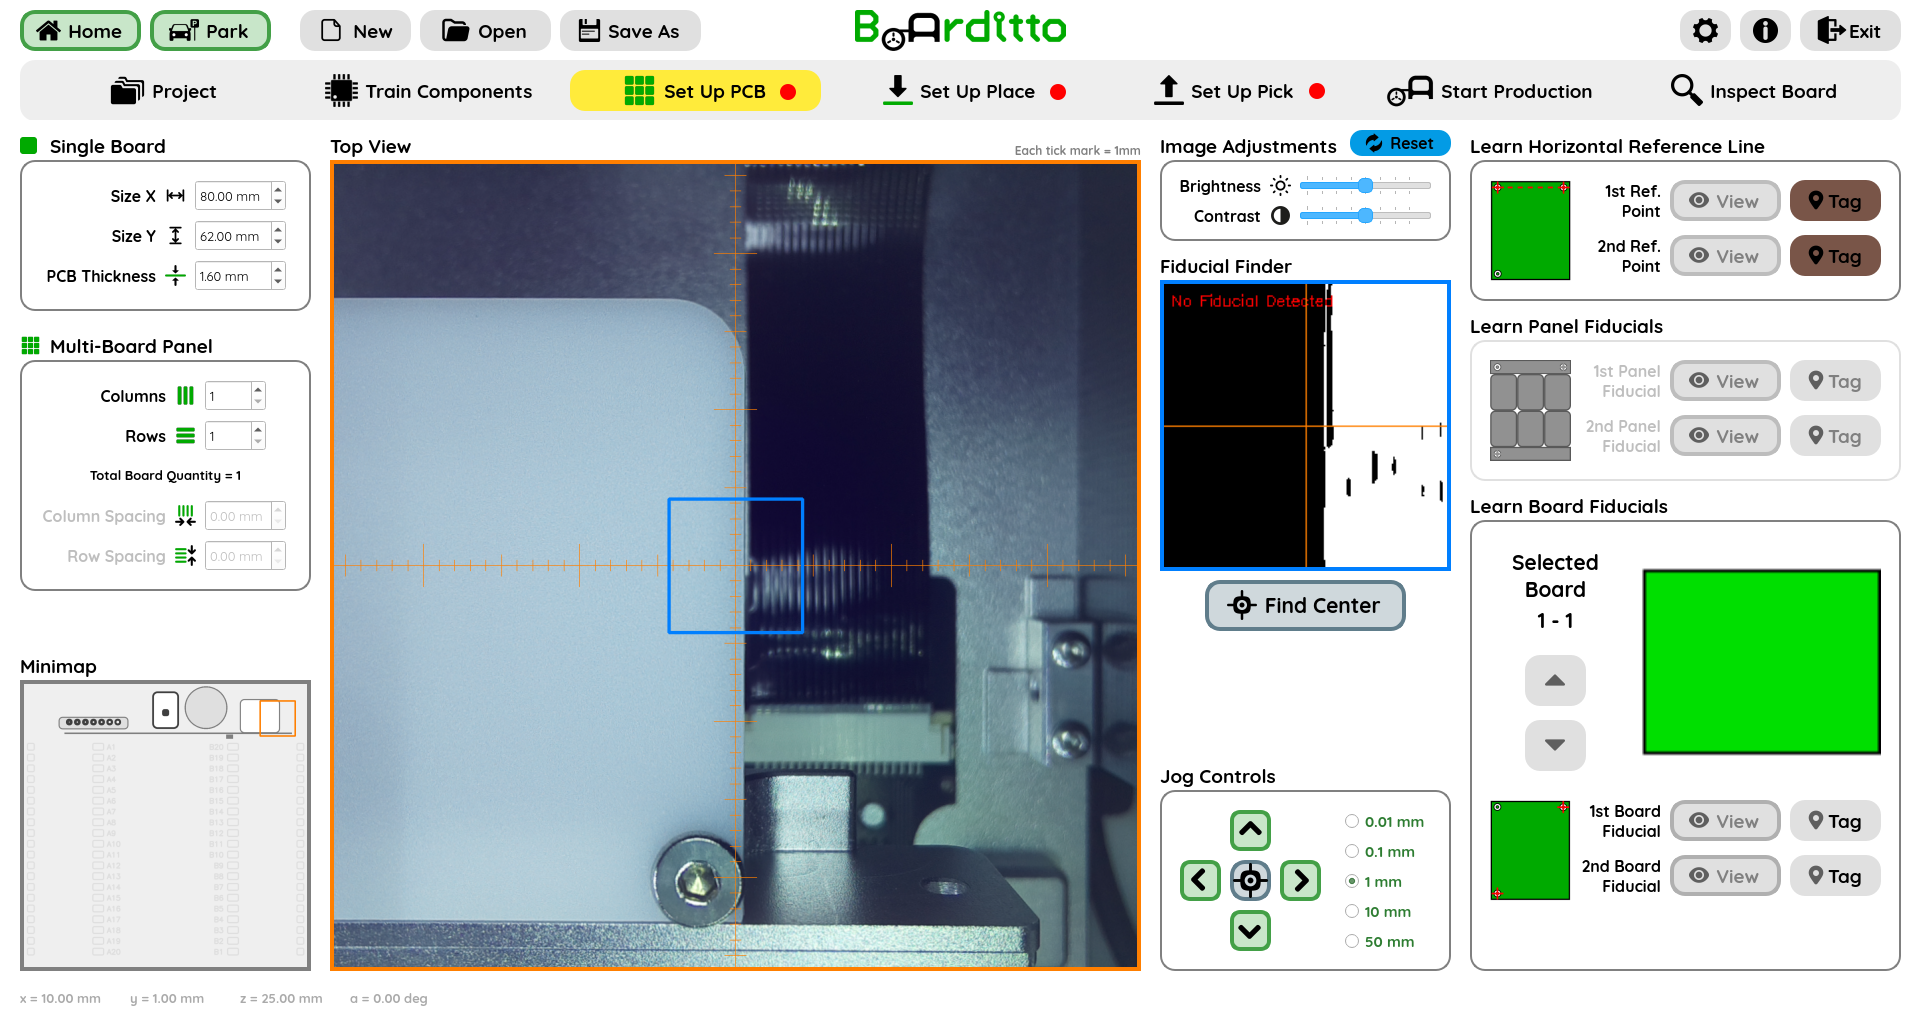
Input the size and thickness of your PCB in millimeters (mm). The software uses the size to create a virtual representation of your board. The thickness is used to accurately place the component at the correct height.
What are Fiducials?
Fiducials are small reference marks on your PCB that the machine uses for alignment and accurate component placement. They typically appear as small dots on the copper layer of the board.
Fiducials are added by the PCB designer during the design phase typically at strategic locations such as near the corners of the PCB. When you order a panelized, multi‑board version of your PCB, the manufacturer usually adds fiducials automatically along the panel’s rails.
Horizontal Reference Line
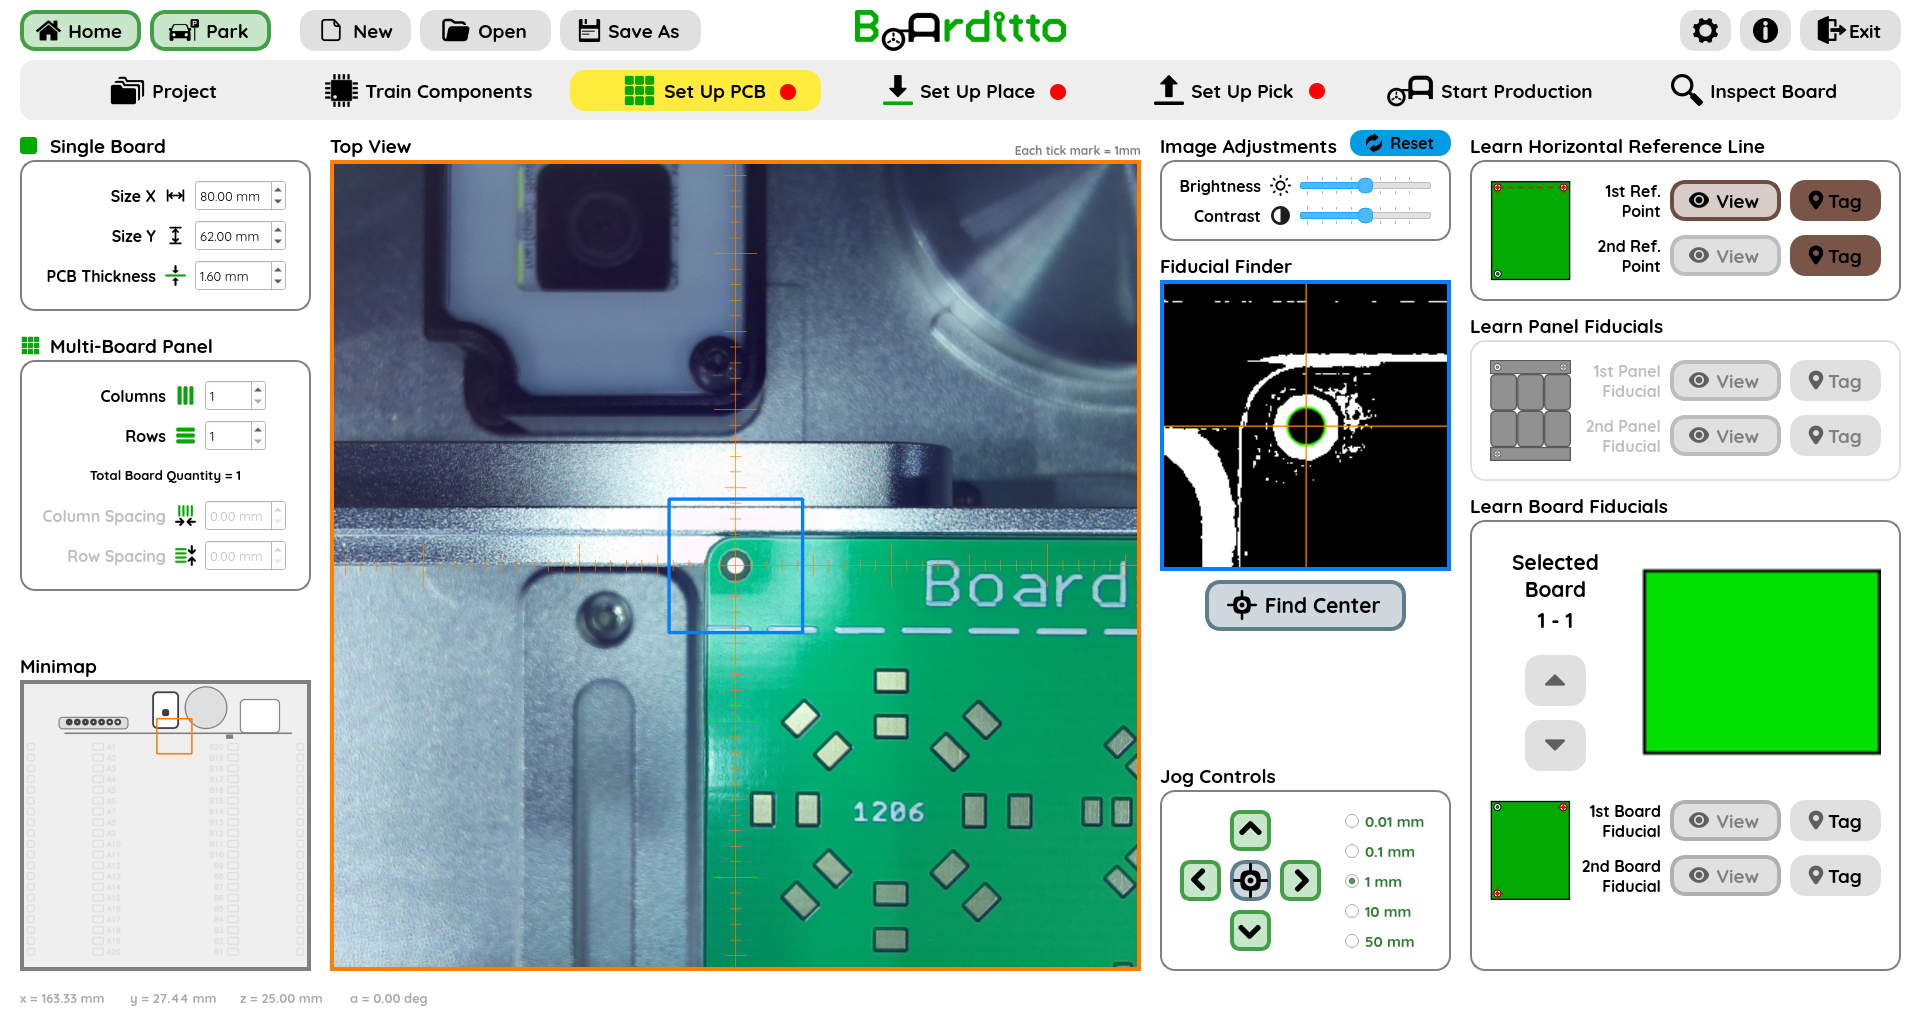
The Horizontal Reference Line allows the machine to calculate and compensate for the misalignment angle of the PCB mounted on the PCB holder. The Horizontal Reference Line needs to be trained only once during PCB setup. After that, only board/panel fiducials are used in production.
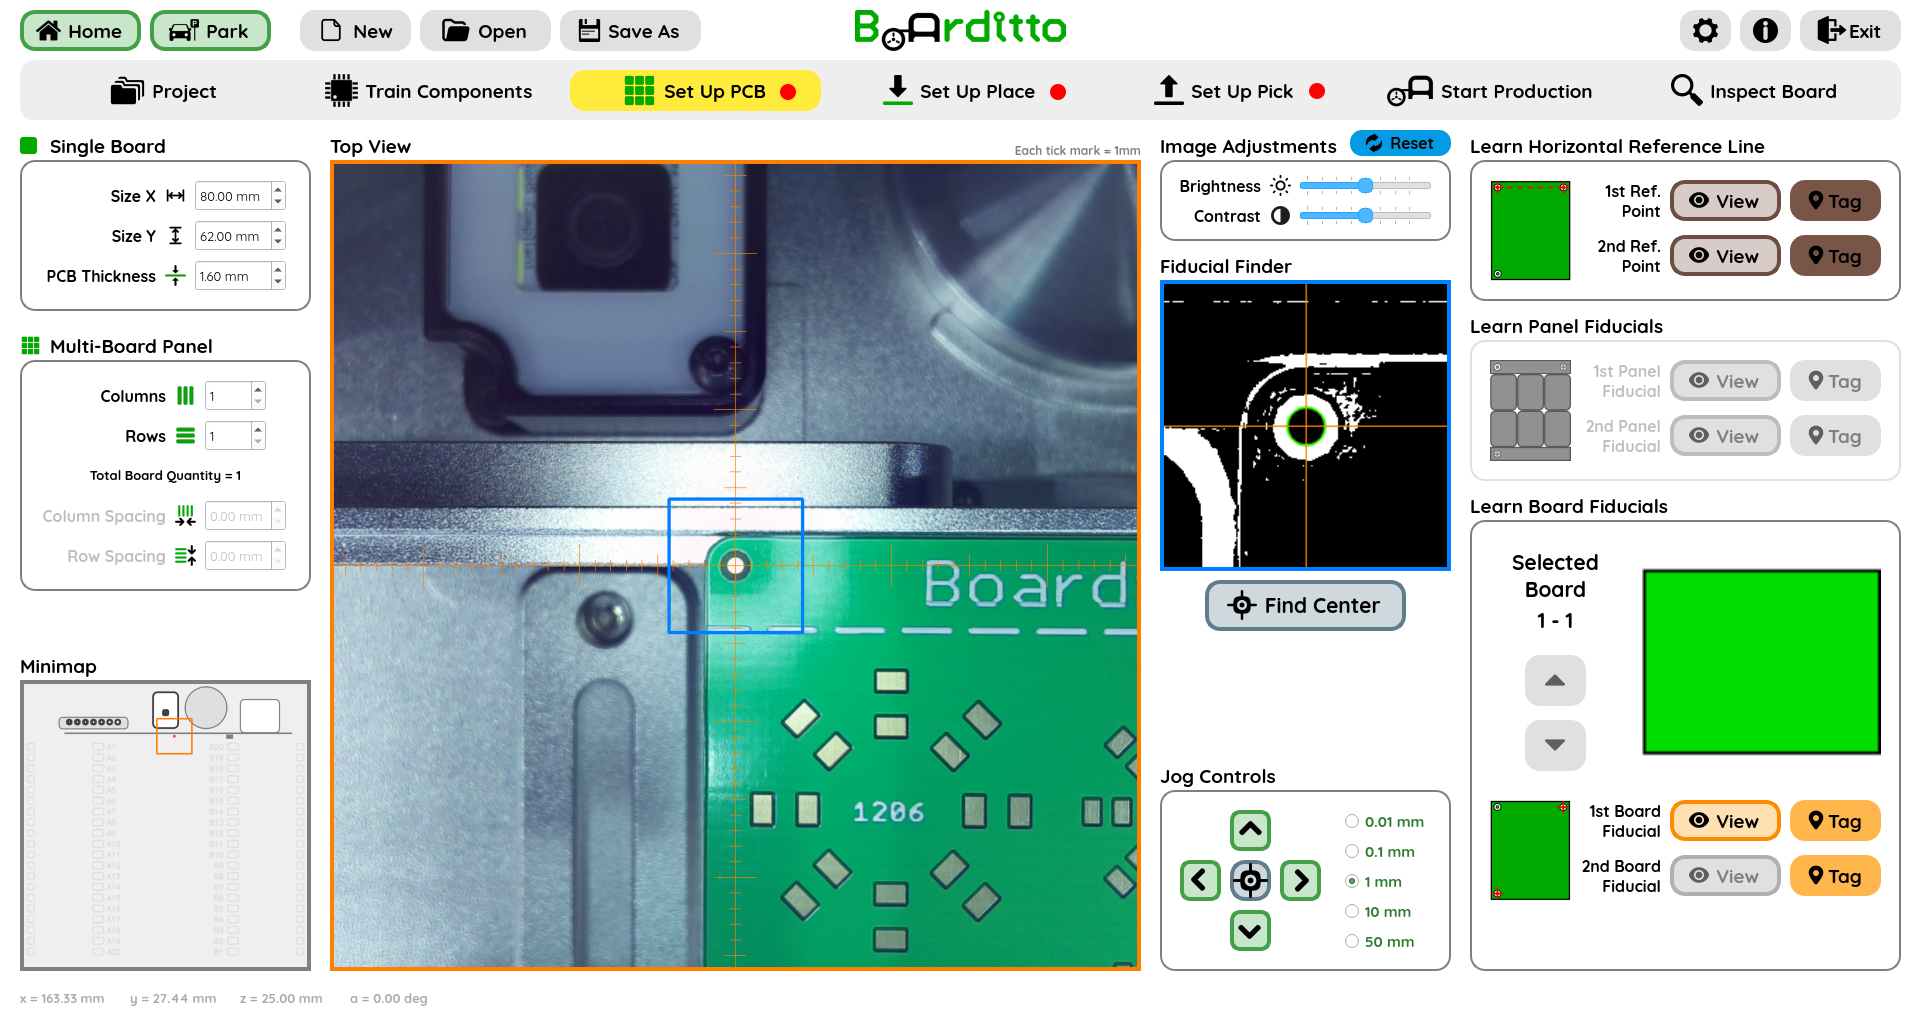
Jog towards the 1st fiducial you will use as part of the Horizontal Reference Line so that it appears inside the blue square in the Top View. The red text “No Fiducial Detected” in the “Fiducial Finder” viewport should disappear.
Click “Find Center” so that the software can automatically find the center of the fiducial for you.
Tip: You may need to click “Find Center” more than once before the crosshairs lands exactly on the center of the fiducial.
Tip: Adjust the Brightness and Contrast settings if necessary to get a clean, circular shaped fiducials.
Click on the “Tag” button for the “1st Ref. Point”.
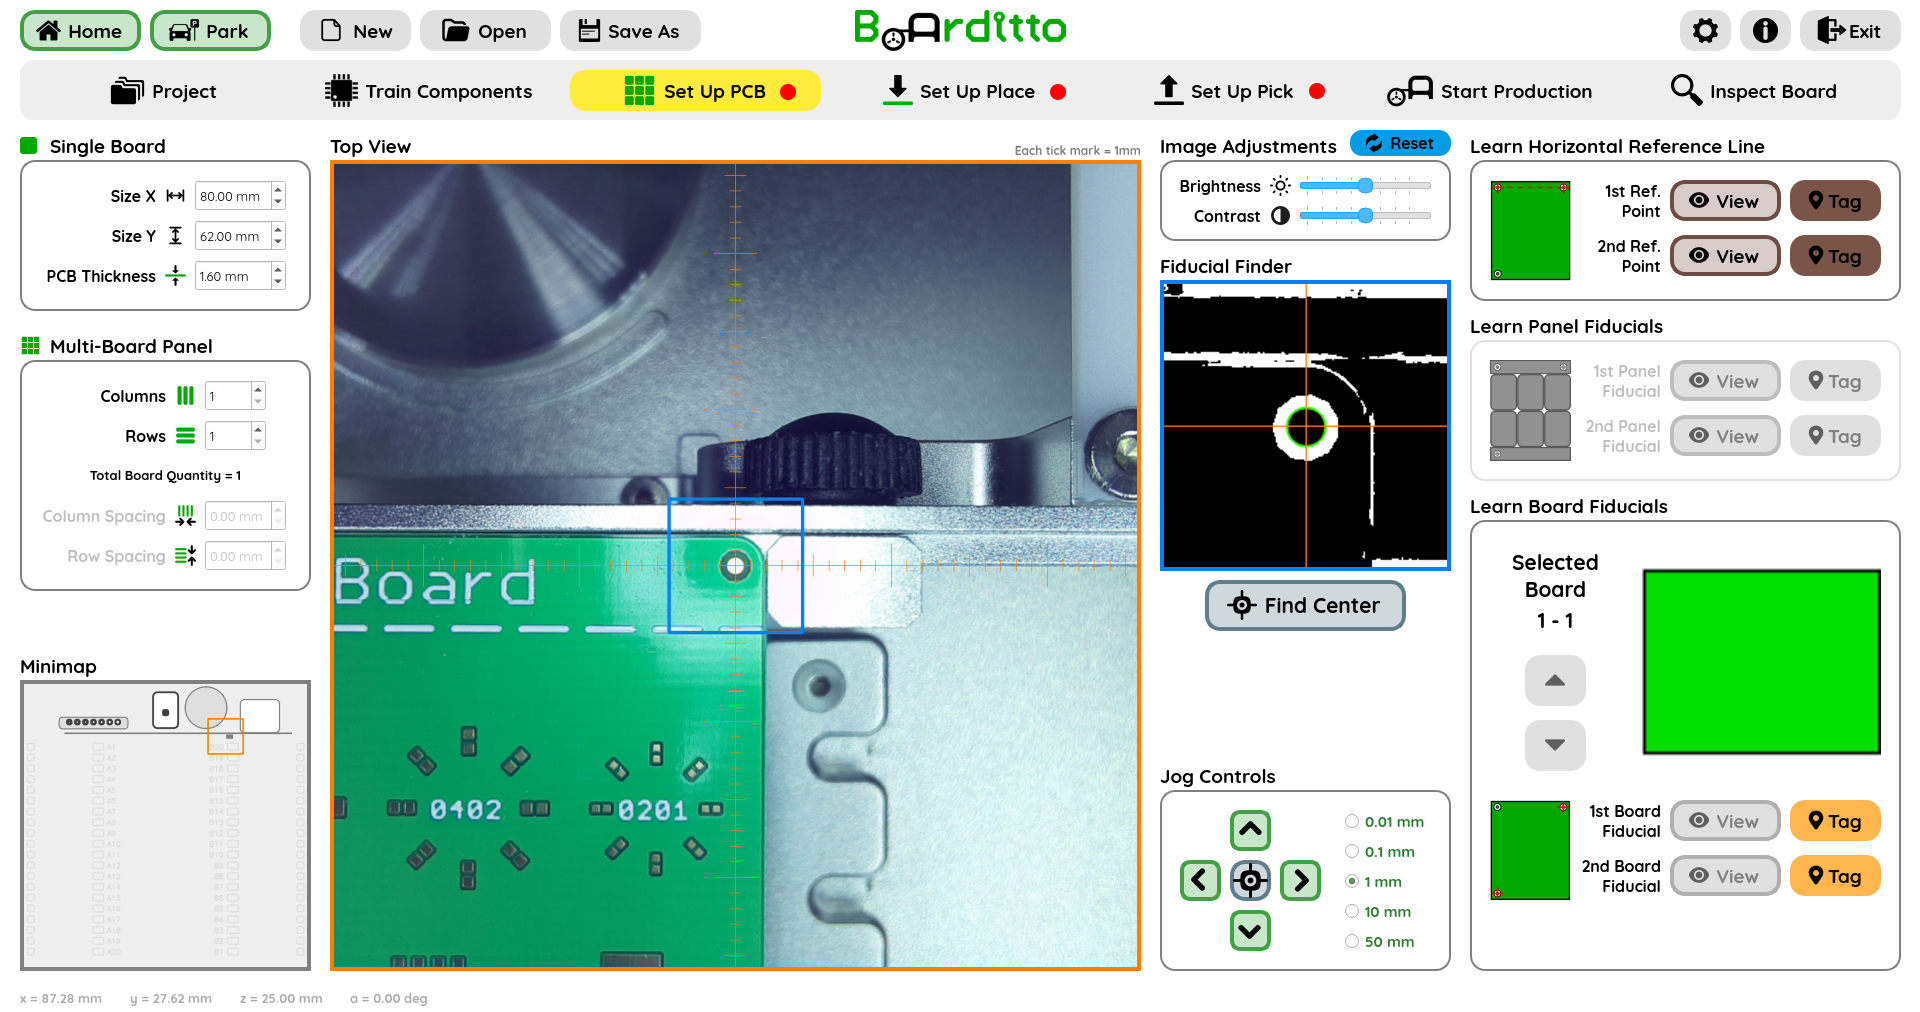
Repeat the steps above but for the 2nd fiducial of the Horizontal Reference Line. Click on the “Tag” button for the “2nd Ref. Point”.
Tip: If your PCB does not have horizontally aligned fiducials, you can use the top or bottom edge of the PCB as a horizontal reference line. For each of the two required reference points, jog to the edge of the PCB and press Tag. Place the points far apart to maximize accuracy.
Board Fiducials
Repeat the steps above to find and tag the center of the 1st board fiducial.
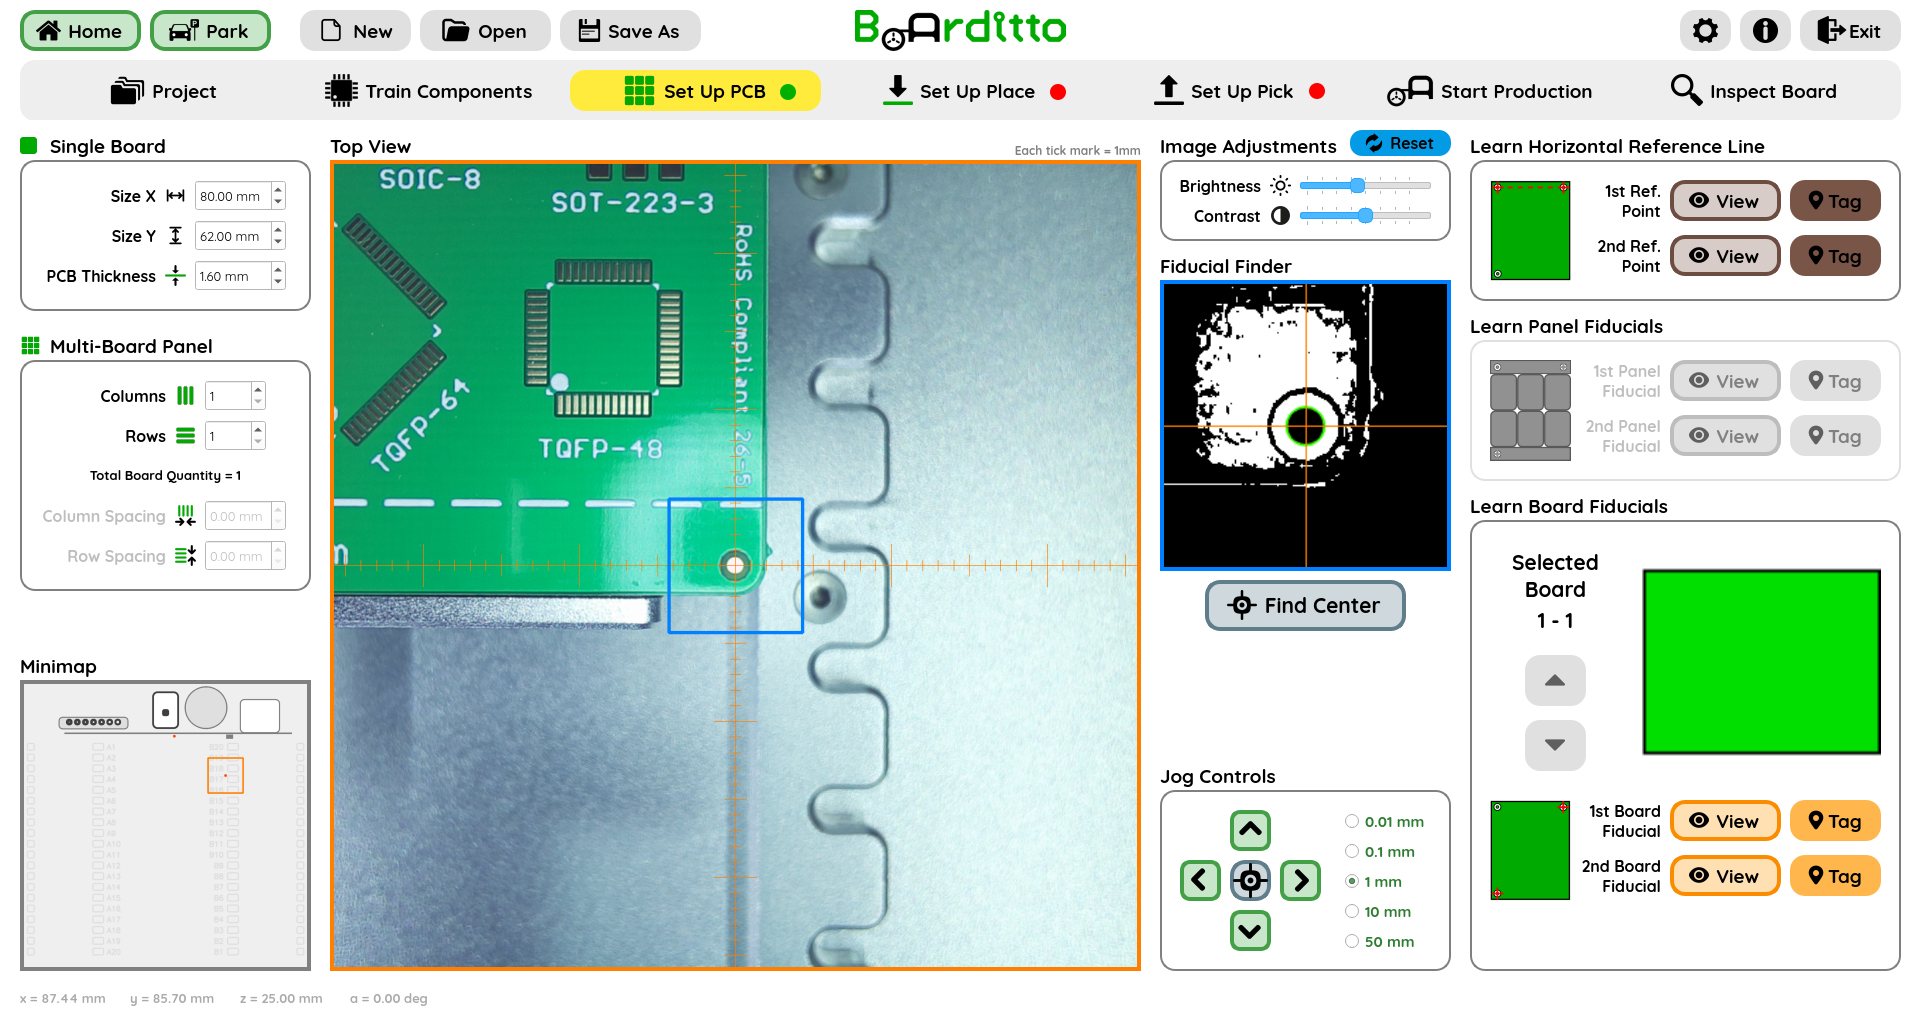
Repeat the steps above to find and tag the center of the 2nd board fiducial.
Next: Set Up Place