
User Interface
Last updated: 16 Jul 2026
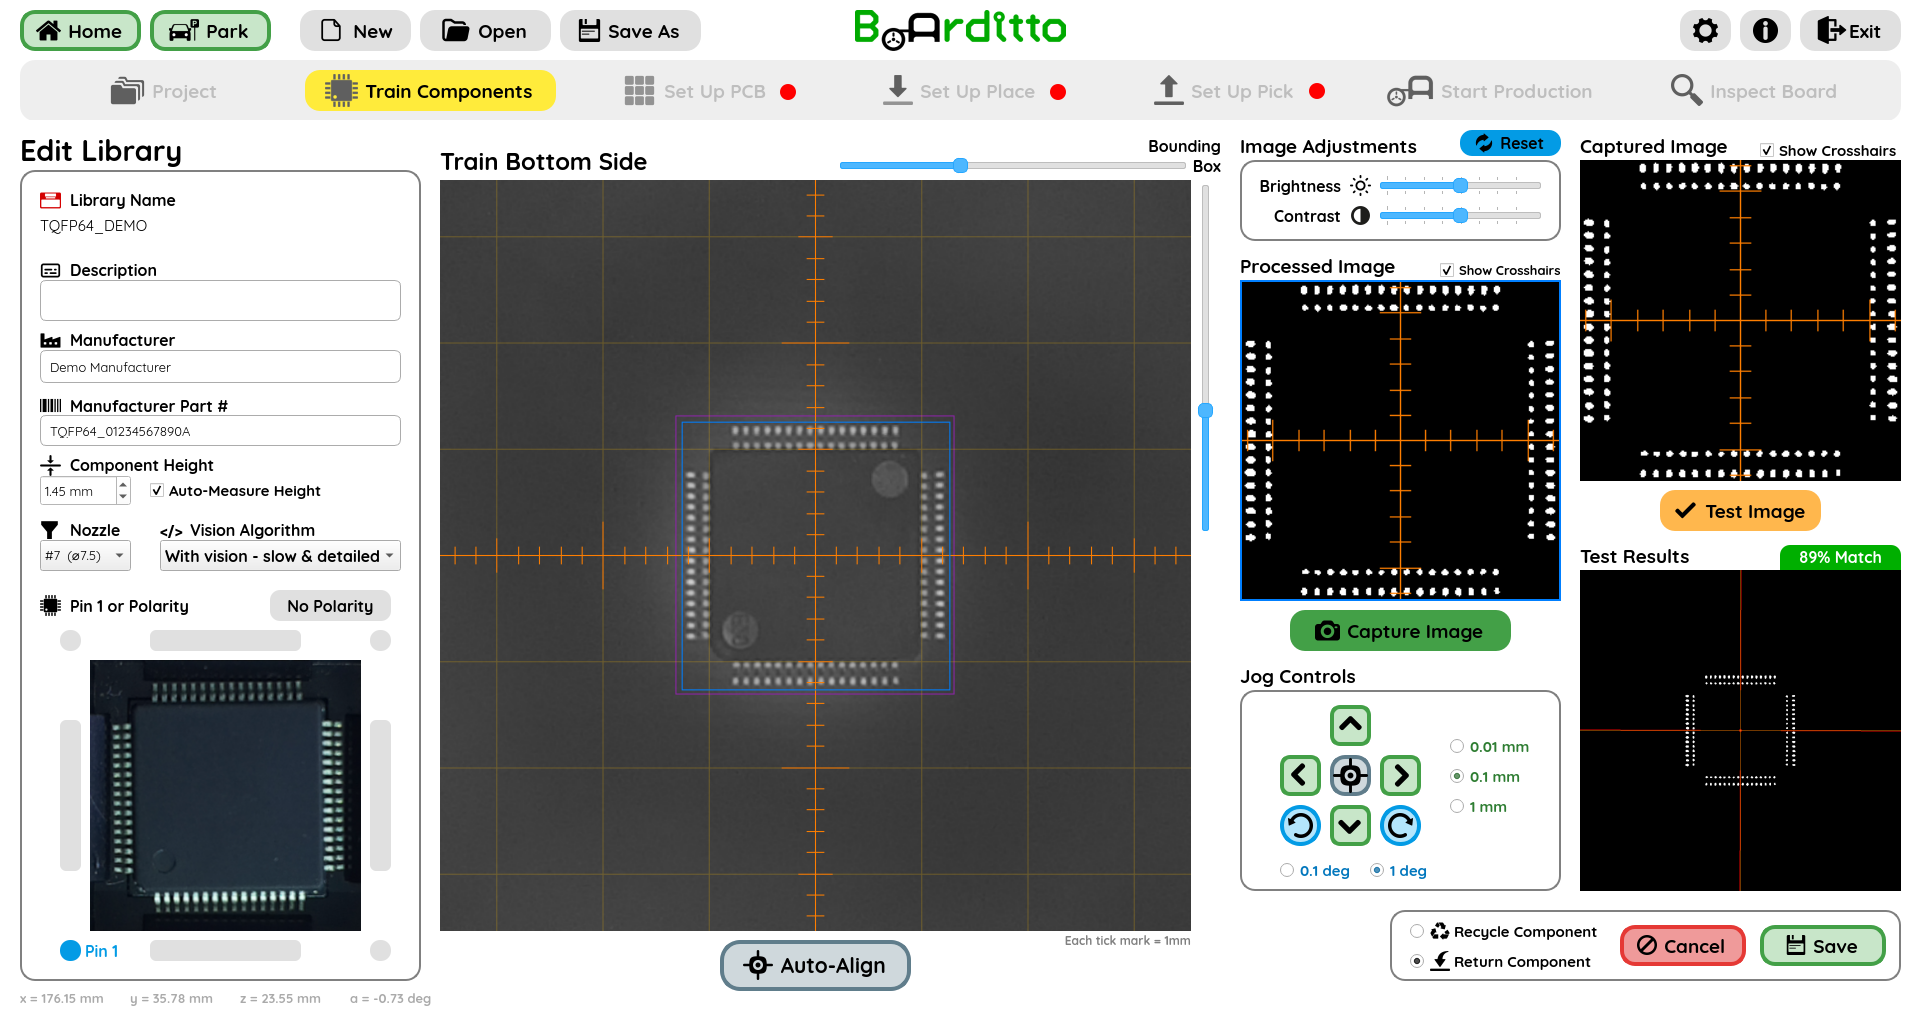
Jog
To jog the machine head, you can:
Press the keyboard arrow keys
Use the Jog Control arrows
Click anywhere within a top‑camera viewport
In the Jog Controls menu, select a jog resolution ranging from fine‑step to coarse‑step; this setting affects both the arrow keys and the on‑screen Jog Controls.
On certain Jog Controls menus, rotation jogs are also enabled,
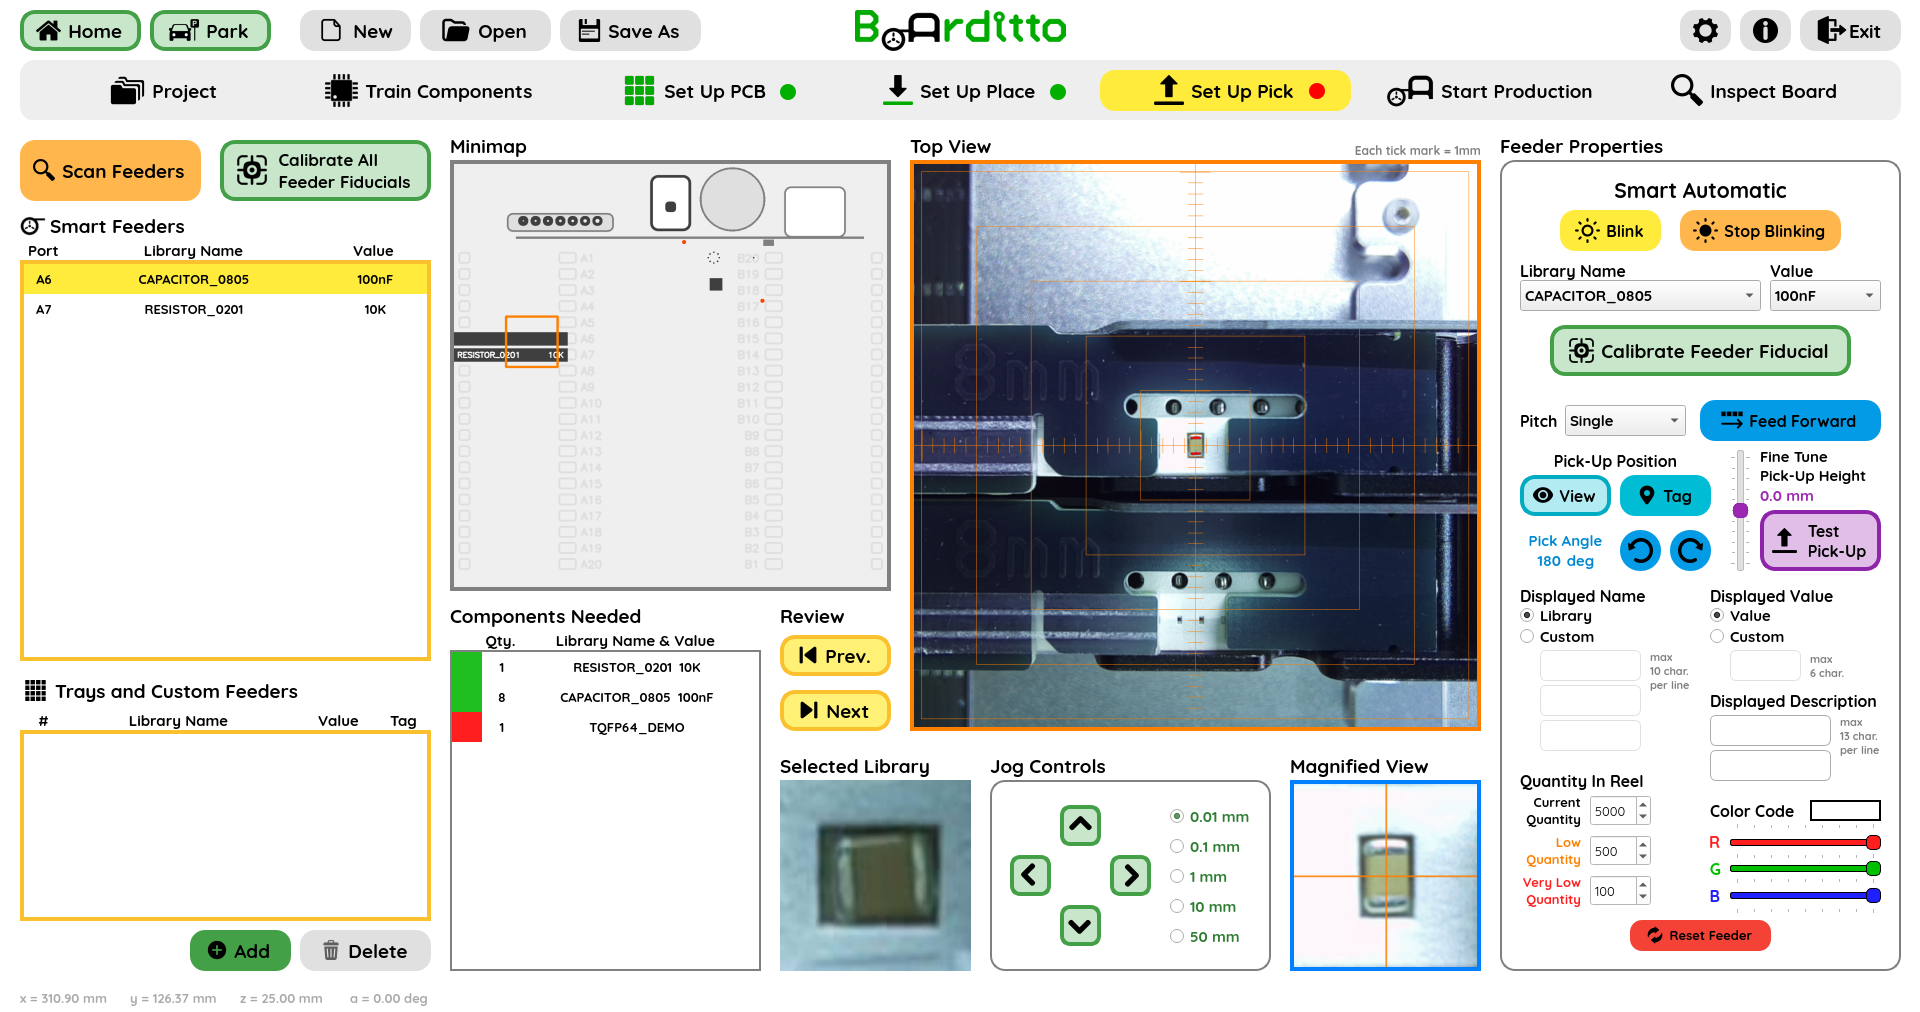
Minimap
The minimap displays the full working area of the machine. Clicking any point on the minimap instantly moves the machine head to that location, letting you jump close to a component before using fine‑jog controls for precise positioning. It also shows a concise label for each unique component mounted in the feeder ports.
Magnified View
Offers a close-up view. This is especially useful when working with small or fine-pitch components.
Selected Library View
Displays a top‑down image of the currently chosen component.
Incomplete Tab Indicator
The “Set Up PCB”, “Set Up Place”, and “Set Up Pick” tabs display a red dot while their setup is incomplete. Proceed to the next tab only after the previous one is finished. Production can start only when all three indicators turn green.
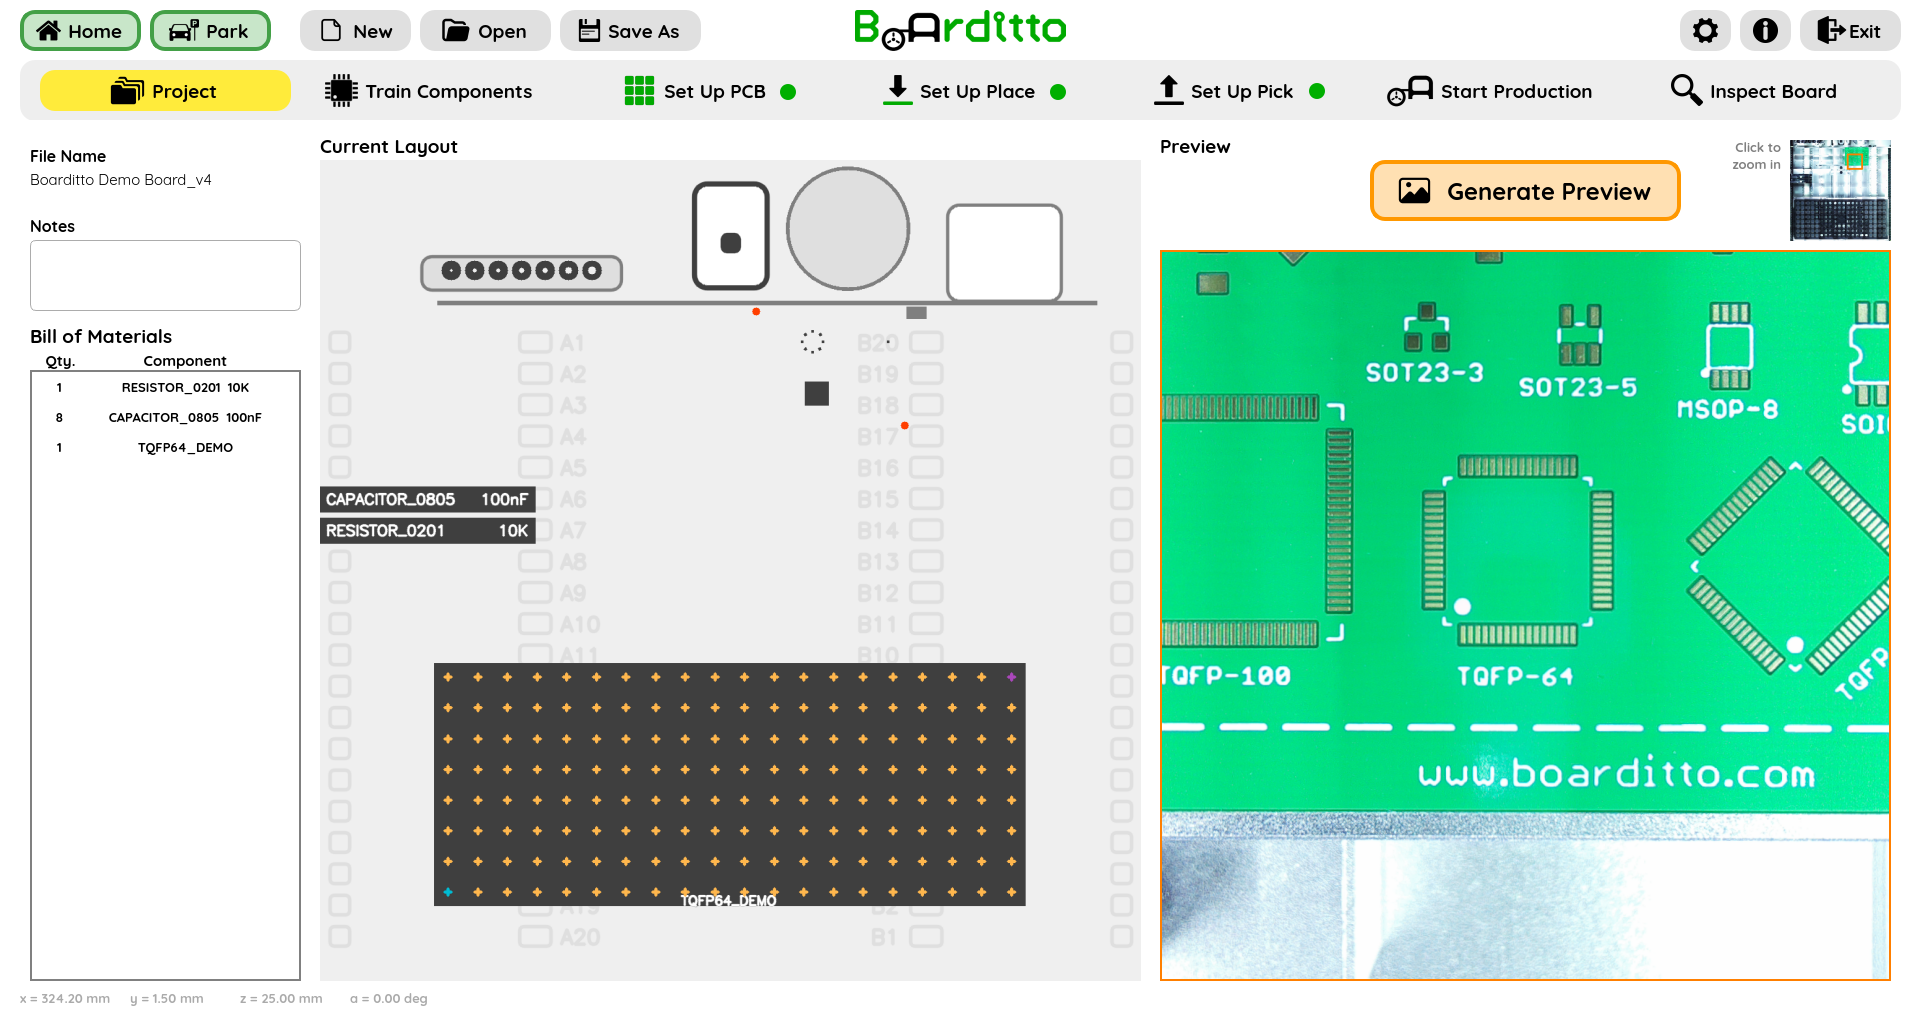
Generate Preview
The Generate Preview feature in the Project Details tab automatically captures close to 50 high‑resolution photos of your current setup and stitches them into a single, large image that is saved with your current file. Clicking any area of the thumbnail opens a magnified view, allowing you to examine the PCB and feeder layout at any moment. Team members assigned to assemble the board can reference these images to see exactly how the board should look like, minimizing the risk of making mistakes. Although the capture process takes about a minute, it ensures that every detail of your board is preserved for future reference.
Types of Buttons
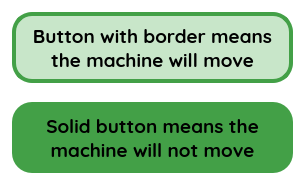
There are two styles of buttons.
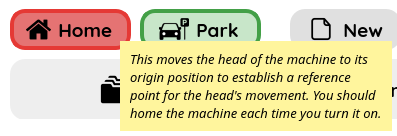
Bordered button: When you press this type of button, the machine head and/or gantry will move so your hands should be clear of the interior of the machine.
Solid button: When you press this type of button, the machine will remain stationary. Its primary function is to perform background software tasks that change or process data.
Tooltip
When you hover the cursor over a button, a tooltip (a brief text box) appears to describe the button’s function
Home Button
Pressing the home button will move the head of the machine to its origin position to establish a reference point for the head’s movement.
When to home the machine:
After you turn the machine on.
After any incident that may cause the head to lose its position reference.
After using the Emergency Stop button during production.
Observe the Home button color:
Red – Homing is required before you can continue.
Green – The machine is homed and ready for operation.
Park Button
Click Park to move the gantry out of the way giving the user full access to the PCB work area.
Tip: If the machine is turned off, you may gently push the gantry and head by hand to reposition them safely.
Shortcuts
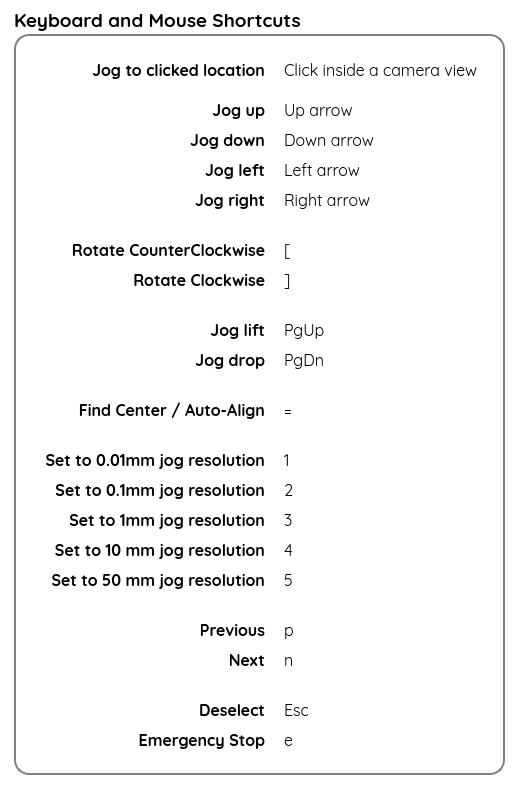
Keyboard and mouse shortcuts let users perform common actions faster.
Tip: If you can only memorize a few keyboard shortcuts, focus on the equal (=) key (find center / auto-align) and the arrow keys (jog). These will save you the most amount of time.
Next: Train Components