
Smart Manual Feeder
Last updated: 27 Sep 2026
1. Insert the component cut tape into the feeder.
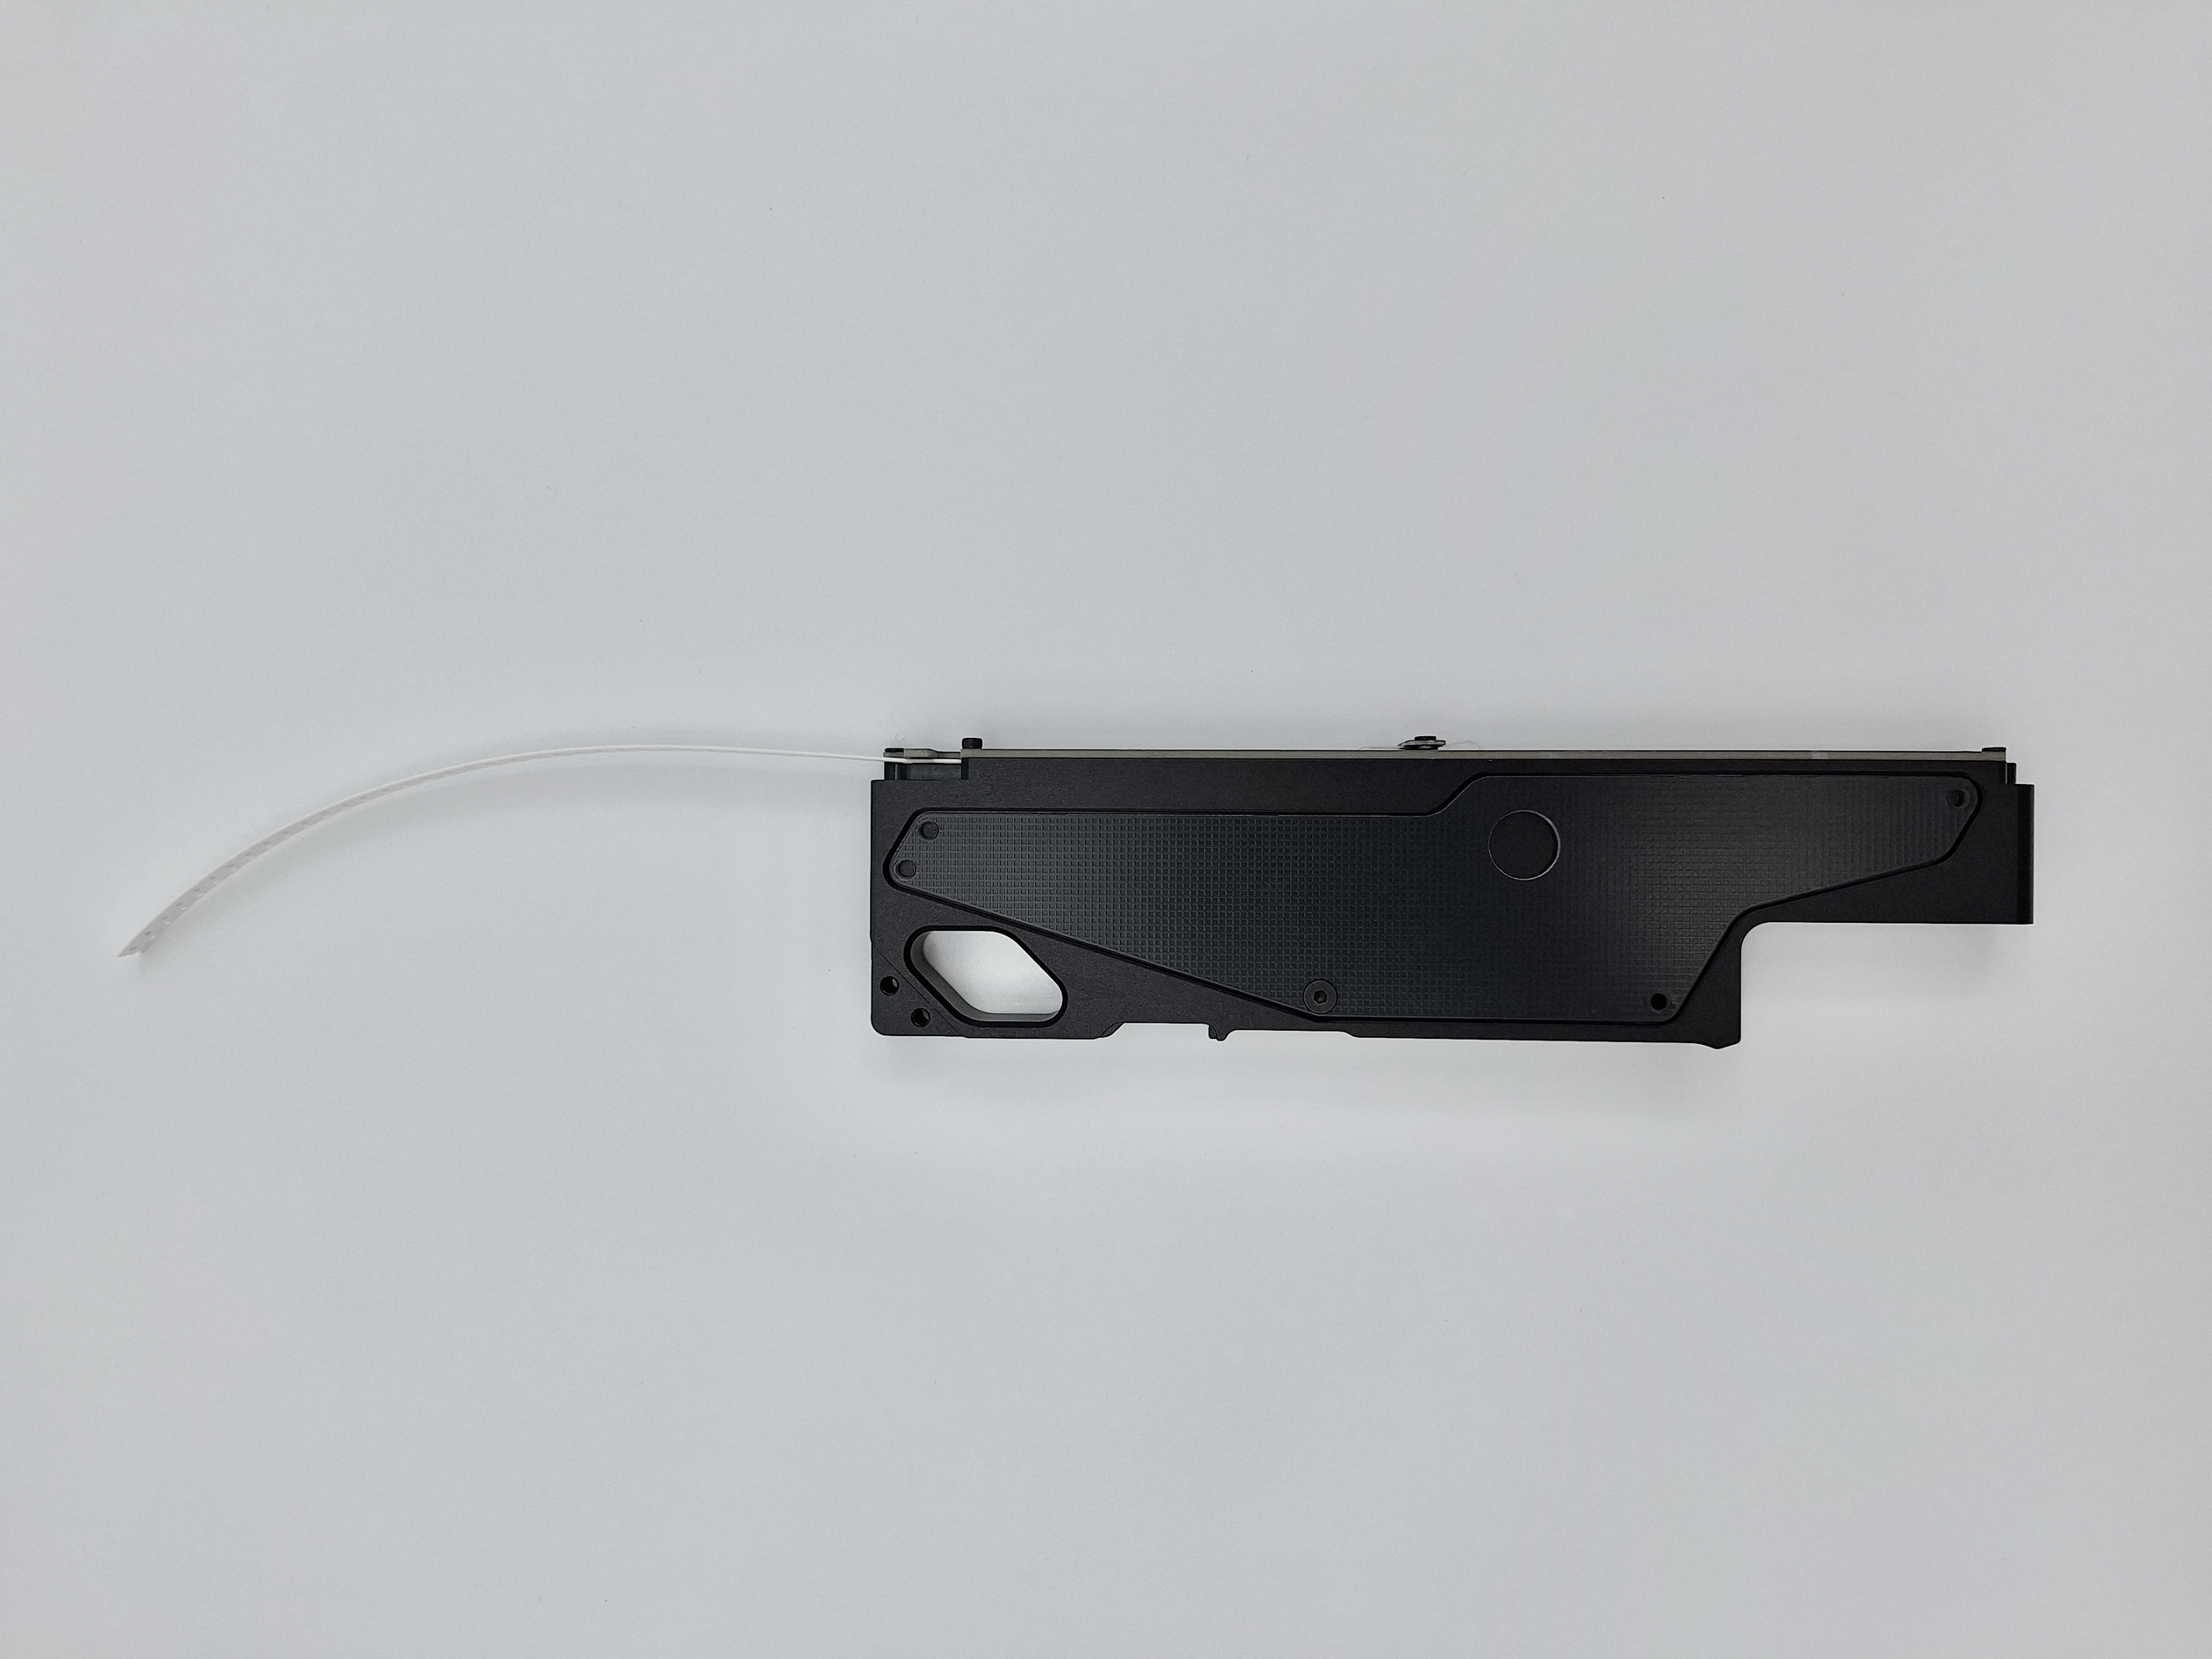
2. Peel the clear tape to expose the components.
3. Secure the clear tape in place.
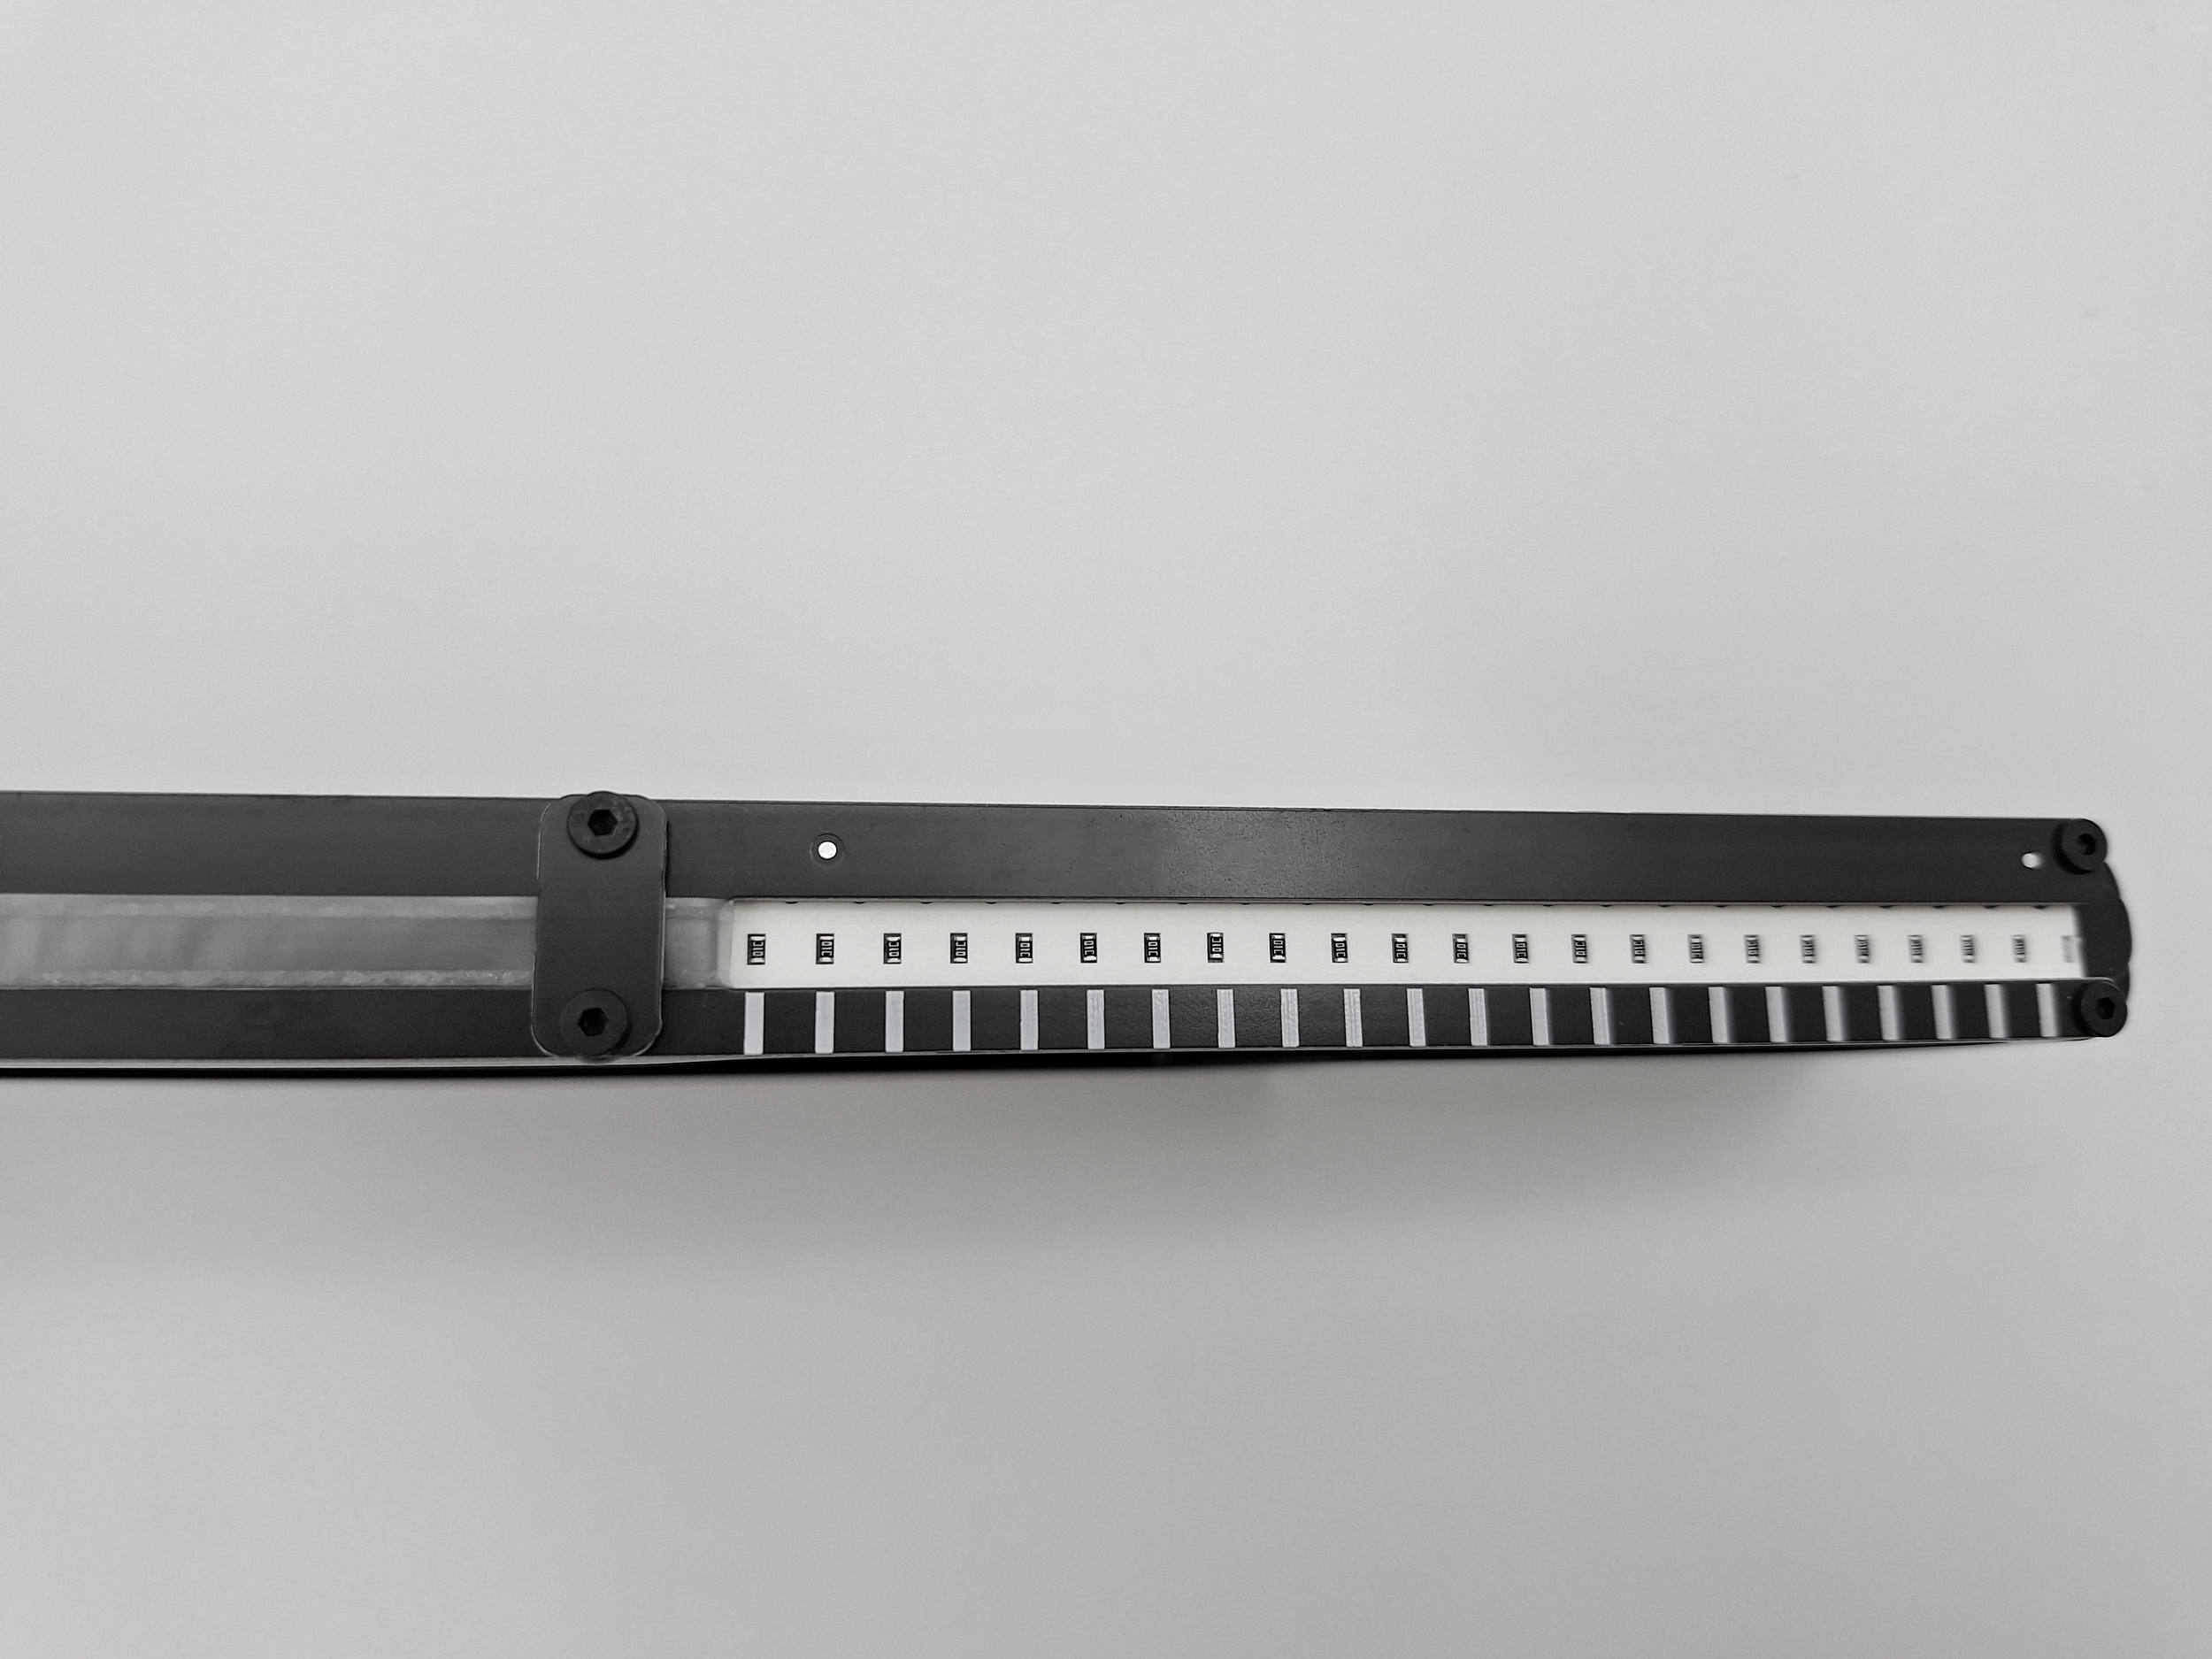
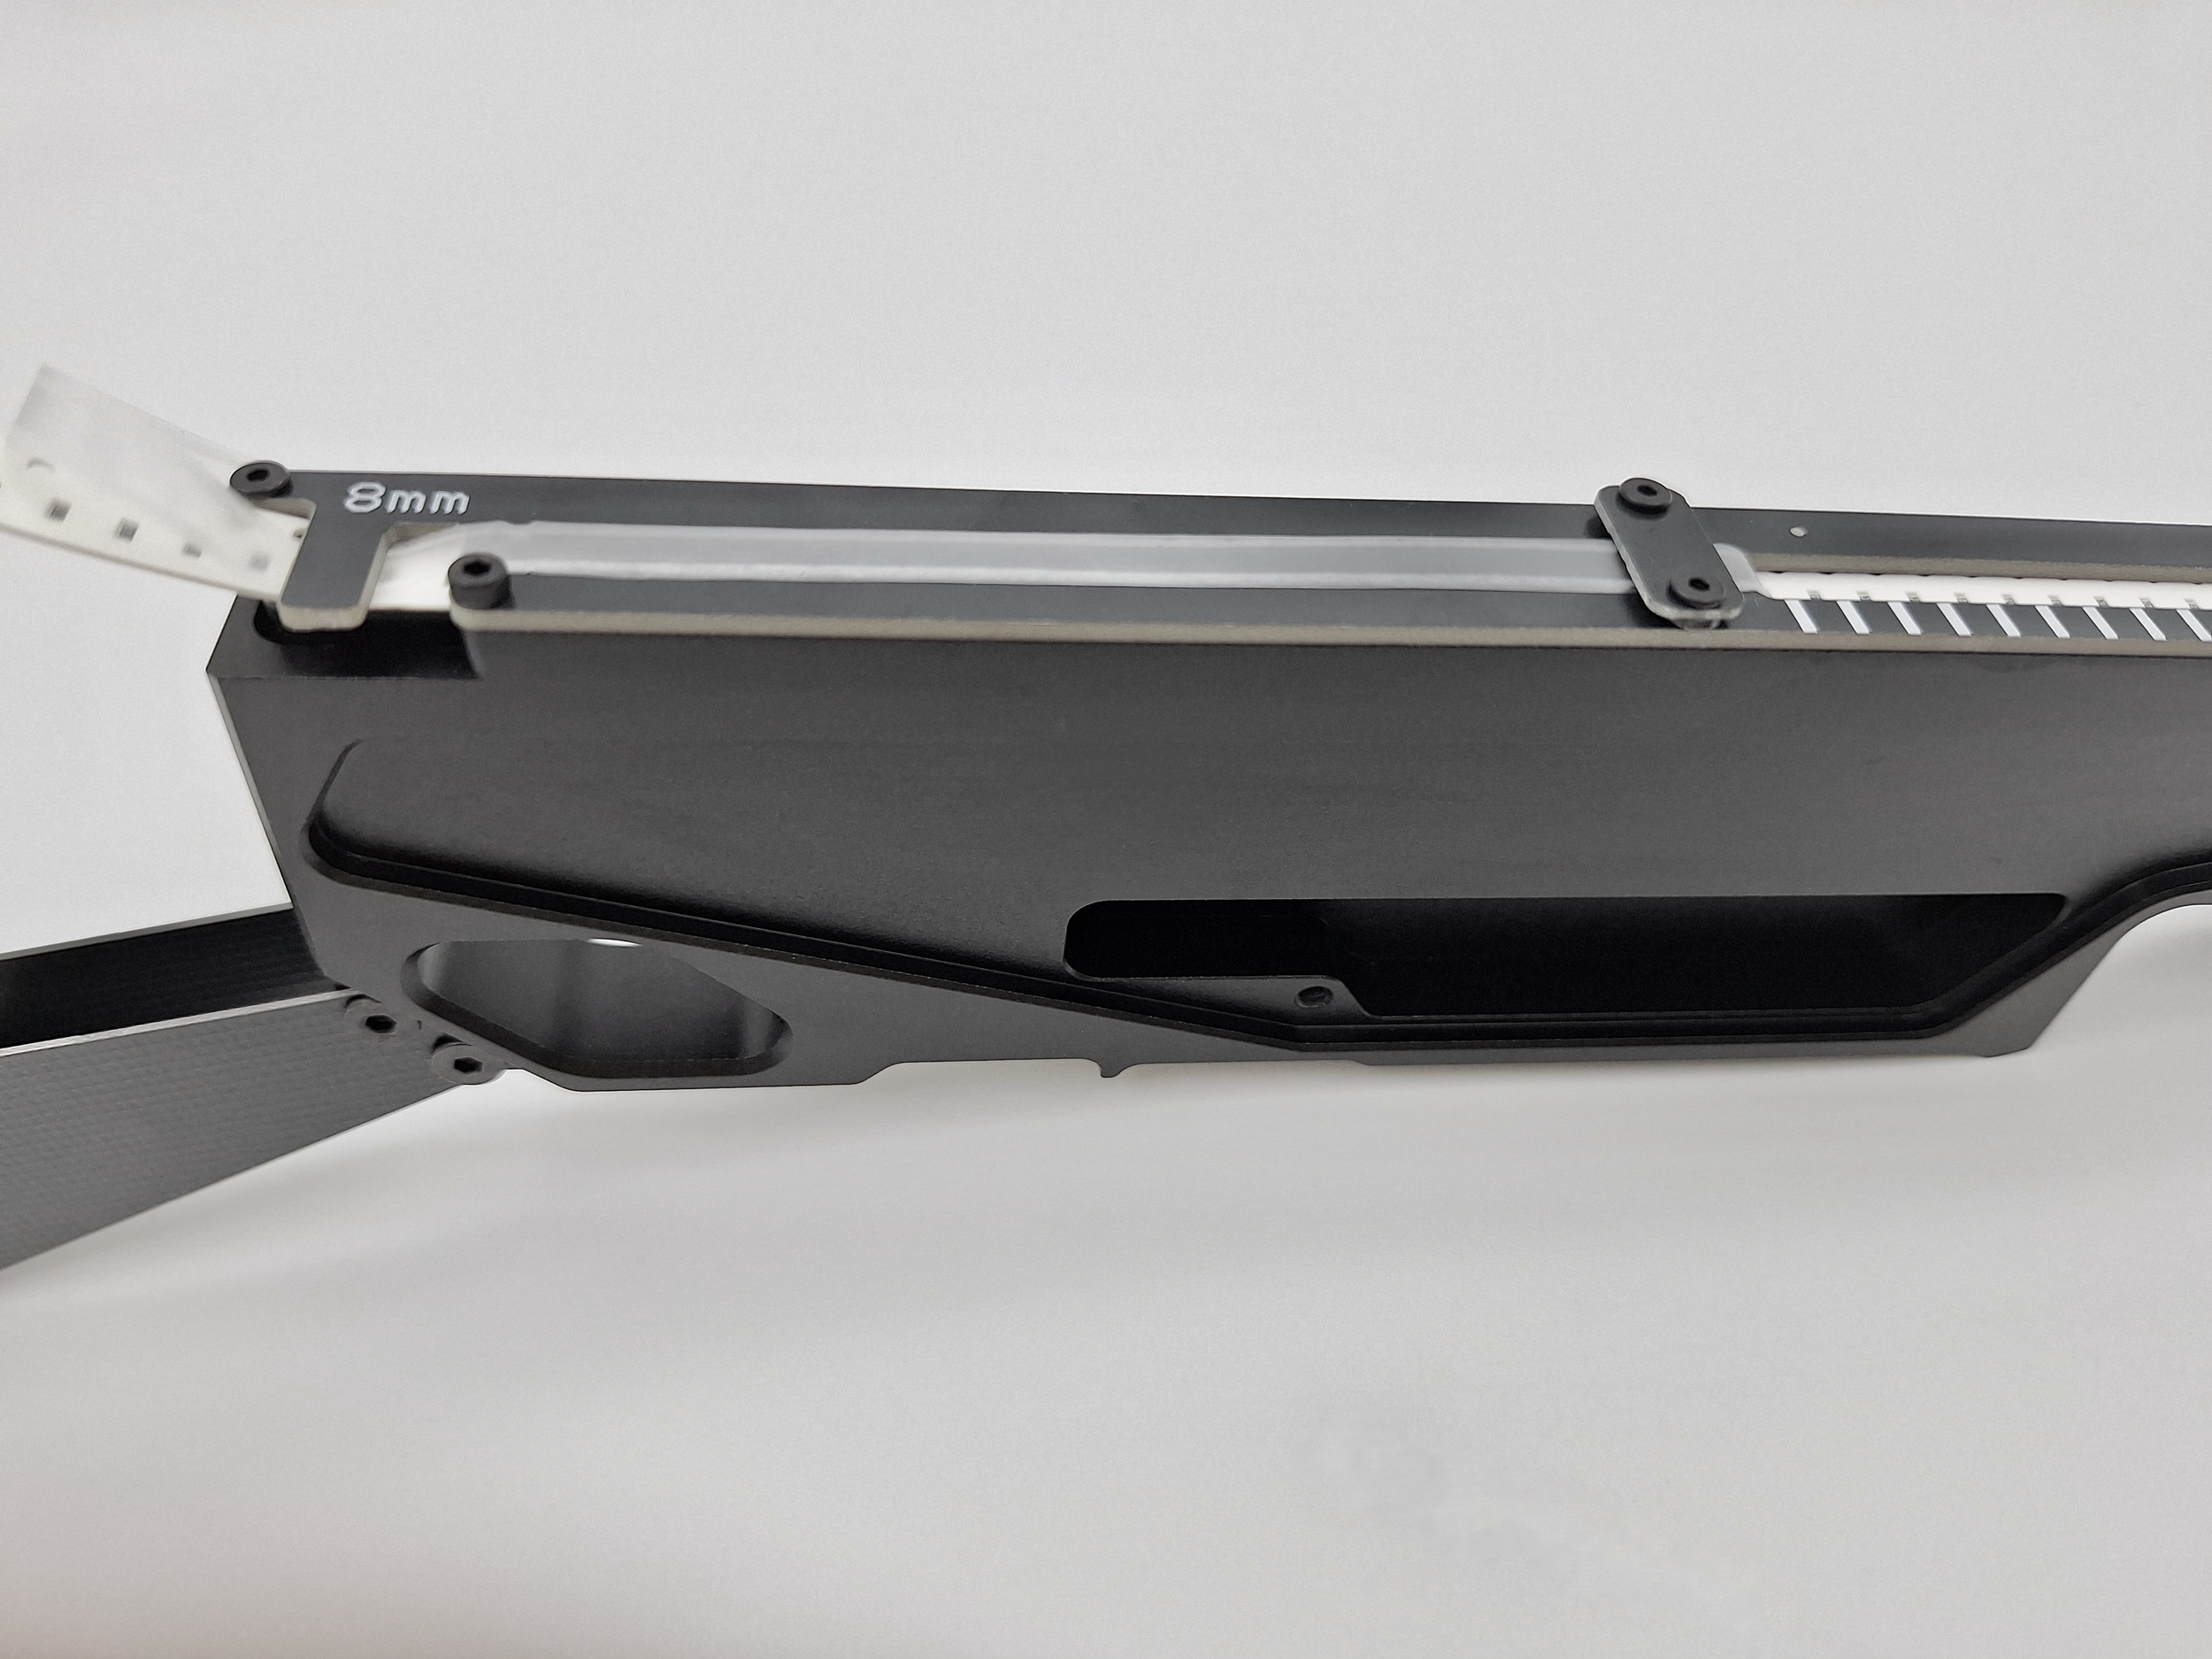
4. (Optional) For long cut tapes, you may use the basket to neatly store the cut tape.
• Remove the screw indicated below to disassemble the basket panels.
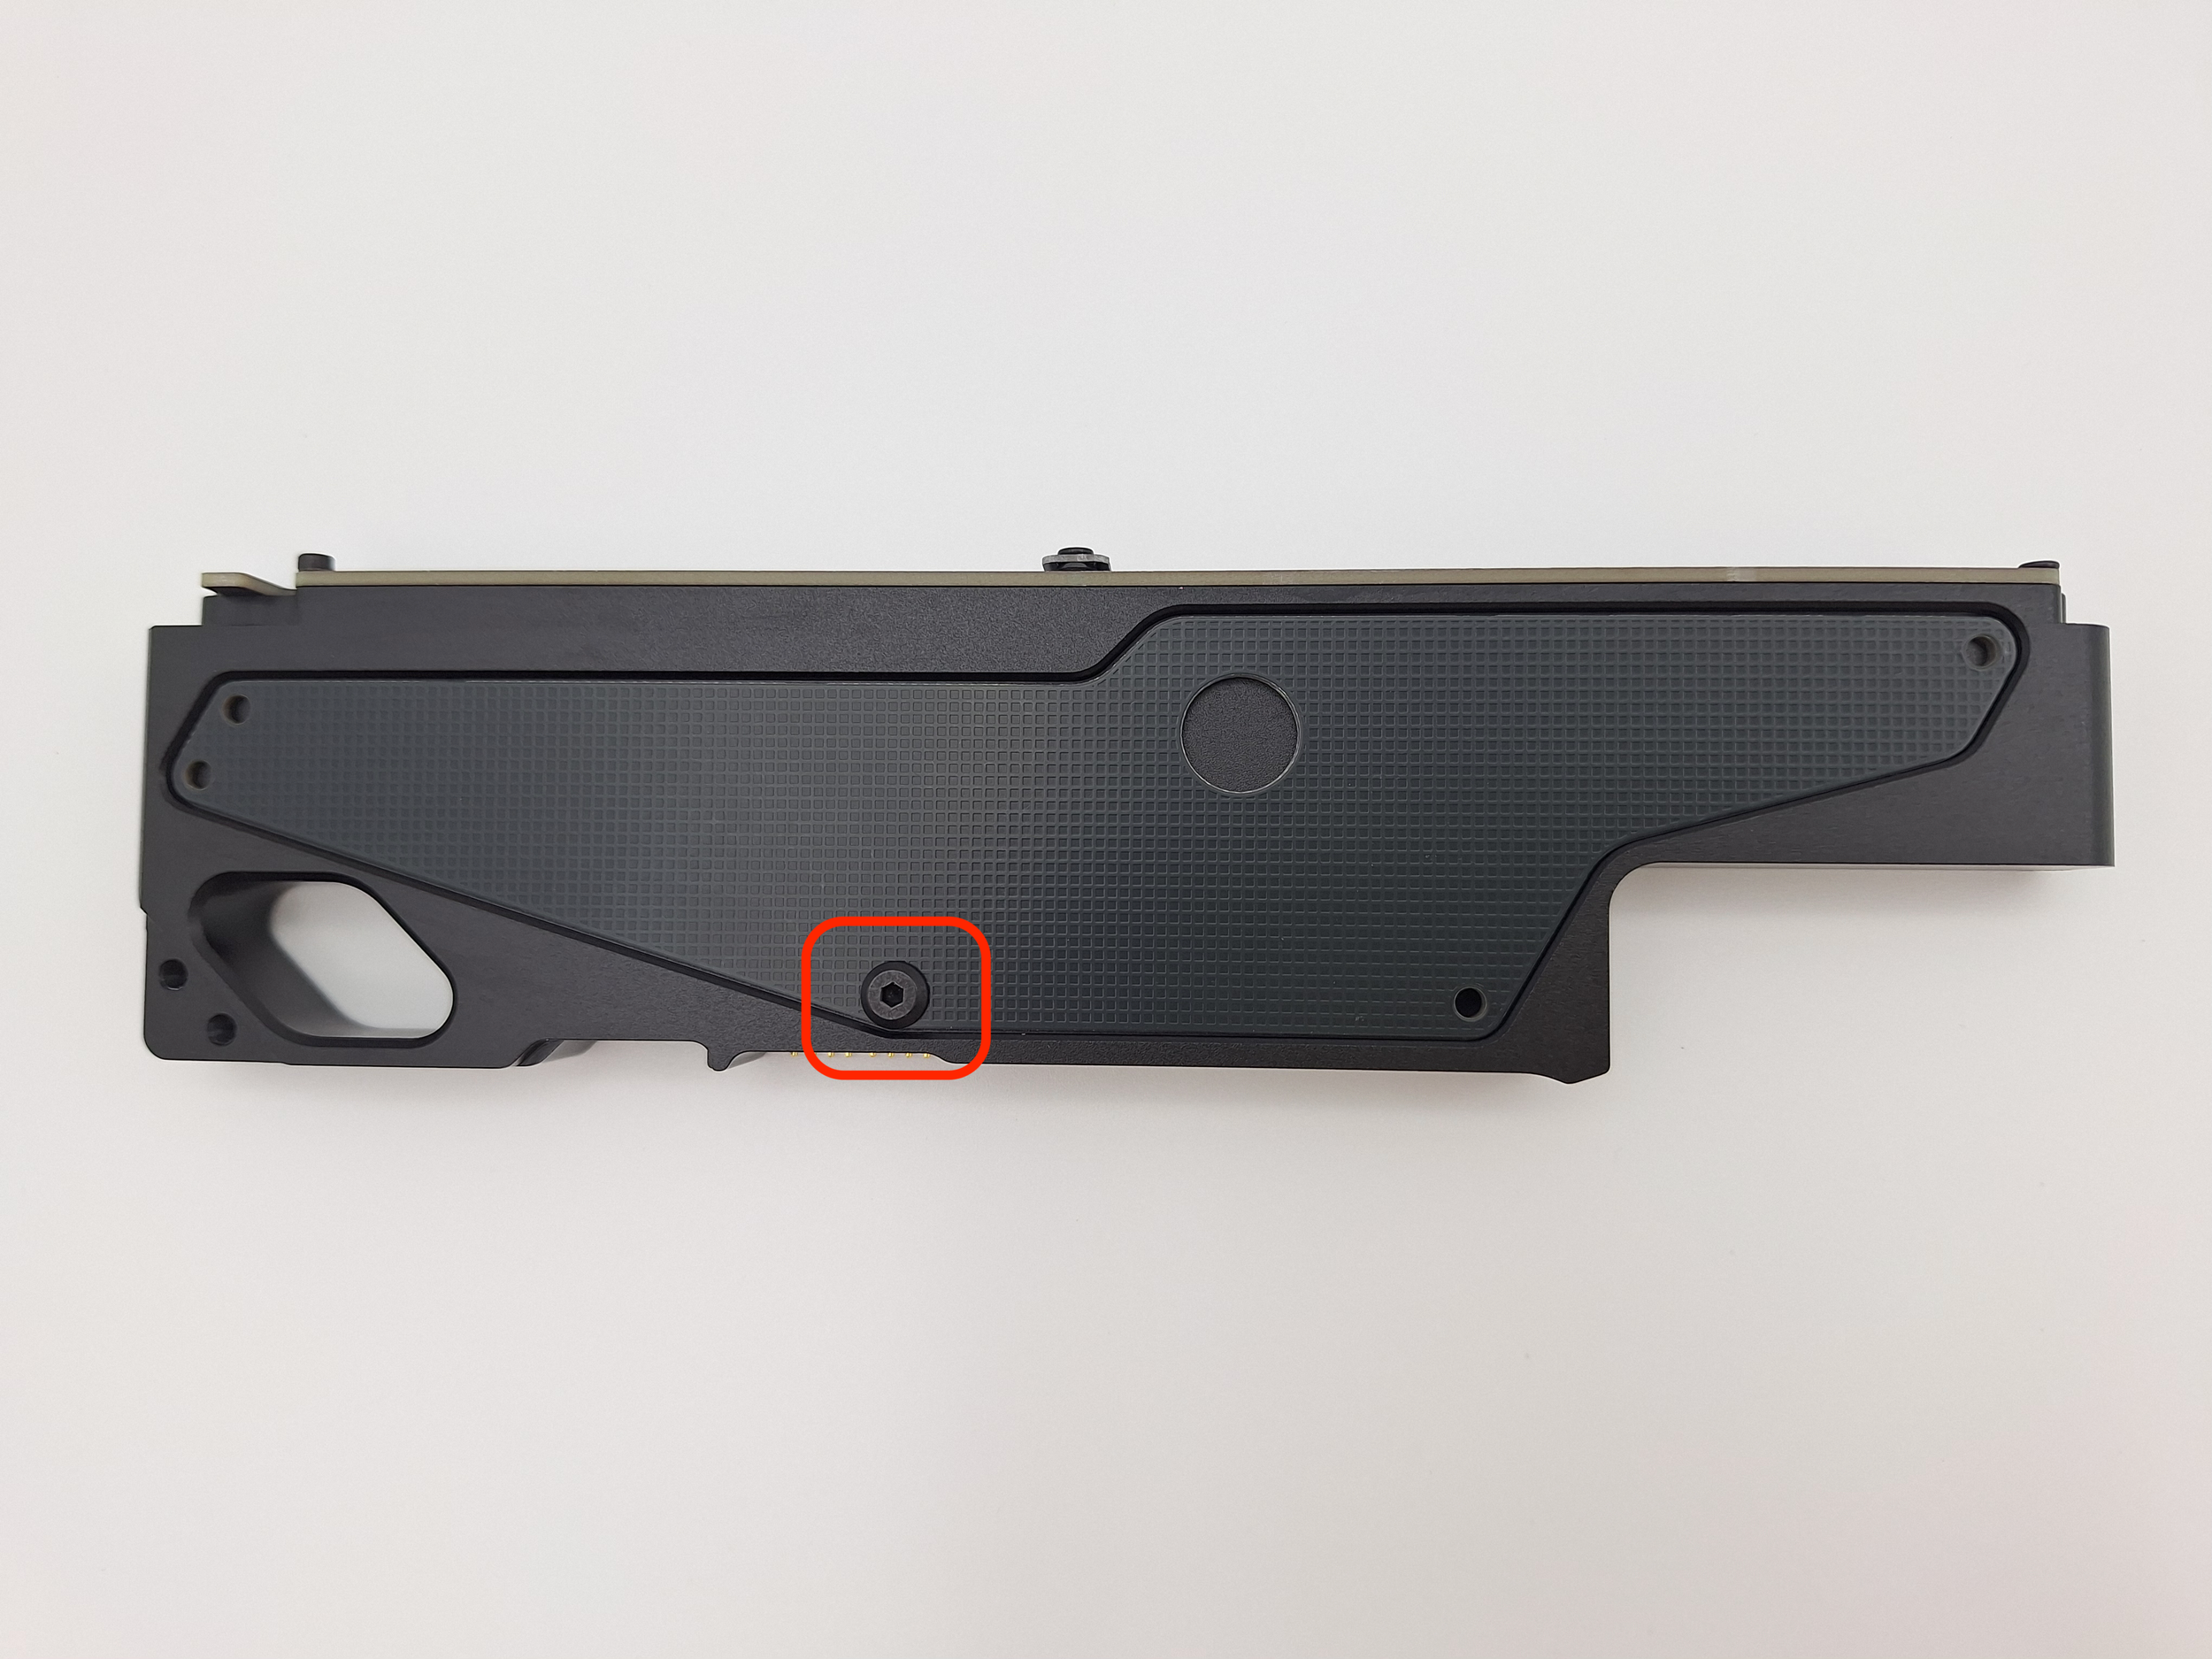
Remove the basket panels from the feeder to find standoffs and additional screws inside the compartment.
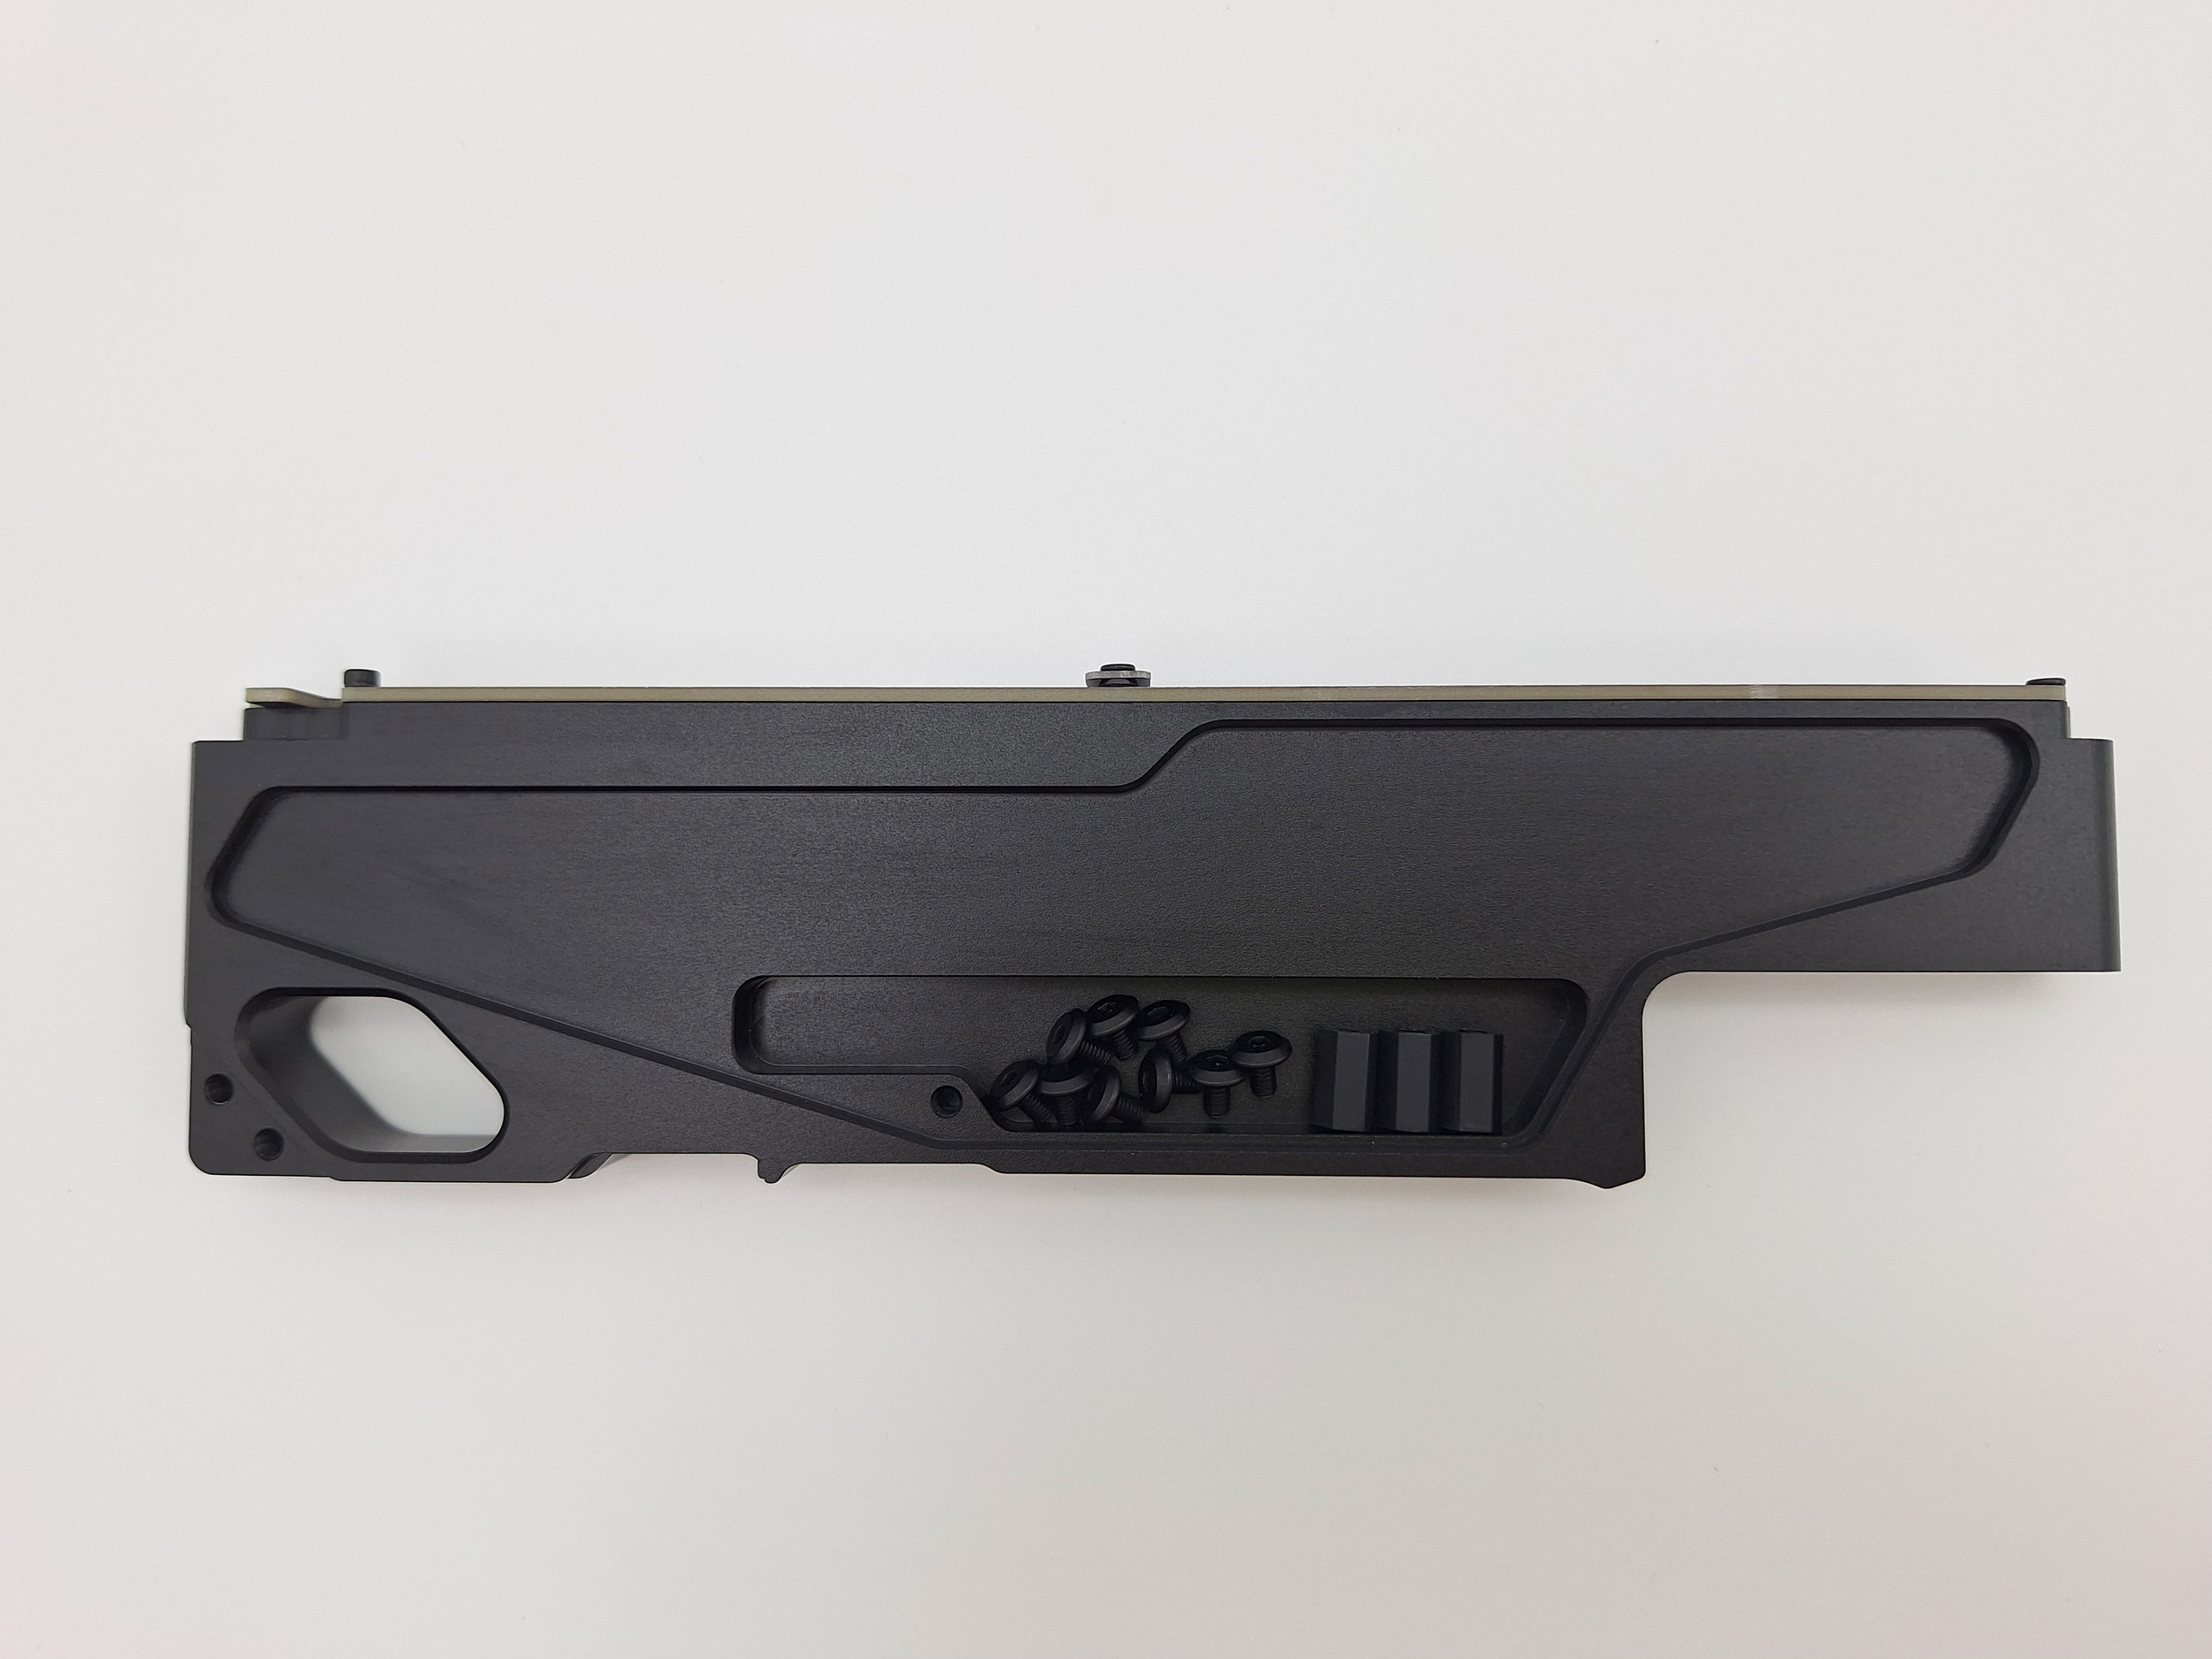
Assemble both basket panels onto the feeder with the included screws.
Assemble the standoffs onto the basket.
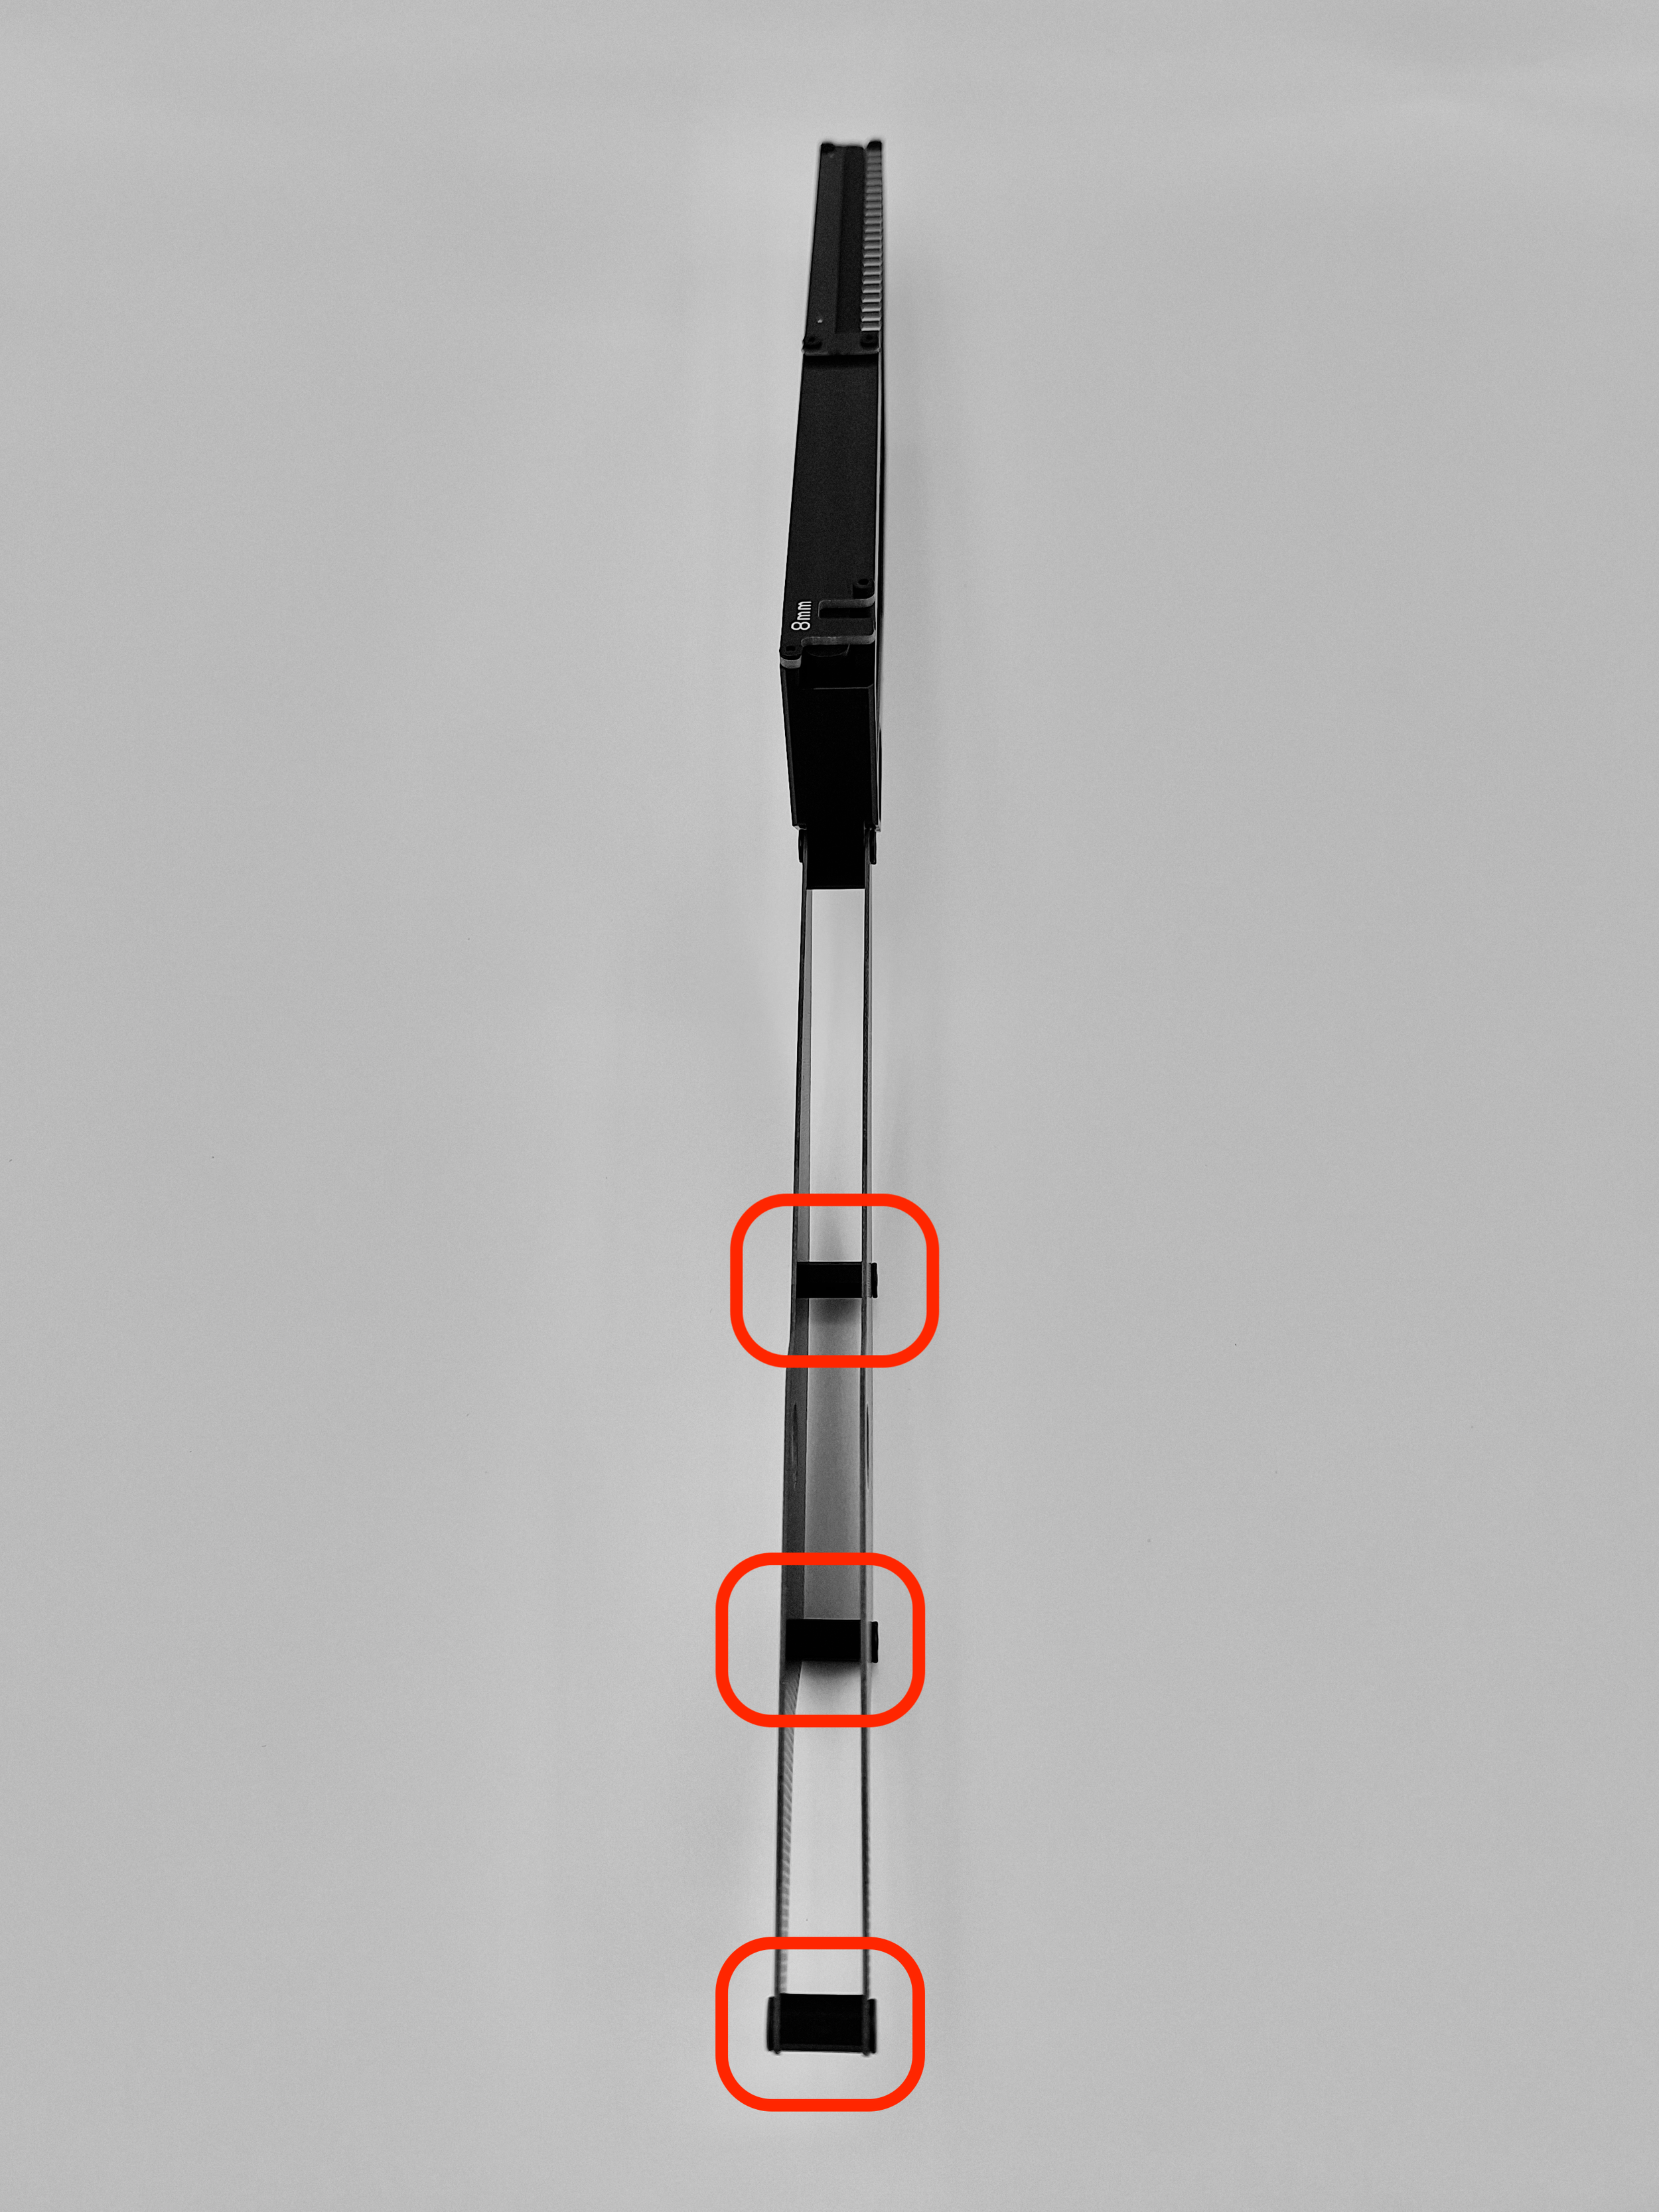
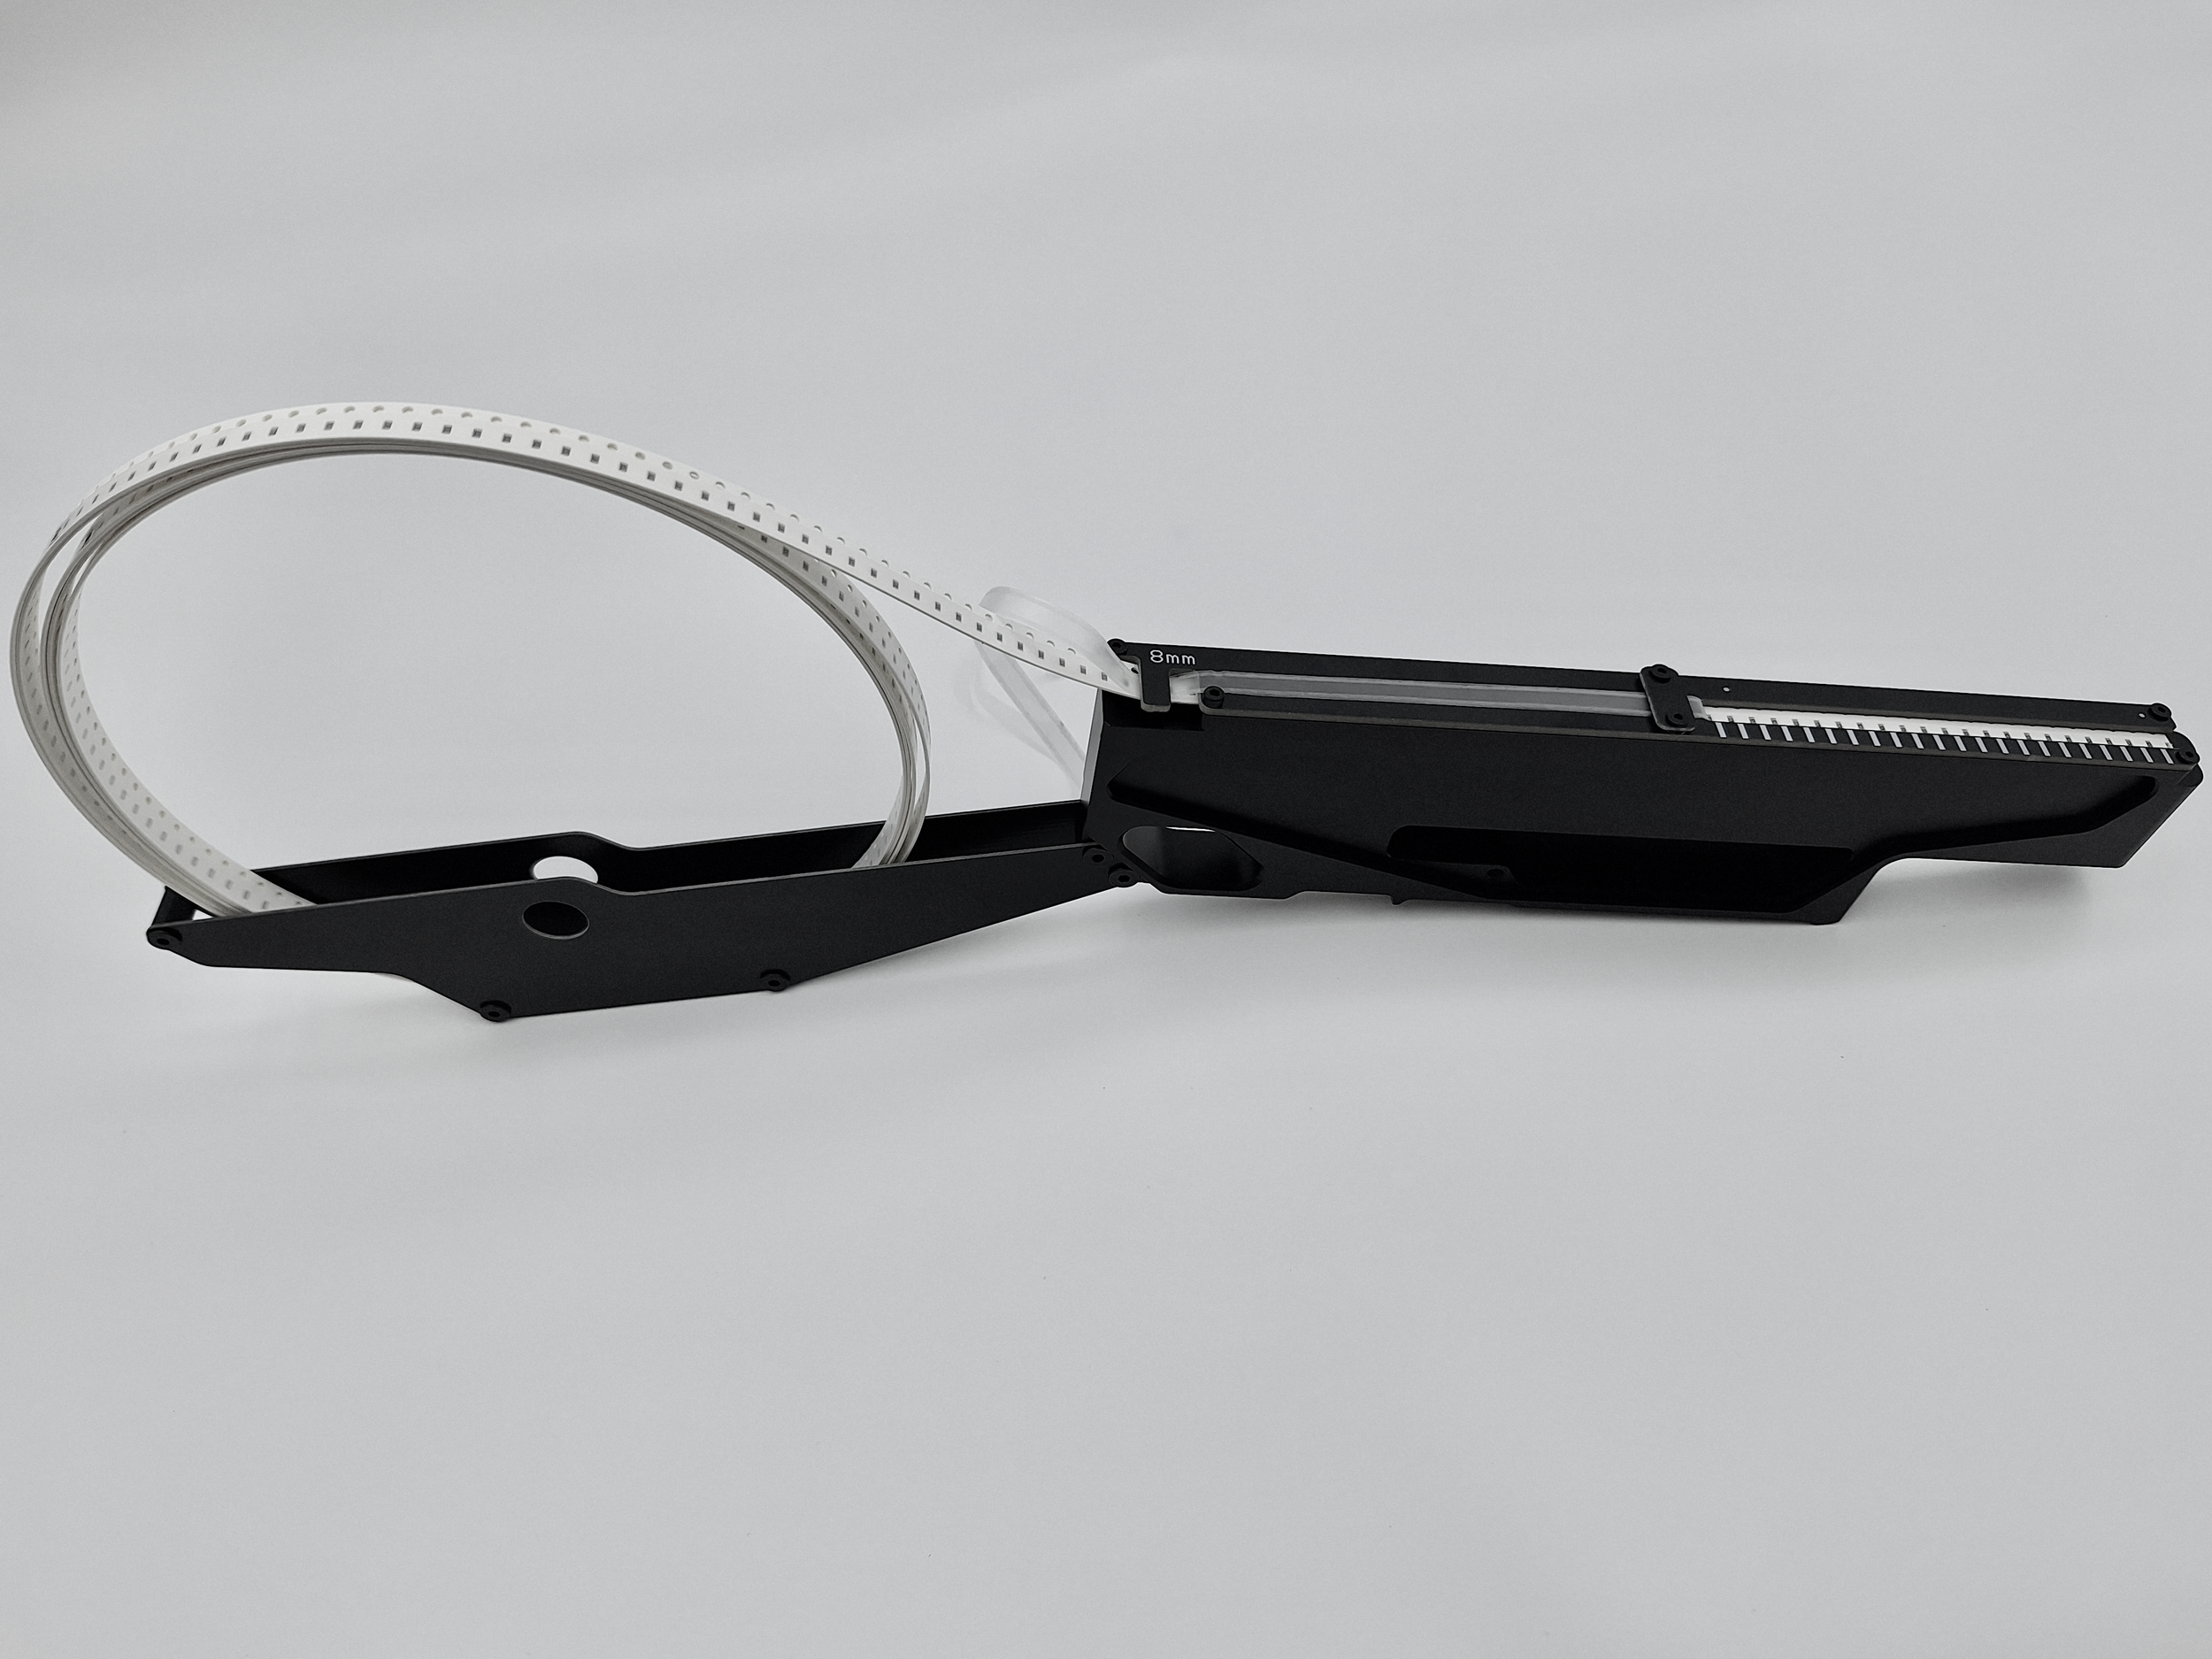
5. Hook the feeder into one of the machine’s feeder slots.
6. Use the marks on the feeder for alignment with the first component.
Storage recommendations:
If there are exposed components that remain unused, pull the cut tape backwards until these components are no longer exposed. This feature allows the freedom to work with a higher number of exposed components during production, eliminating the manual labor of peeling the clear tape bit by bit or counting the exact number of components needed.
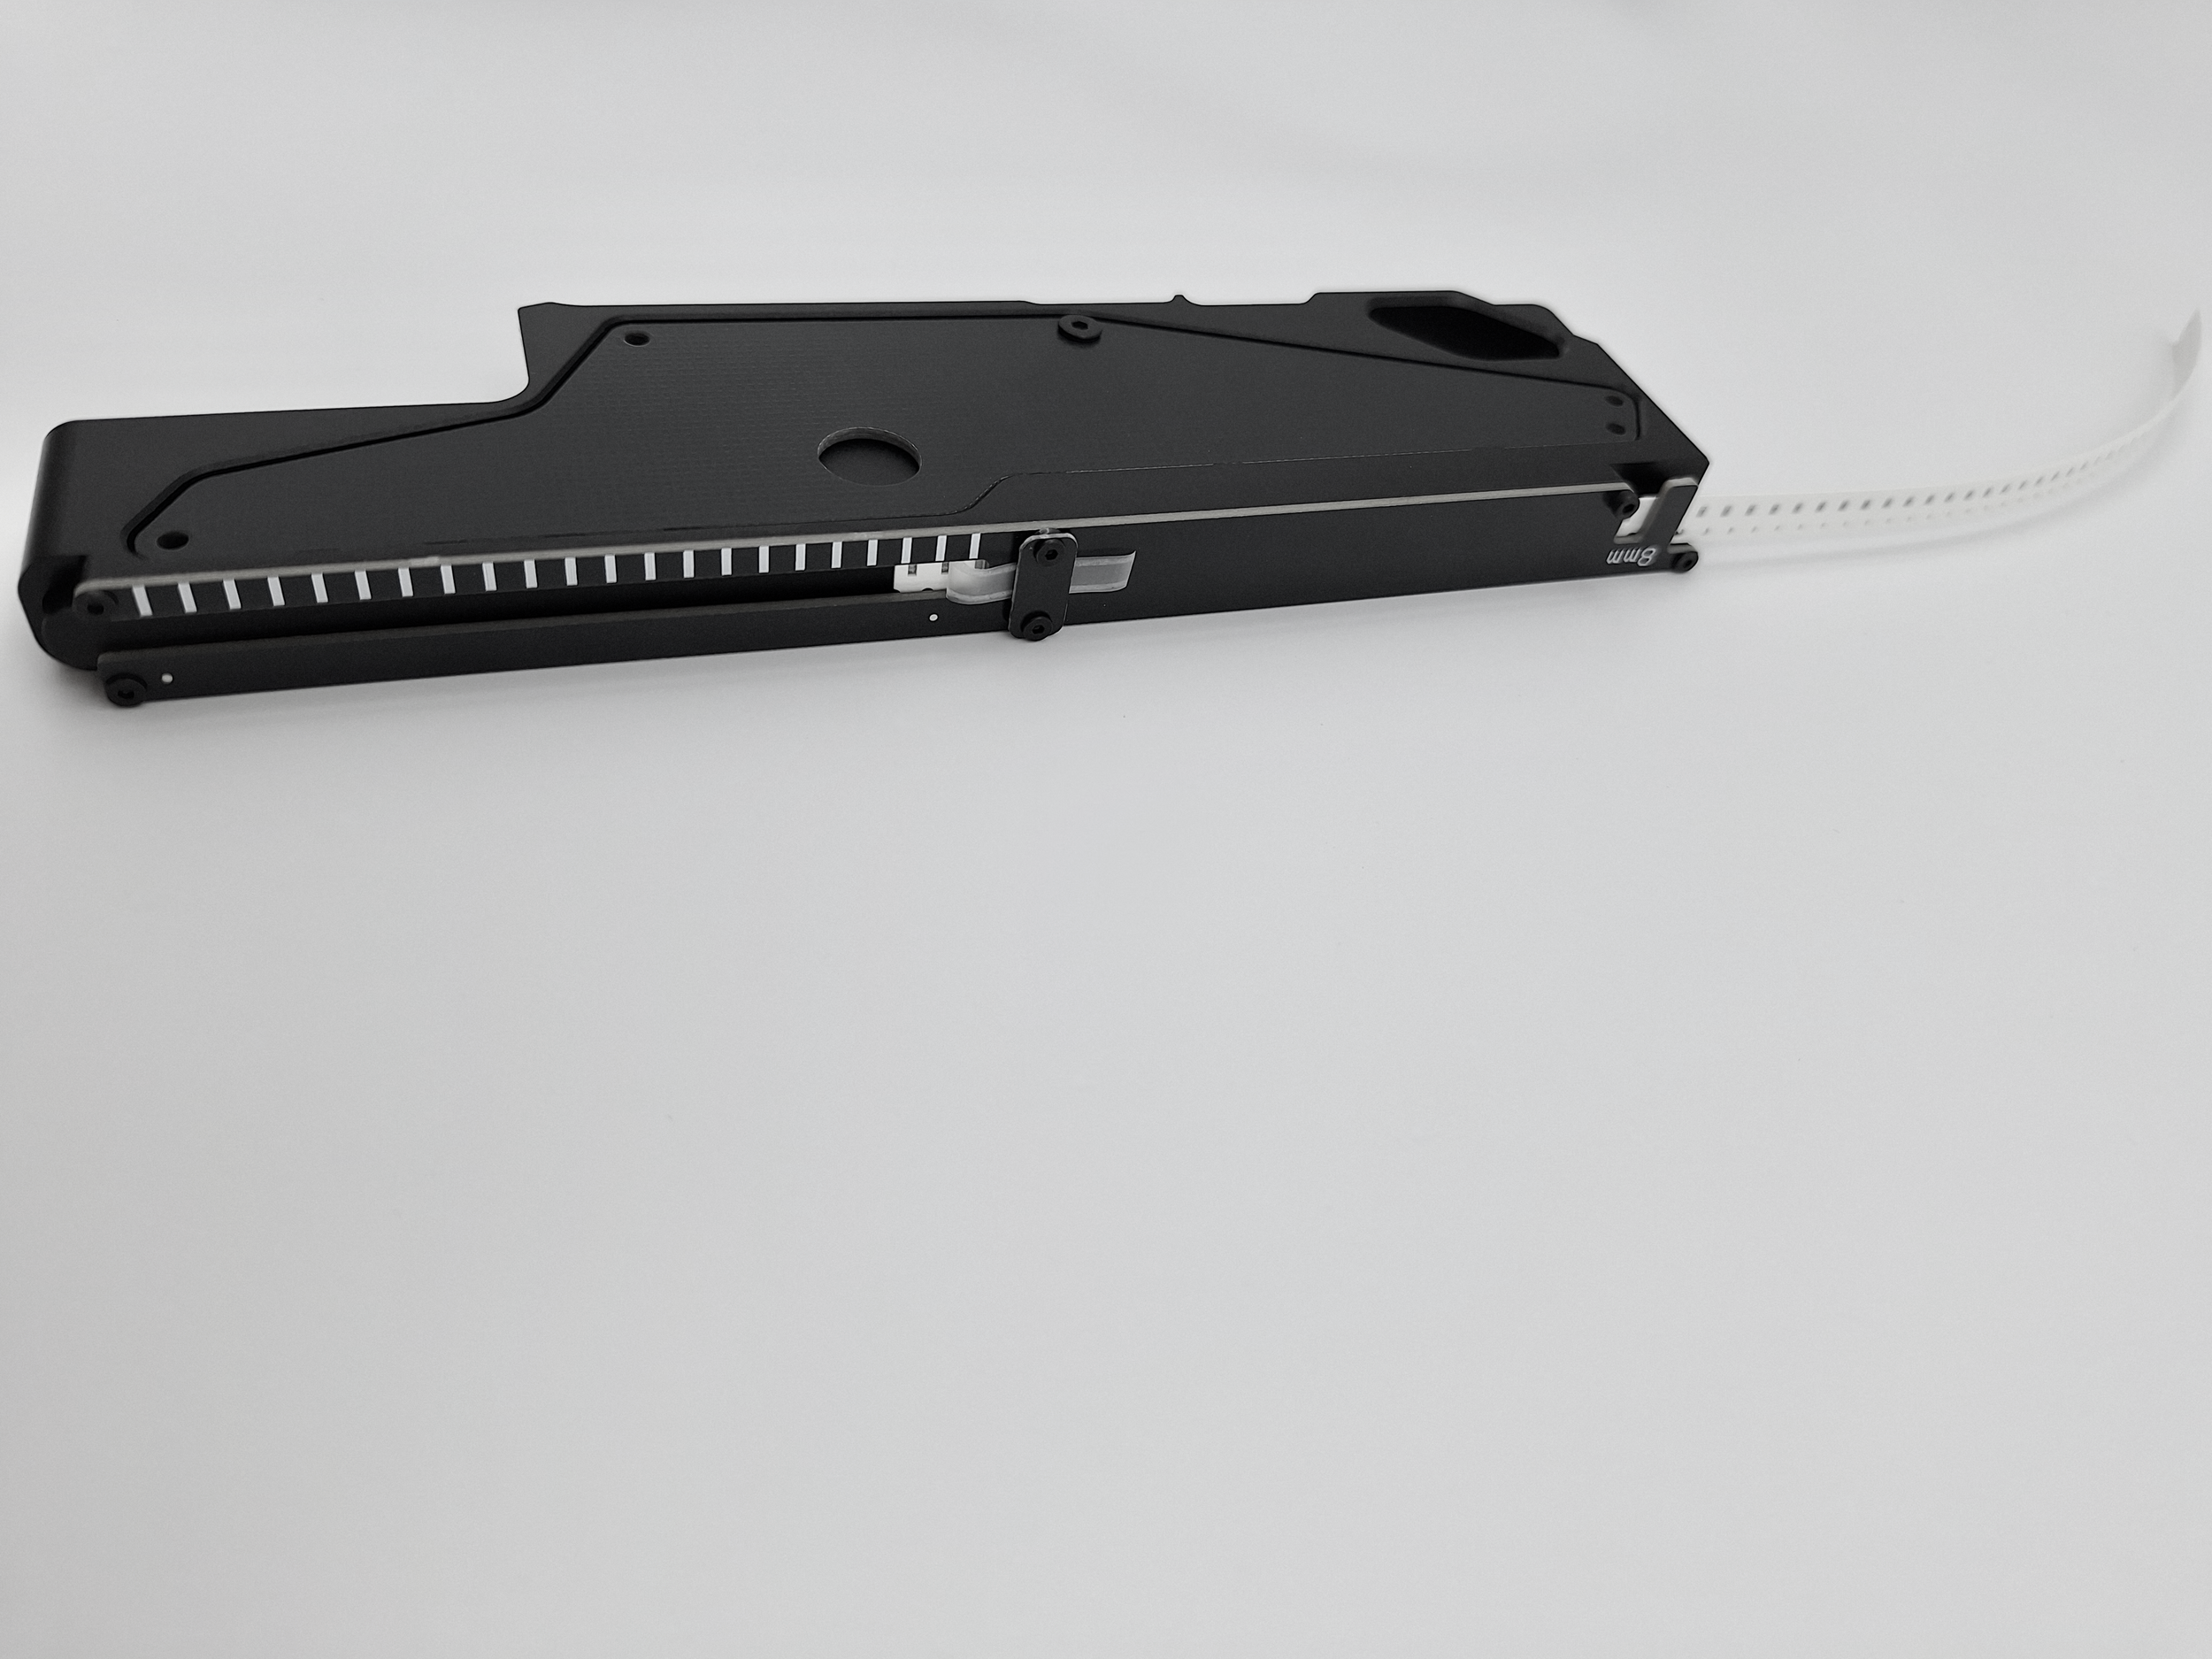
Hanging the feeder onto a pegboard is an organized and space-saving way of storing feeders. It also allows you to more easily browse through all the stored feeders to select the ones you need.